Introduction
In my homelab, I need a place to store data outside of my Proxmox VE cluster.
At the beginning, my single physical server has 2 HDDs disks of 2 TB. When I installed Proxmox on it, those disks stayed attached to the host. I shared them via an NFS server in an LXC, far from best practice.
This winter, the node started to fail, shutting down for no reason. This buddy is now 7 years old. When it went offline, my NFS shares disappeared, taking a few services down with them in my homelab. Replacing the CPU fan stabilized it, but I now want a safer home for that data.
In this article, I’ll walk you through how I built my NAS with TrueNAS.
Choose the right platform
For a while I wanted a NAS. Not an out‑of‑the‑box Synology or QNAP, even though I think they’re great products. I wanted to build mine. Space is tight in my tiny rack, and small NAS cases are rare.
Hardware
I went for an all‑flash NAS. Why?
- It’s fast
- It’s
furiouscompact - It’s quiet
- It uses less power
- It runs cooler
The trade‑off is price.
Network speed is my bottleneck anyway, but the other benefits are exactly what I want. I don’t need massive capacity, about 2 TB usable is enough.
My first choice was the Aiffro K100. But shipping to France nearly doubled the price. Finally I ended up with a Beelink ME mini.
This small cube has:
- Intel N200 CPU
- 12 GB RAM
- 2x 2.5 Gbps Ethernet
- Up to 6x NVMe drives
- A 64 GB eMMC chip for the OS
I started with 2 NVMe drives for now, 2 TB each.
Software
Now that the hardware is chosen, which software will I use?
My requirements were simple:
- NFS shares
- ZFS support
- VM capabilities
I considered FreeNAS/TrueNAS, OpenMediaVault, and Unraid. I chose TrueNAS SCALE 25.10 Community Edition. For clarity: FreeNAS was renamed TrueNAS CORE (FreeBSD‑based), while TrueNAS SCALE is the Linux‑based line. I’m using SCALE.
Install TrueNAS
⚠️ I installed TrueNAS on the eMMC chip. That’s not recommended, eMMC endurance can be a risk.
The install didn’t go as smoothly as expected…
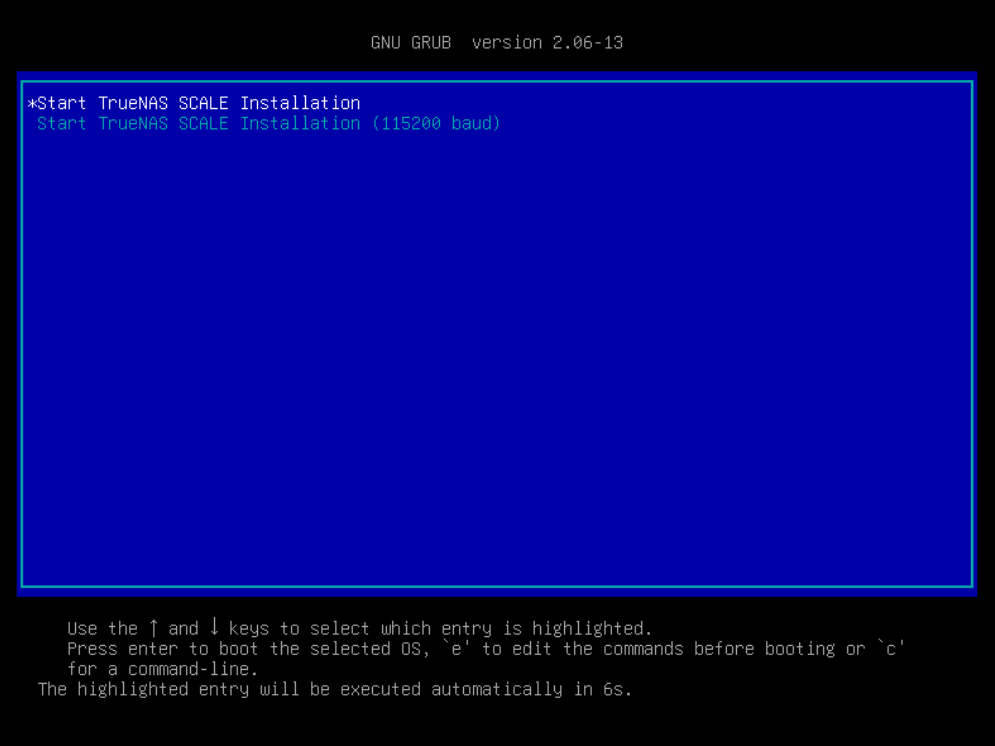
I use Ventoy to keep multiple ISOs on one USB stick. I was in version 1.0.99, and the ISO wouldn’t launch. Updating to 1.1.10 fixed it:
But here I encountered another problem when launching the installation on my eMMC storage device:
Failed to find partition number 2 on mmcblk0
I found a solution on this post:
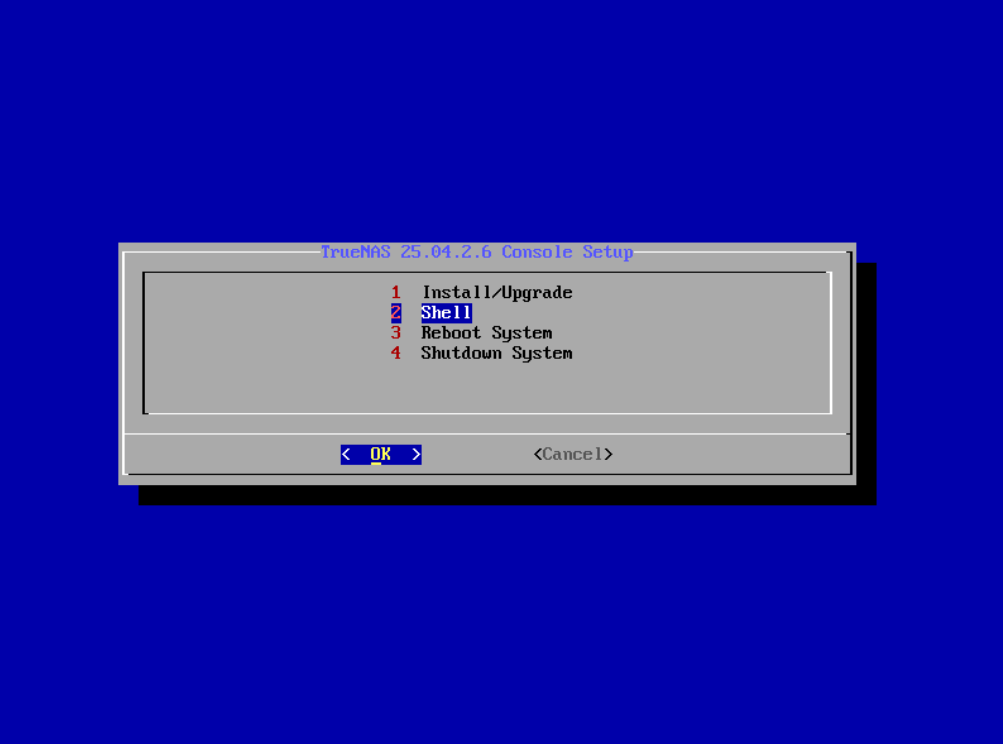
- Enter the shell
- Edit the file
/lib/python3/dist-packages/truenas_installer/utils.py - Move the line
await asyncio.sleep(1)right beneathfor _try in range(tries): - Edit line 46 to add
+ 'p':for partdir in filter(lambda x: x.is_dir() and x.name.startswith(device + 'p'), dir_contents):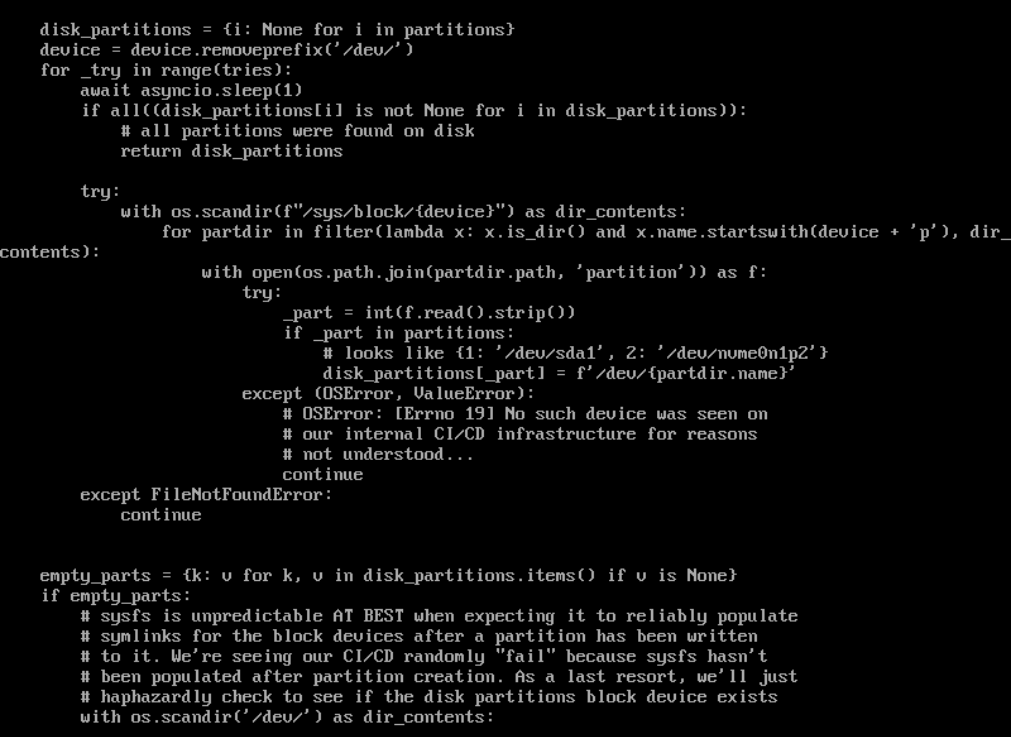
- Exit the shell and start the installation without reboot
The installer was finally able to get through:
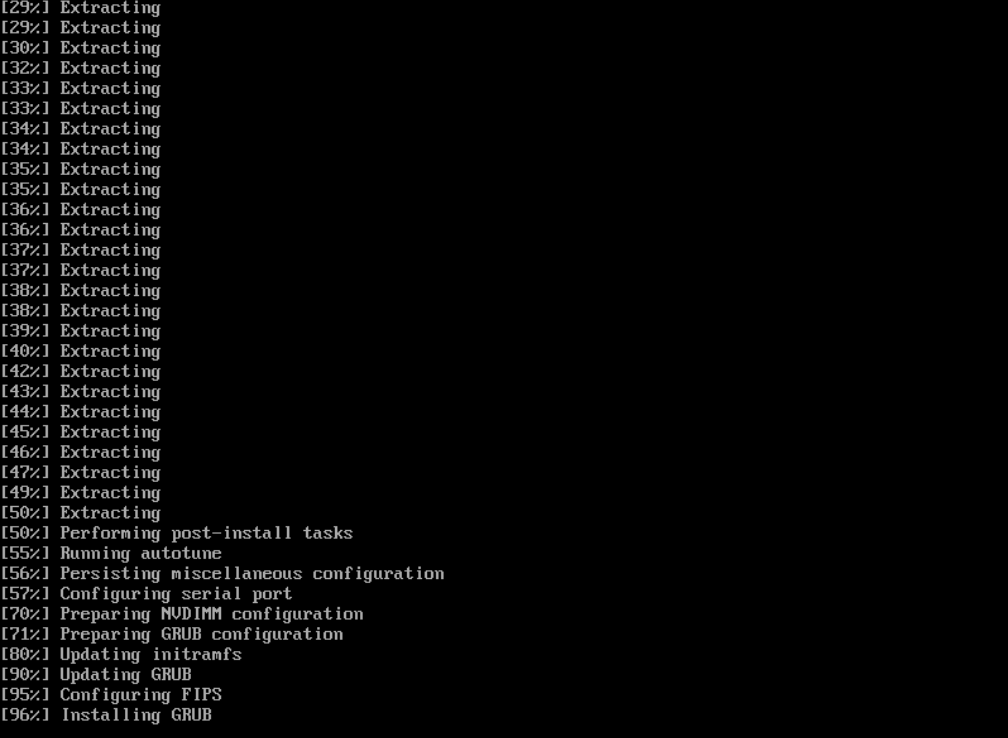
Once the installation was complete, I shut down the machine. Then I installed it into my rack on top of the 3 Proxmox VE nodes. I plugged both Ethernet cables from my switch and powered it up.
Configure TrueNAS
By default, TrueNAS uses DHCP. I found its MAC address in my UniFi interface and created a DHCP reservation. In OPNsense, I added a Dnsmasq host override. In the Caddy plugin, I set up a domain for TrueNAS pointing to that IP, then rebooted.
✅ After a few minutes, TrueNAS is now available on https://nas.vezpi.com.
General Settings
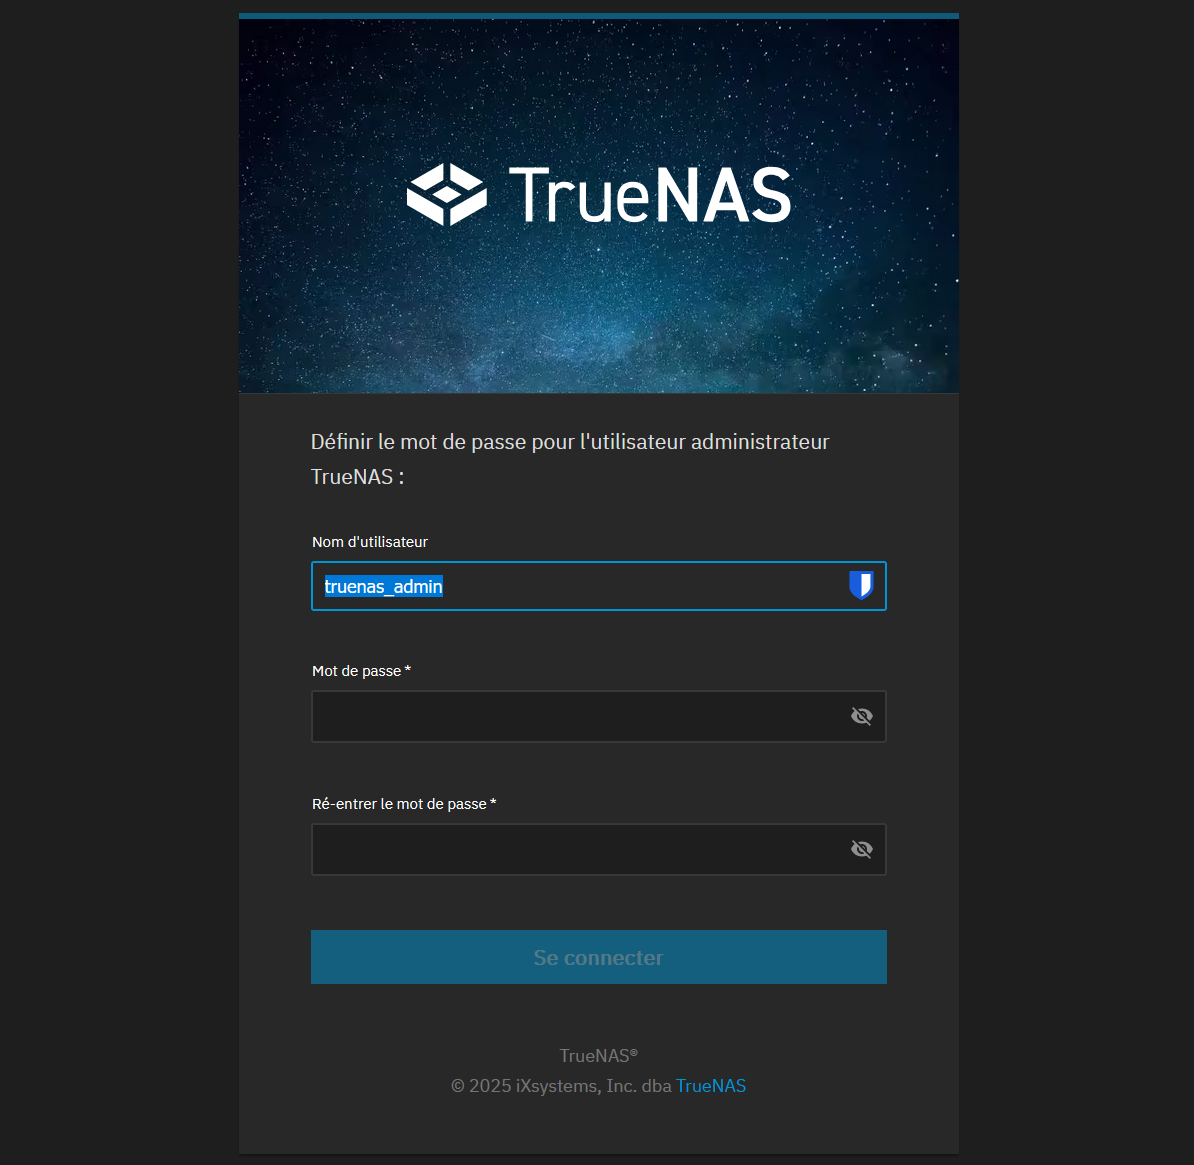
During install, I didn’t set a password for truenas_admin. The login page forced me to pick one:
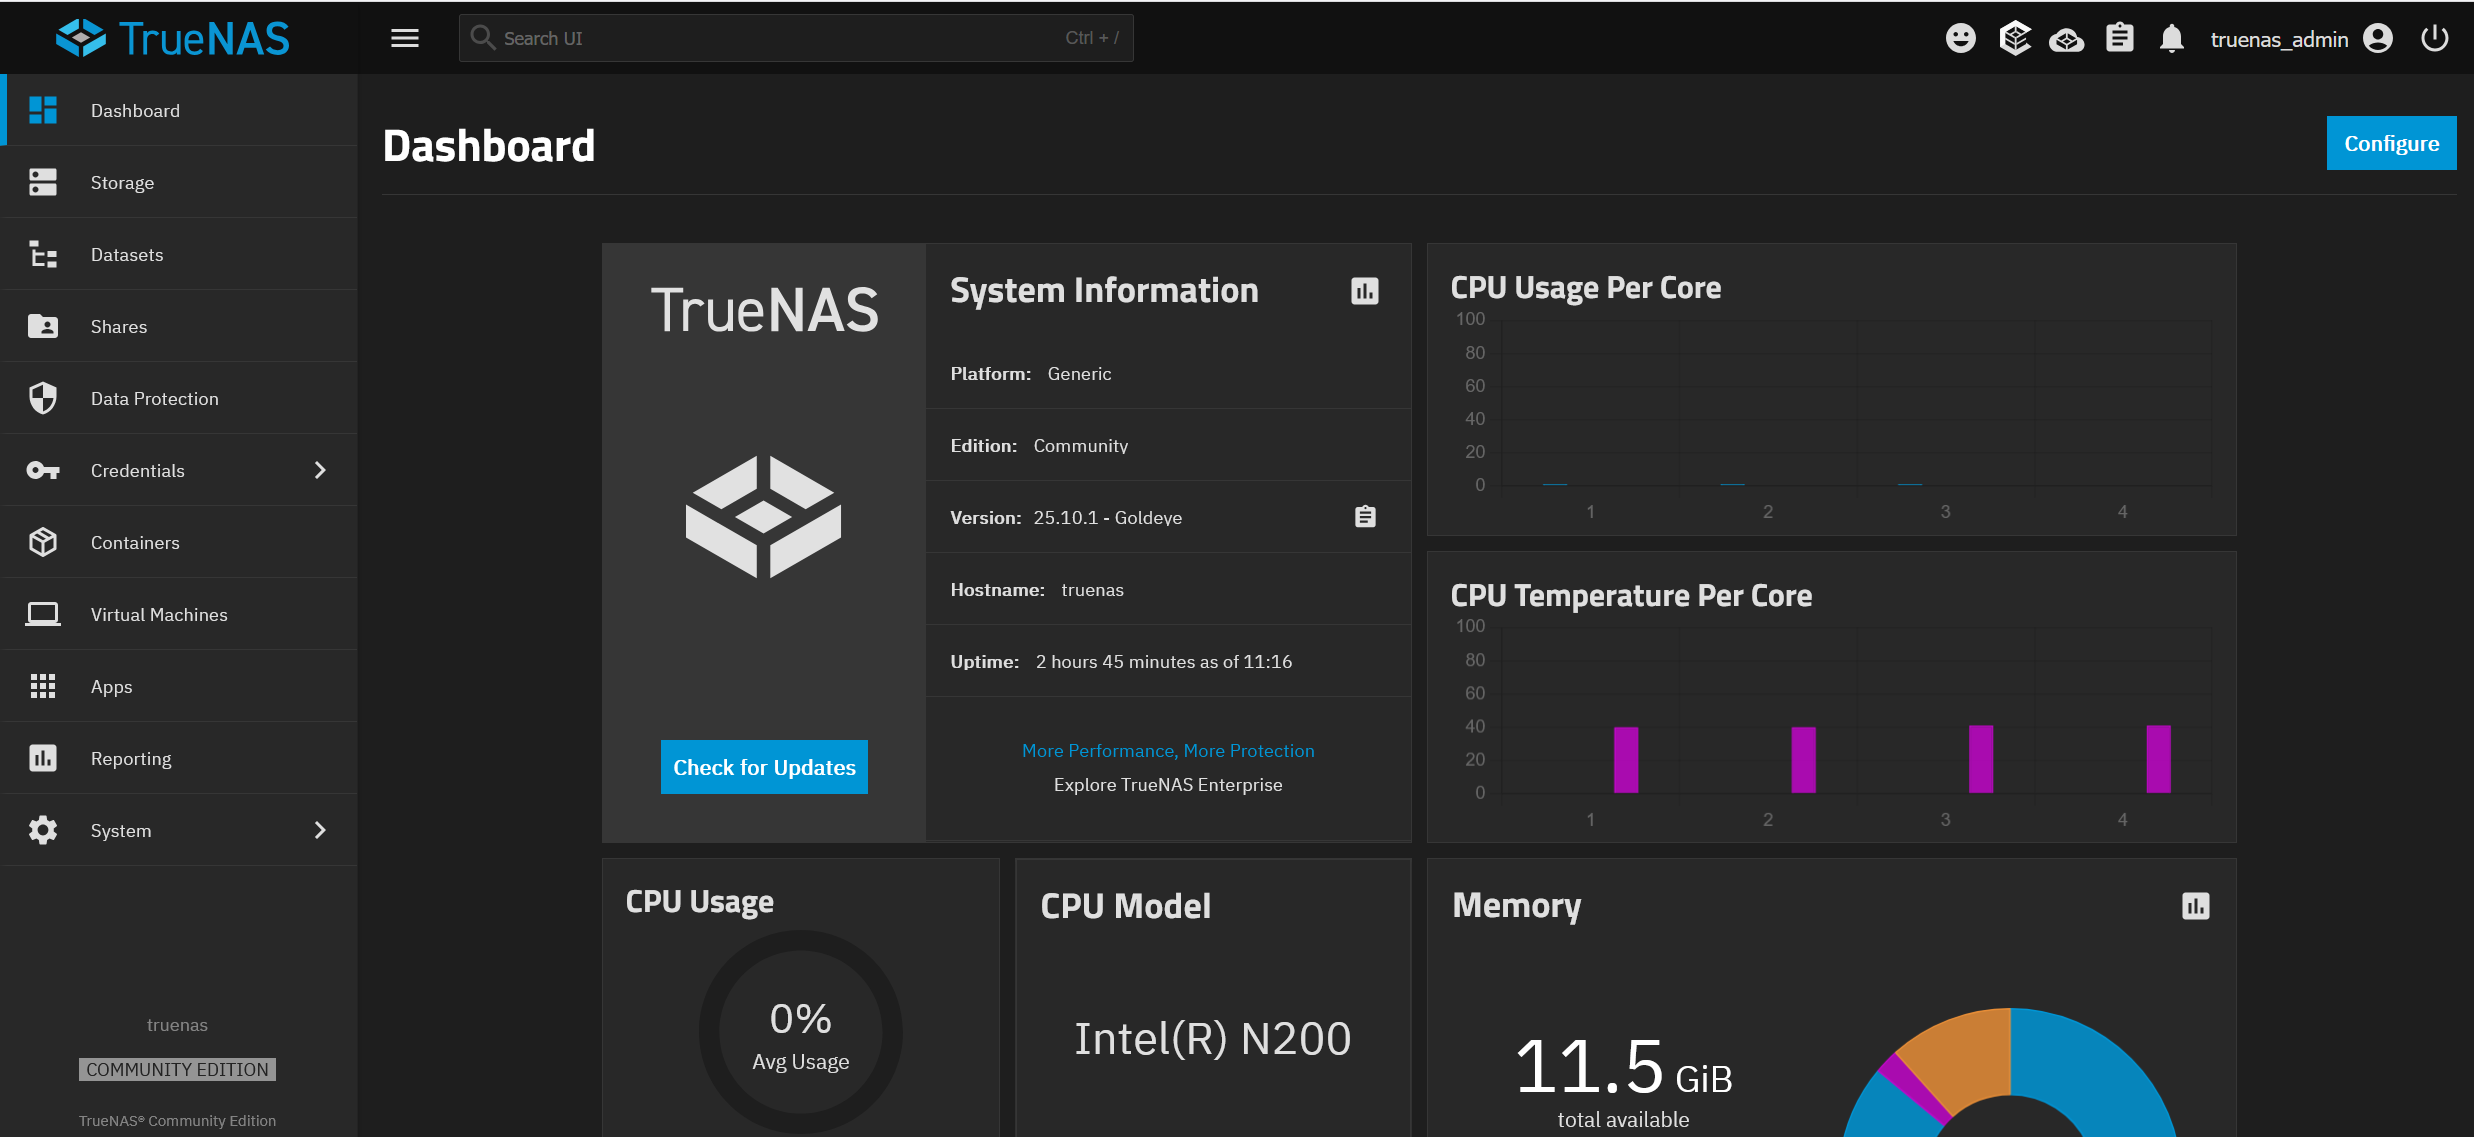
Once the password is updated, I land on the dashboard. The UI feels great at first glance:
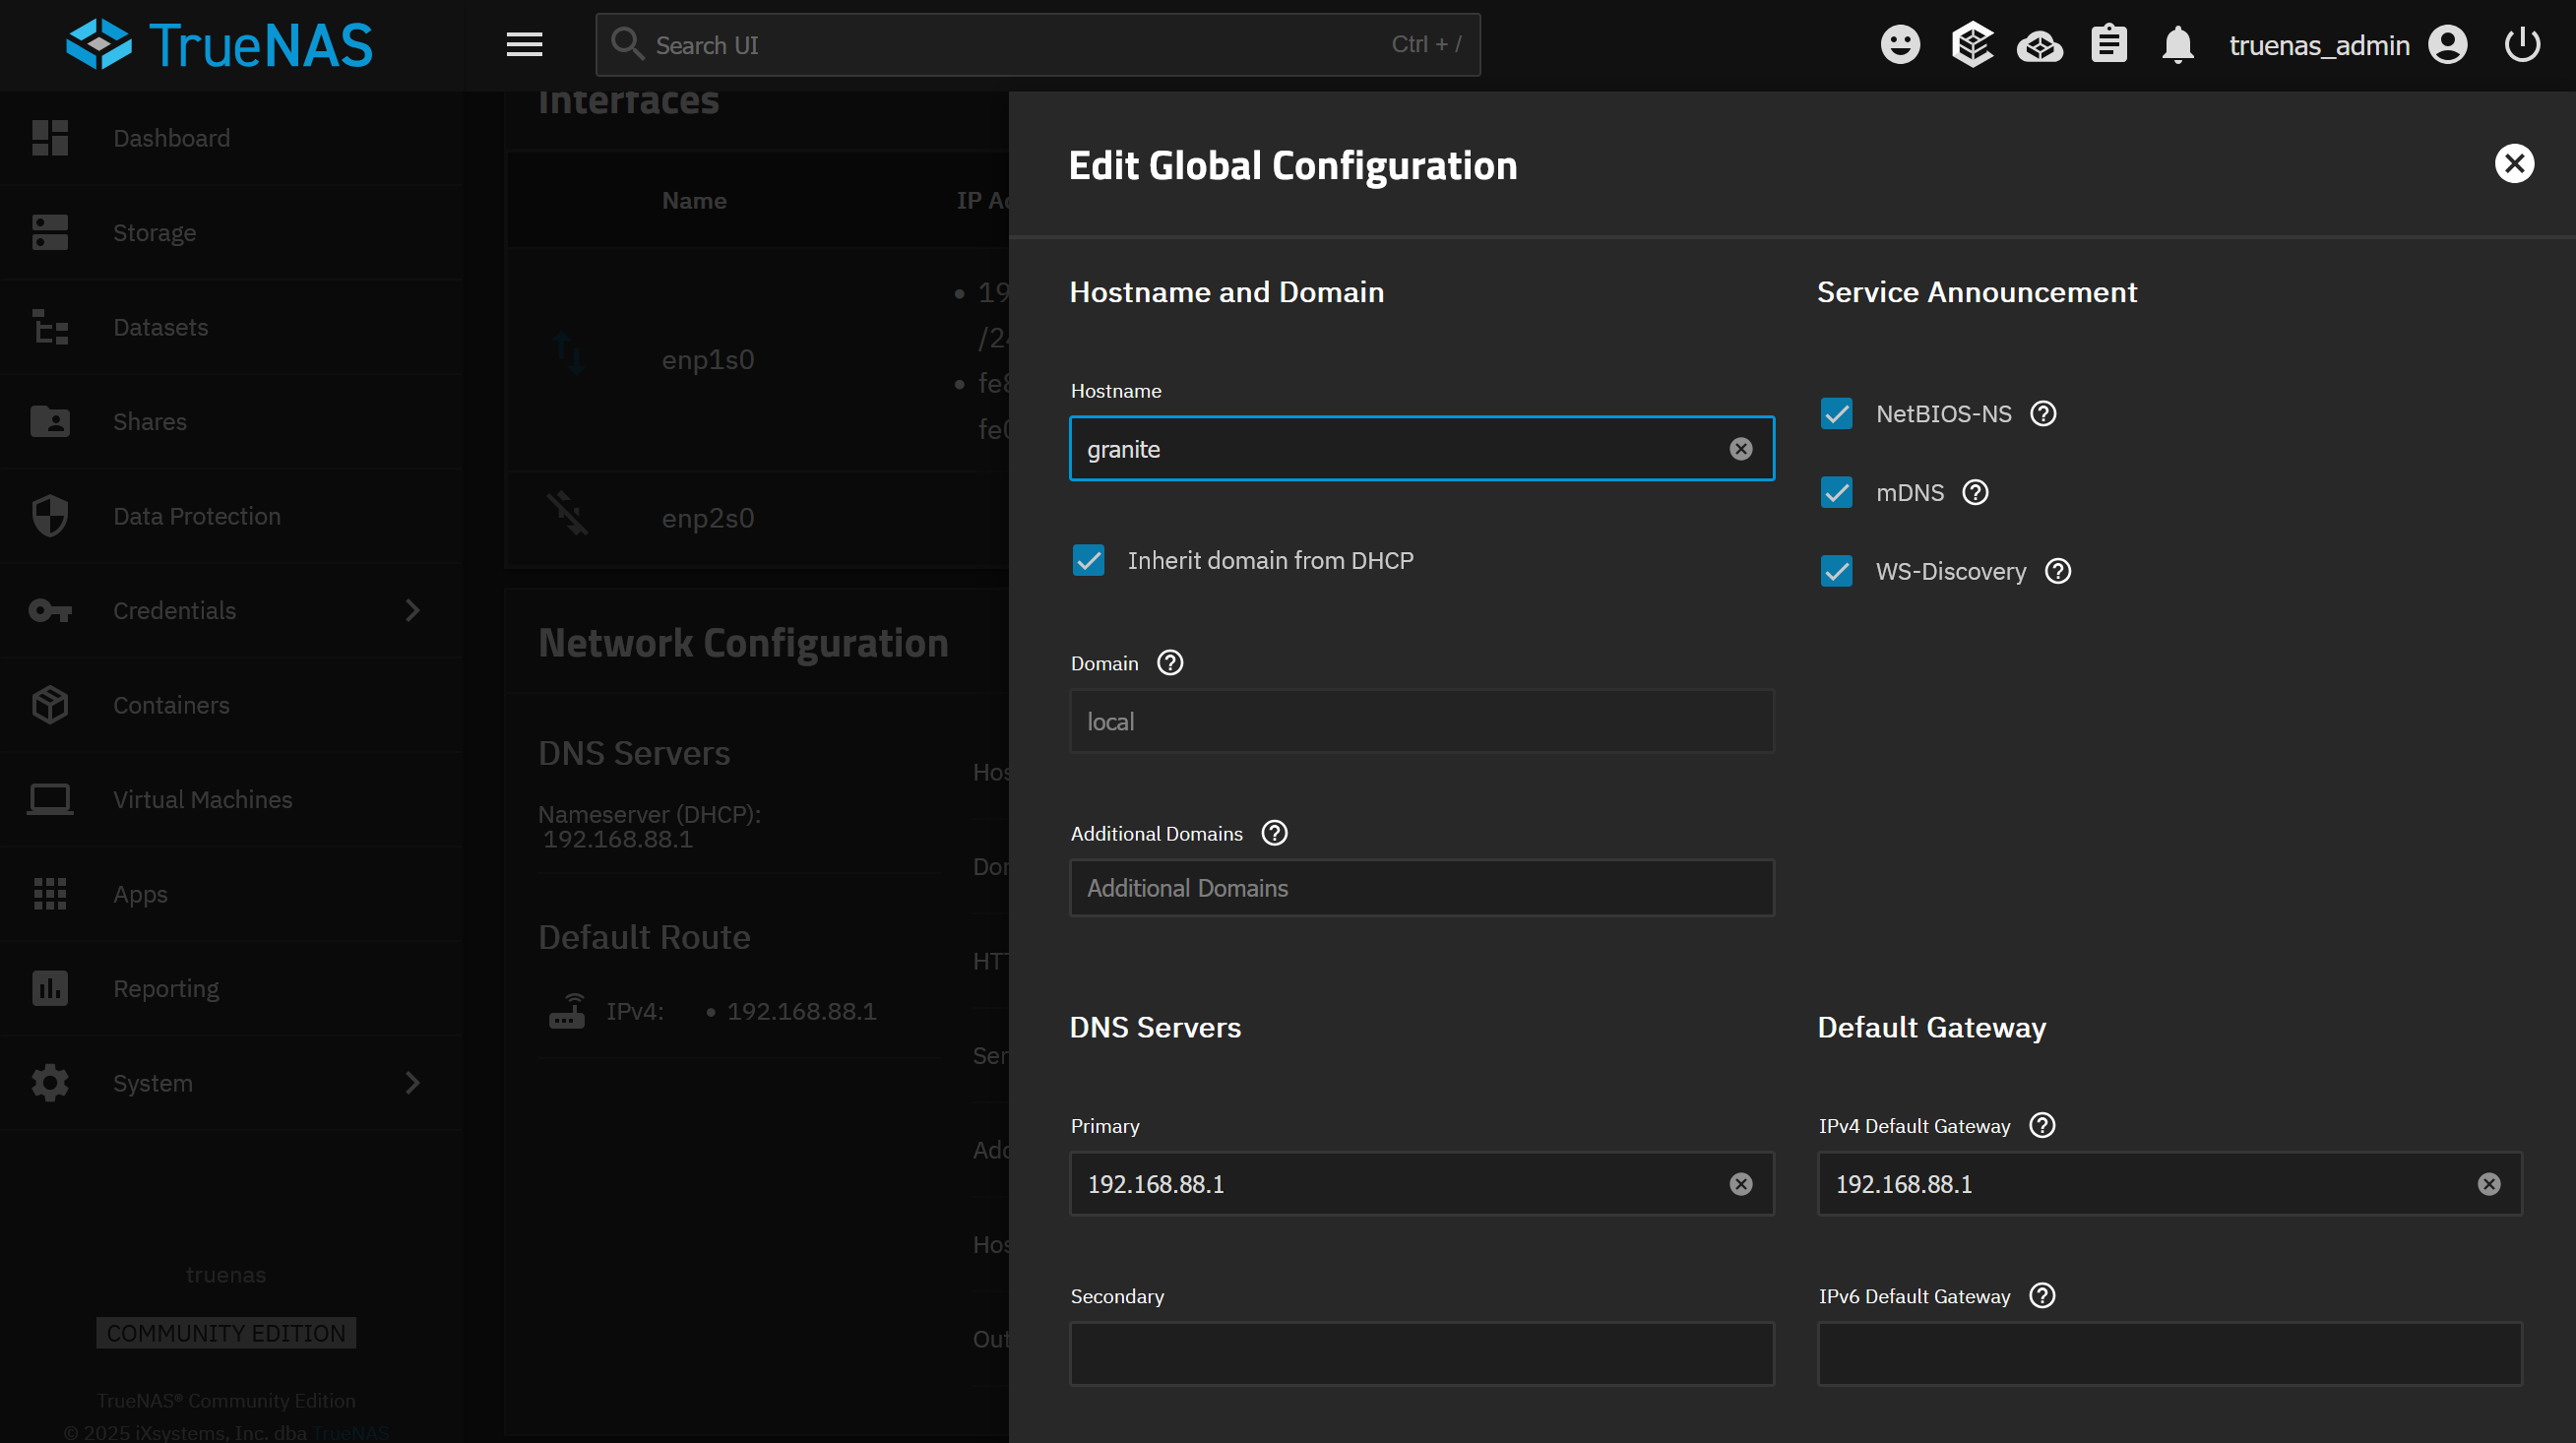
I quickly explore the interface, the first thing I do is changing the hostname to granite and check the box below et it inherit domain from DHCP:
In the General Settings, I change the Localization settings. I set the Console Keyboard Map to French (AZERTY) and the Timezone to Europe/Paris.
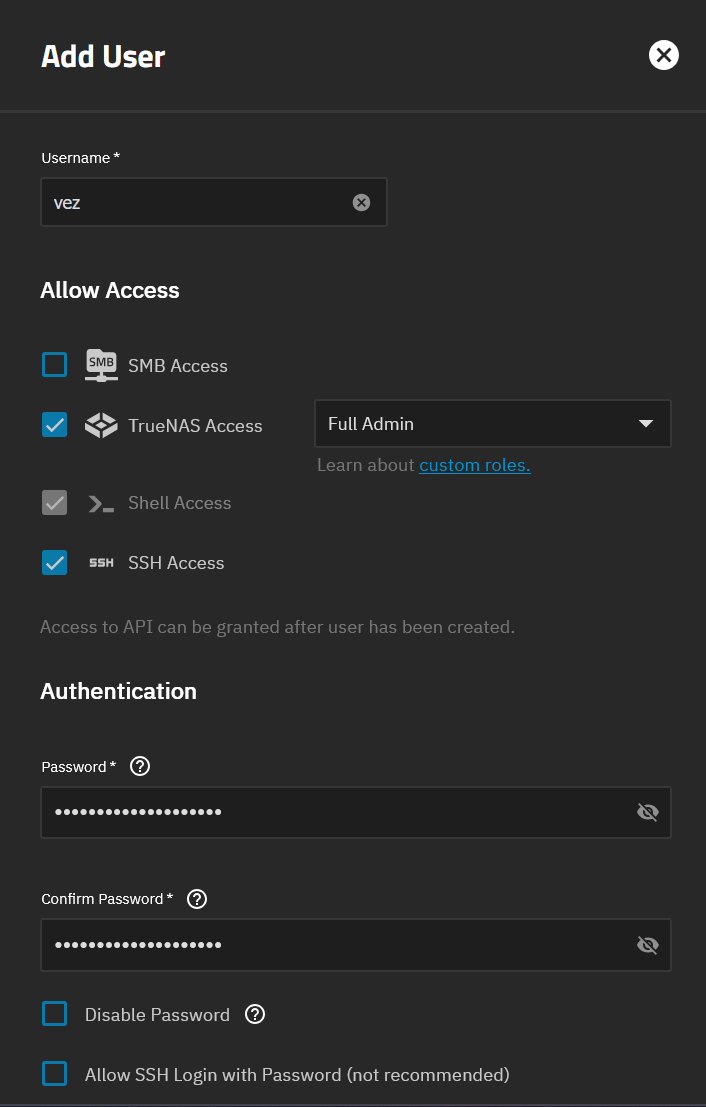
I create a new user vez, with Full Admin role within TrueNAS. I allow SSH for key‑based auth only, no passwords:
Finally I remove the admin role from truenas_admin and lock the account.
Pool creation
In TrueNAS, a pool is a storage collection created by combining multiple disks into a unified ZFS‑managed space.
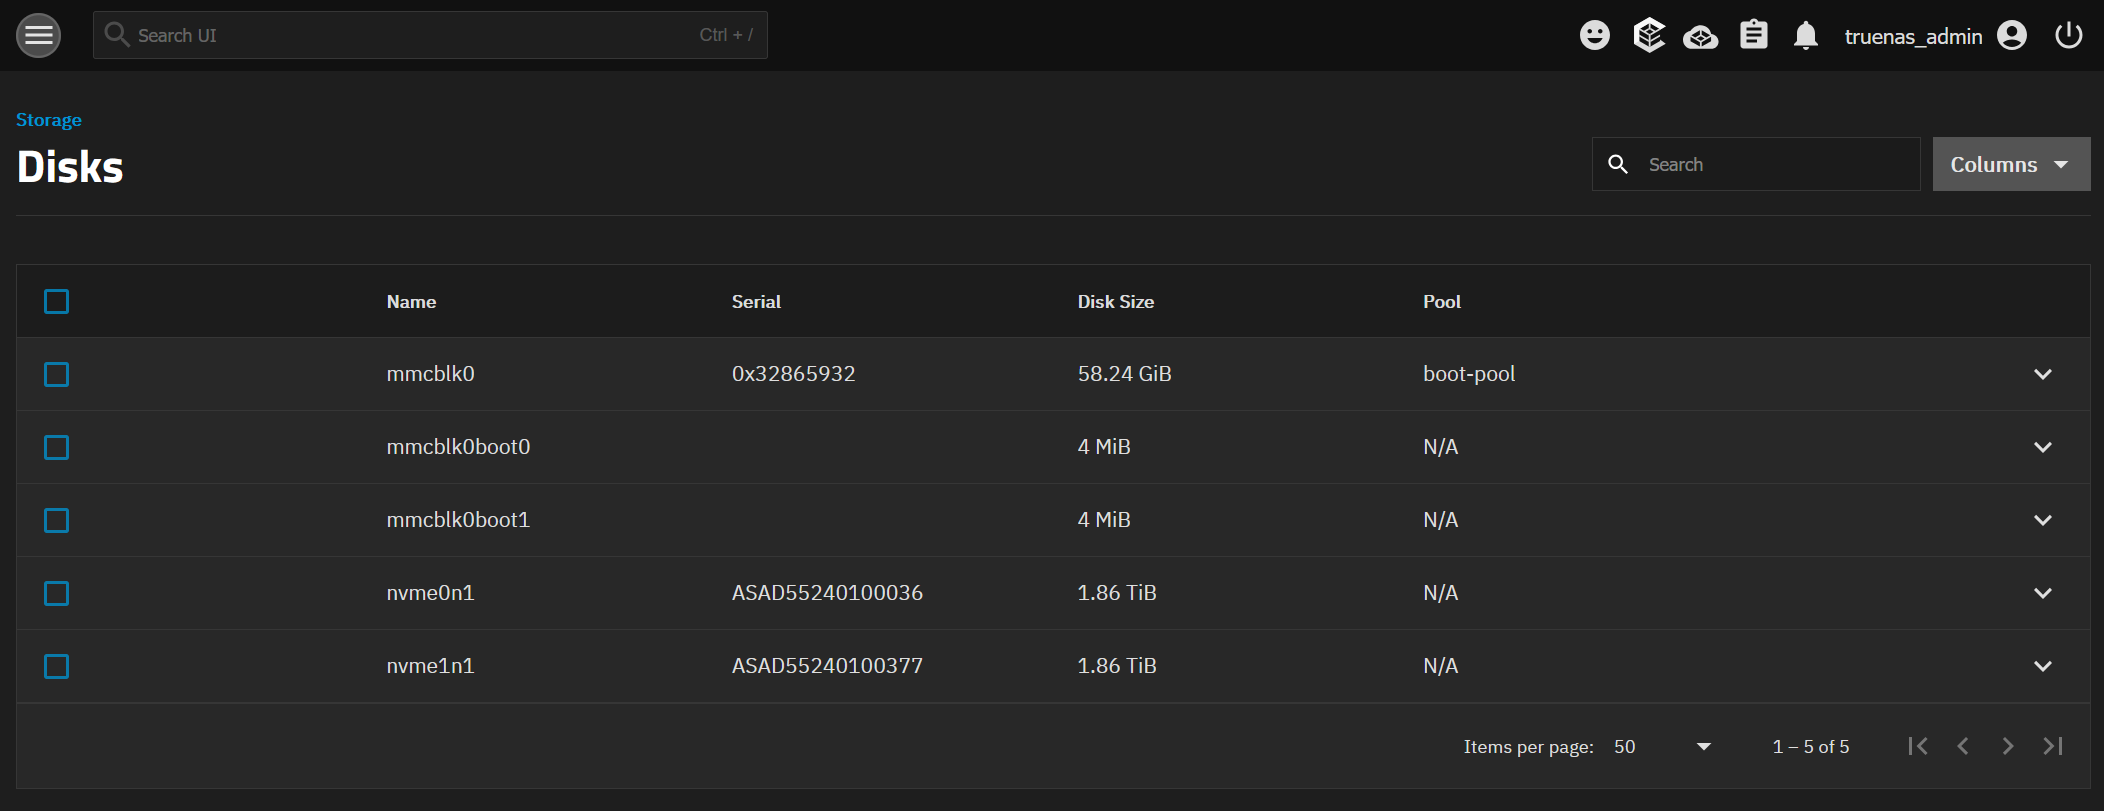
In the Storage page, I can find my Disks, where I can confirm TrueNAS can see my couple of NVMe drives:
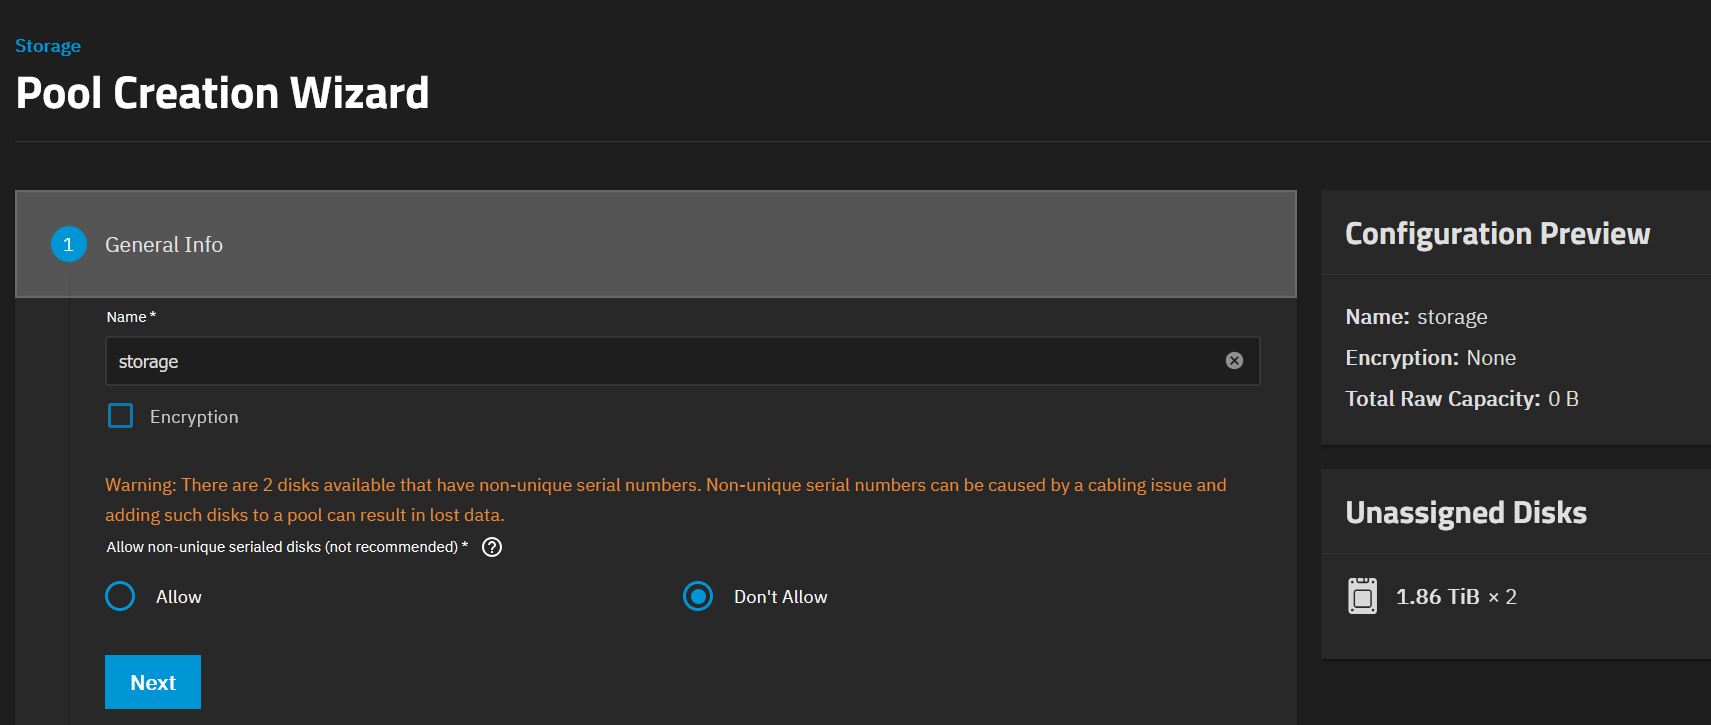
Back in the Storage Dashboard, I click the Create Pool button. I name the pool storage because I’m really inspired to give it a name:
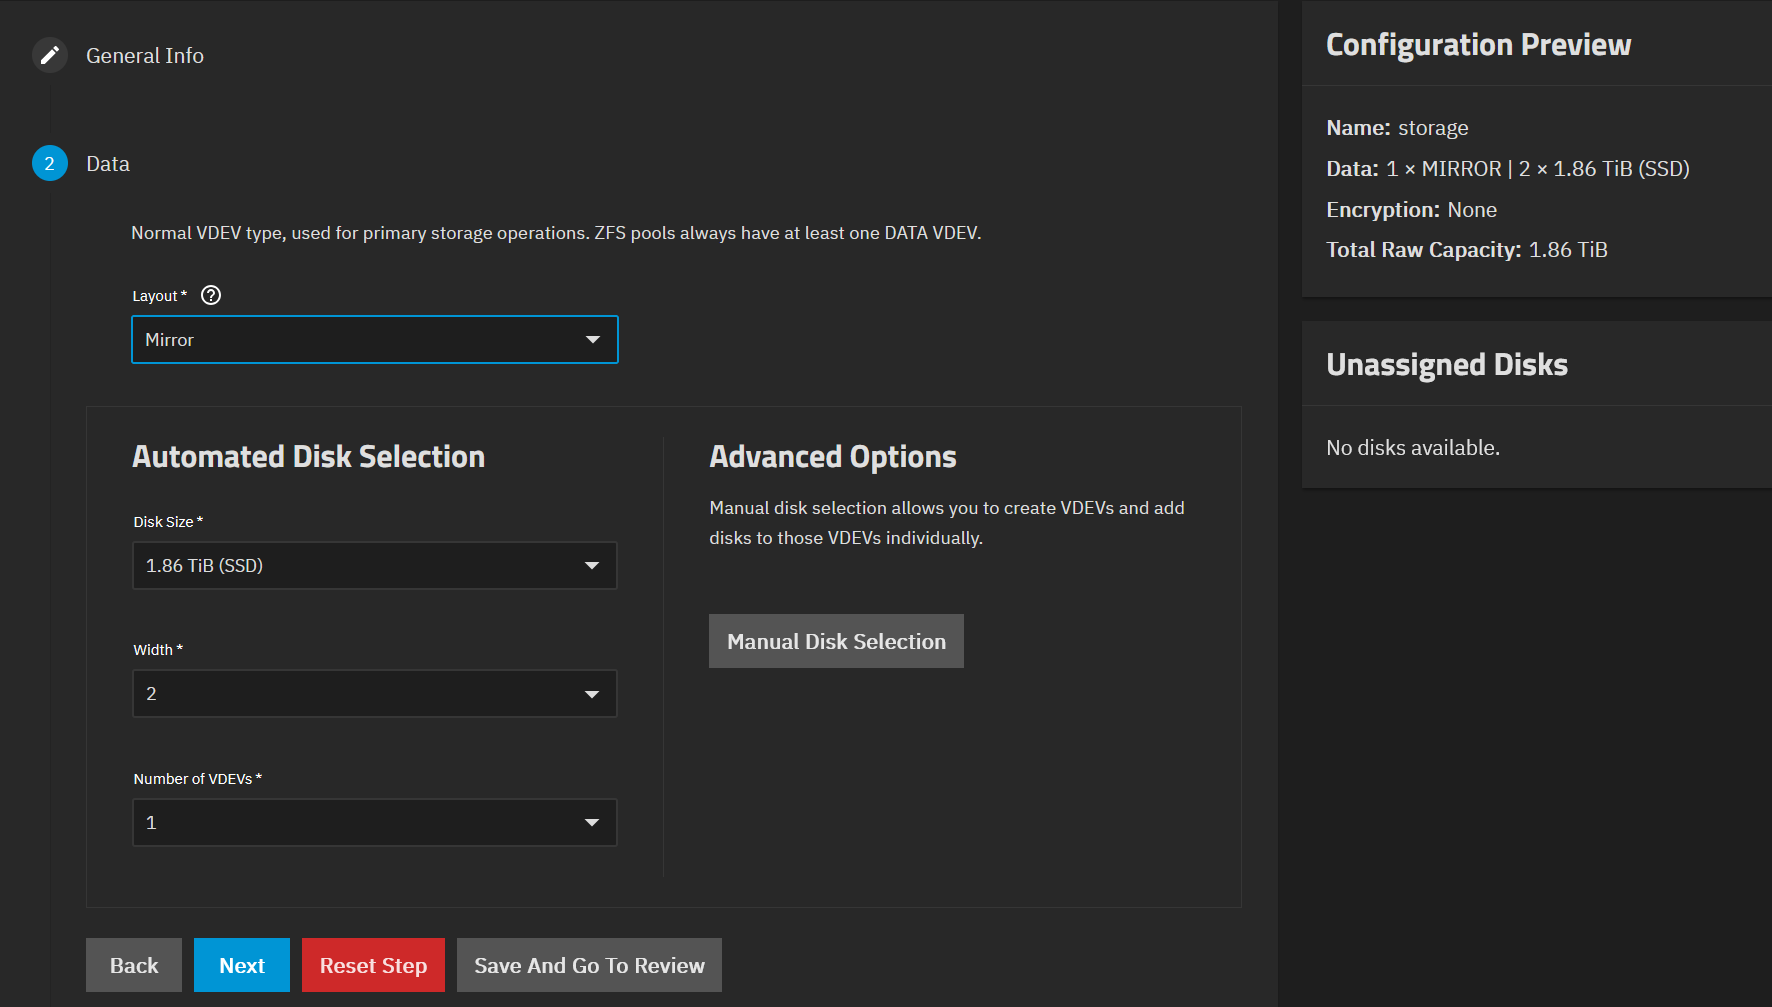
Then I select the Mirror layout:
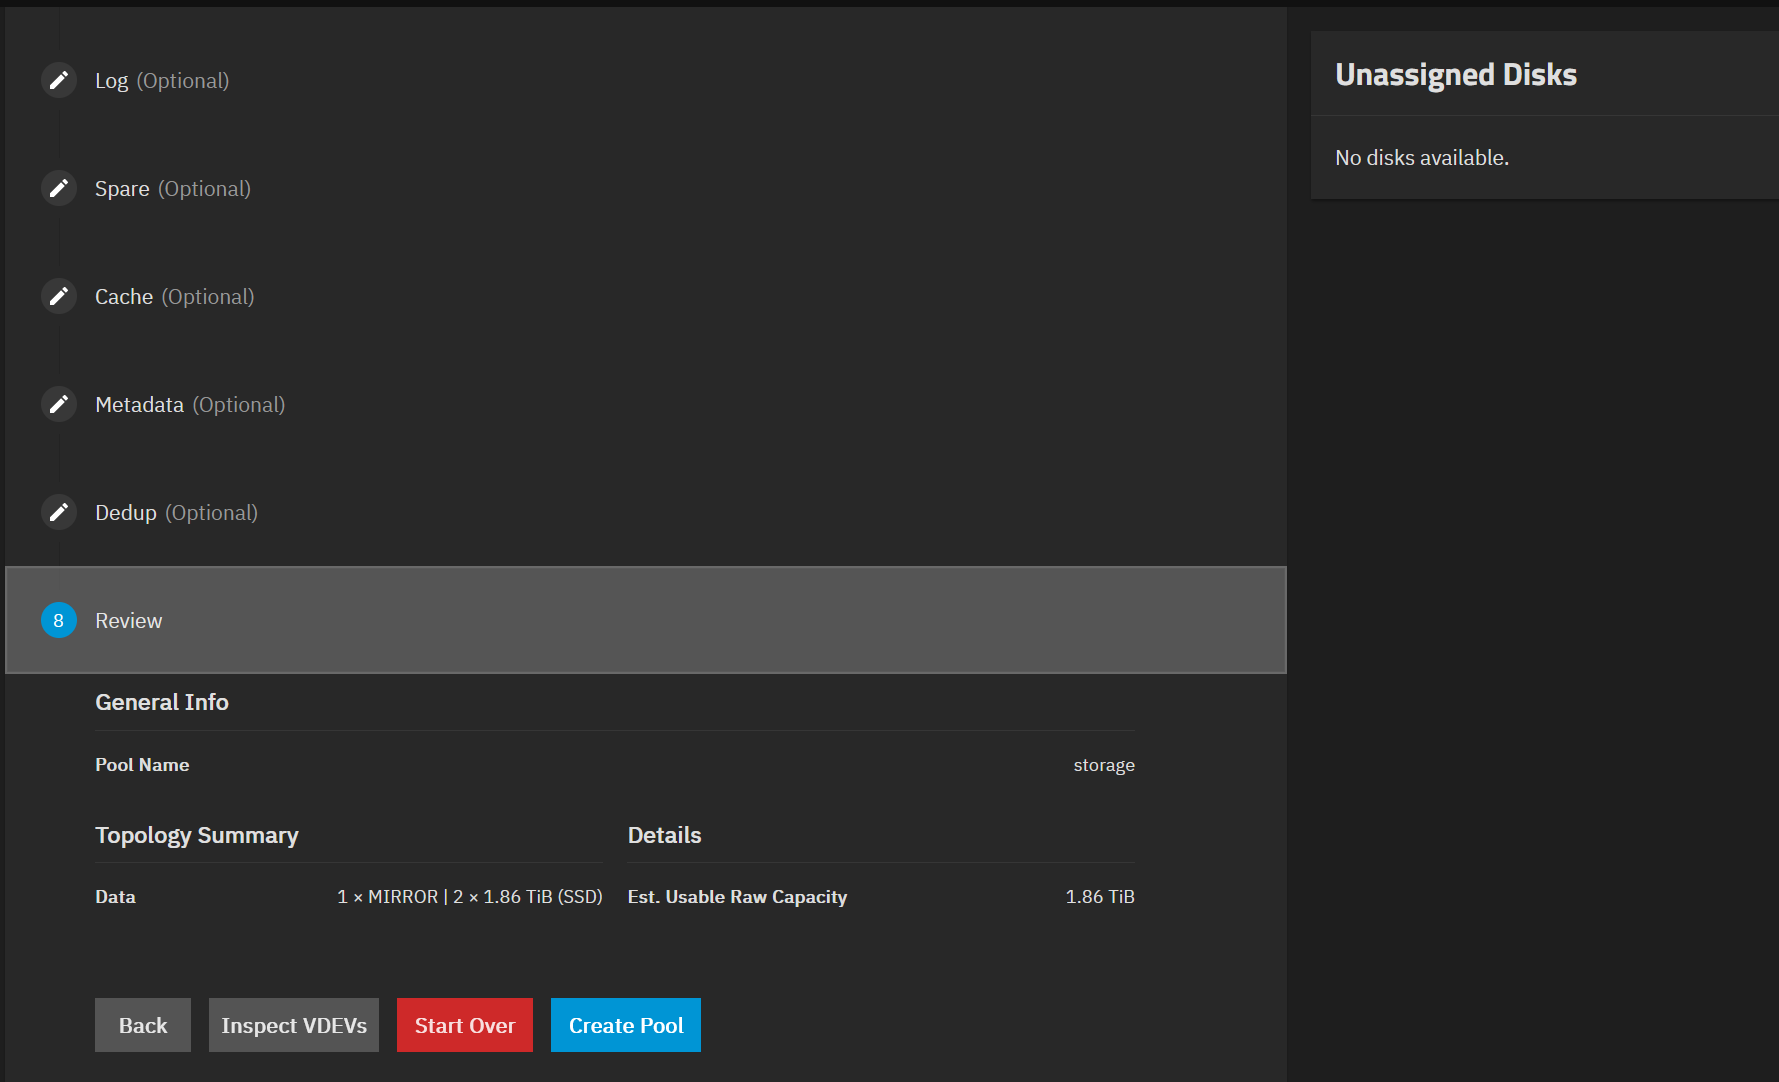
I explore quickly the optional configurations, but the defaults are fine to me: autotrim, compression, no dedup, etc. At the end, before creating the pool, there is a Review section:
After hitting Create Pool, I’m warned that everything on the disks will be wiped, which I confirm. Finally the pool is created.
Datasets creation
A dataset is a filesystem inside a pool. It can contains files, directories and child datasets, it can be shared using NFS and/or SMB. It allows you to independently manage permissions, compression, snapshots, and quotas for different sets of data within the same storage pool.
SMB share
Let’s now create my first dataset files to share files over the network for my Windows clients, like ISOs, etc:
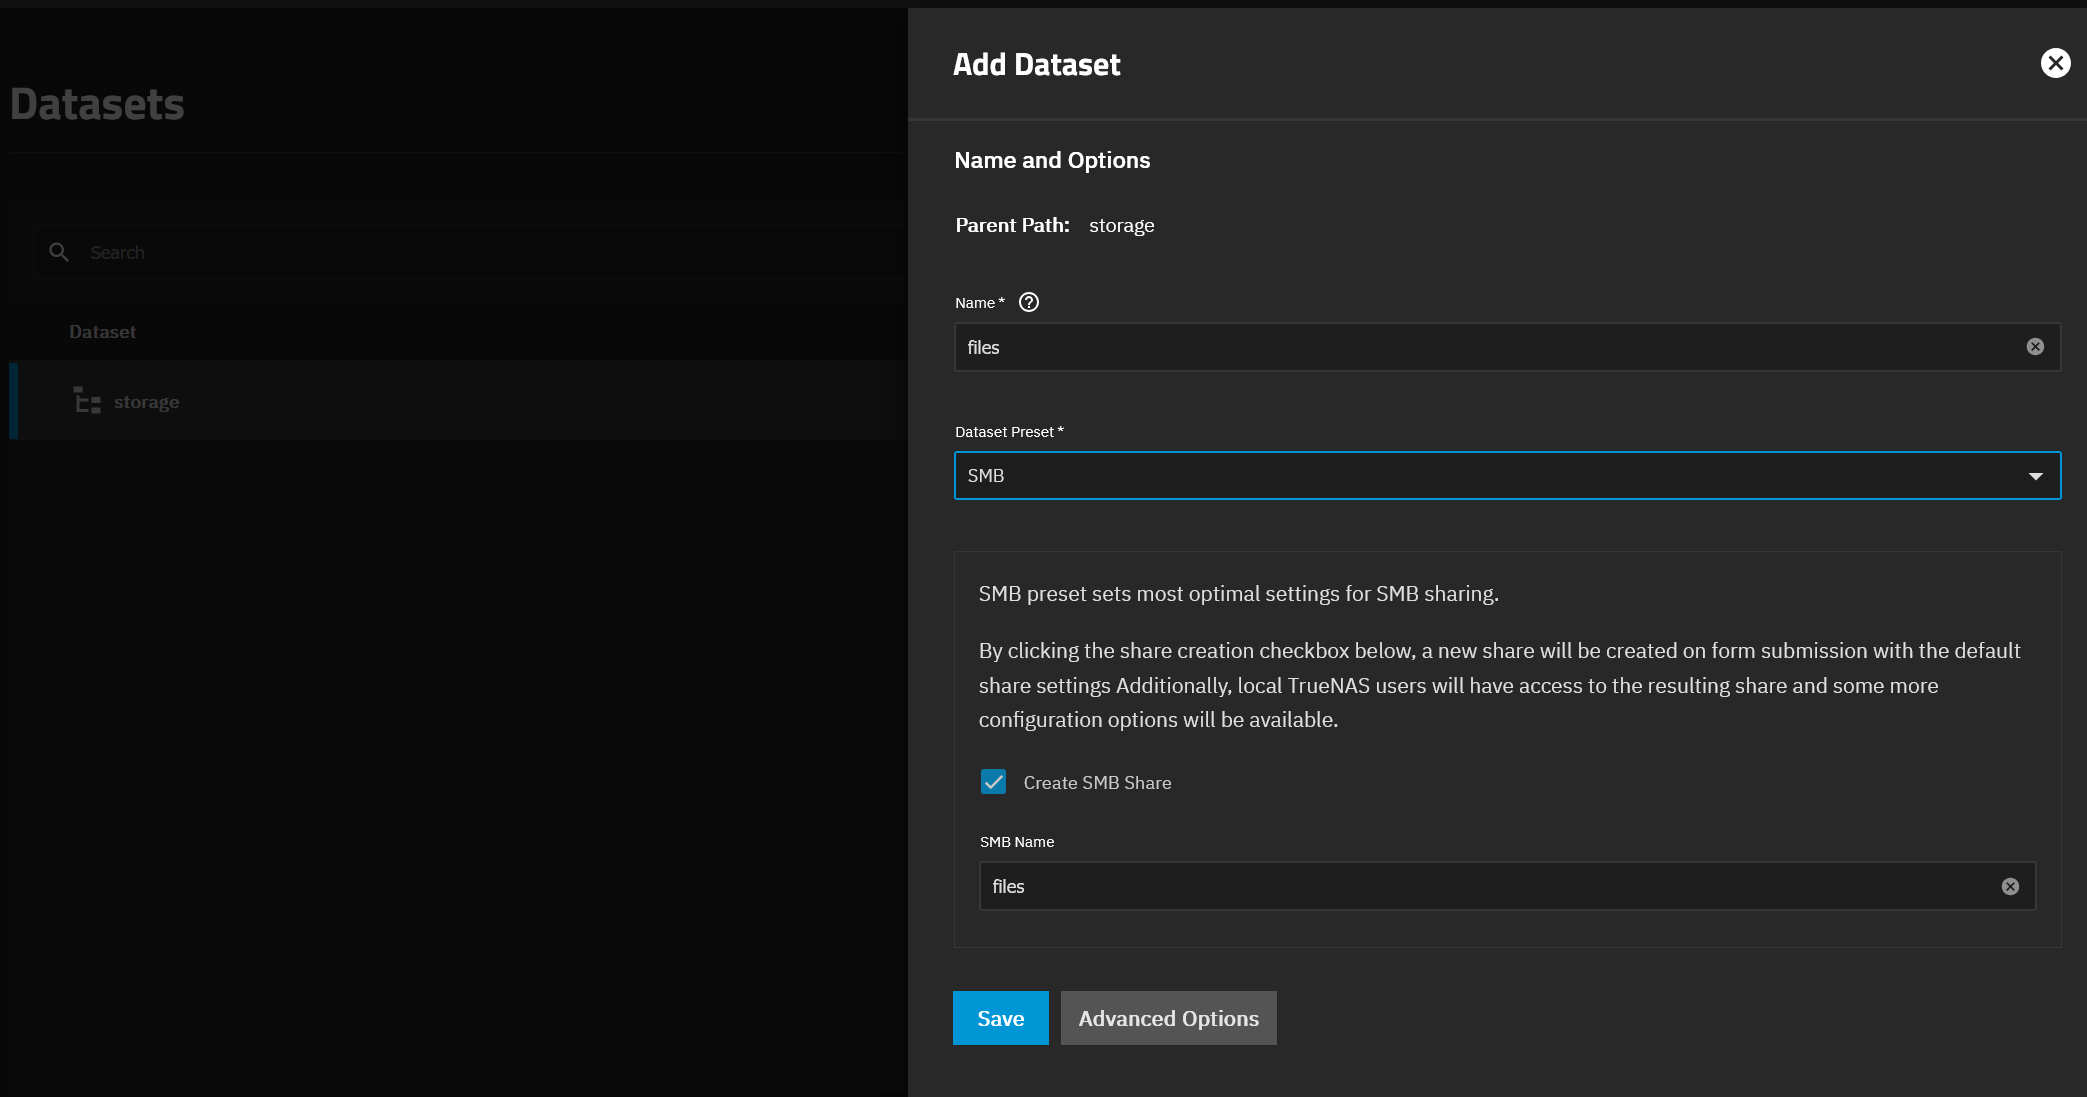
When creating SMB datasets in SCALE, set Share Type to SMB so the right ACL/xattr defaults apply. TrueNAS then prompts me to start/enable the SMB service:

From my Windows Laptop, I try to access my new share \\granite.mgmt.vezpi.com\files. As expected I’m prompt to give credentials.
I create a new user account with SMB permission.
✅ Success: I can browse and copy files.
NFS share
I create another dataset: media, and a child photos. I create a NFS share from the latter.
On my current NFS server, the files for the photos are owned by root (managed by Immich). Later I’ll see how I can migrate towards a root-less version.
⚠️ For now I set, in Advanced Options, the Maproot User and Maproot Group to root. This is equivalent to the NFS attribute no_squash_root, the local root of the client stays root on the server, don’t do that:

✅ I mount the NFS share on a client, this works fine.
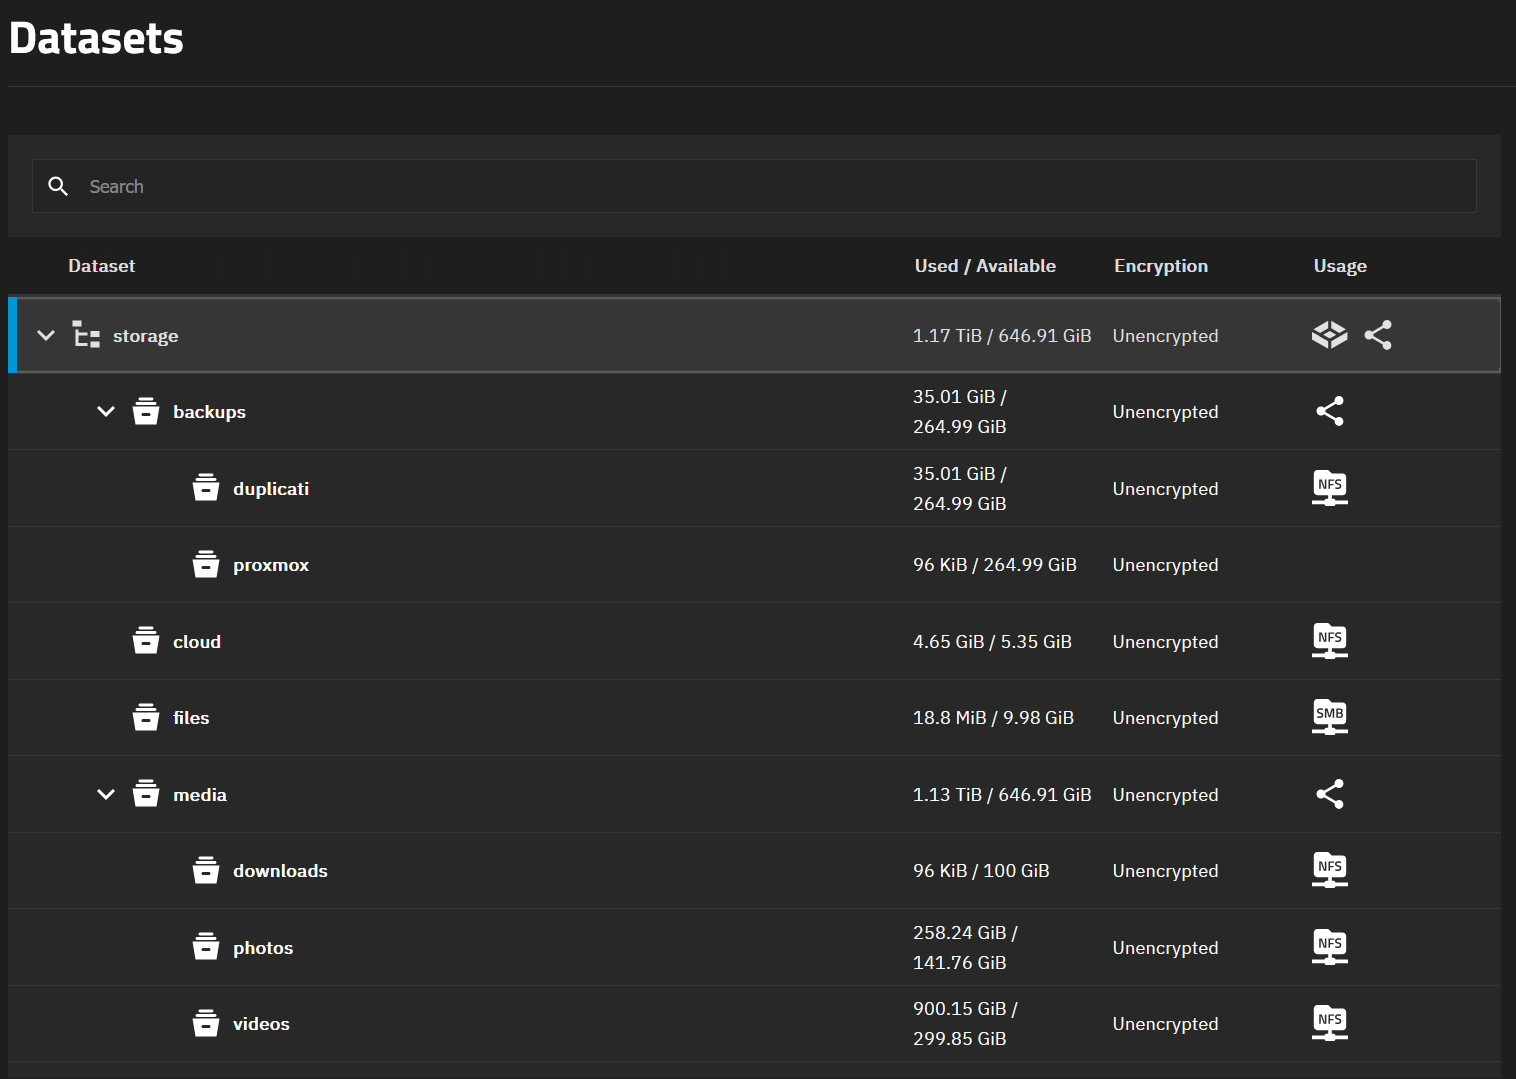
After initial setup, my storage pool datasets look like:
backupsduplicati: Duplicati storage backendproxmox: future Proxmox Backup Server
cloud:Nextclouddatafiles:mediadownloadsphotosvideos
I mentioned VM capabilities in my requirements. I won’t cover that is this post, it will be covered next time.
Data protection
Now time to enable some data protection features:
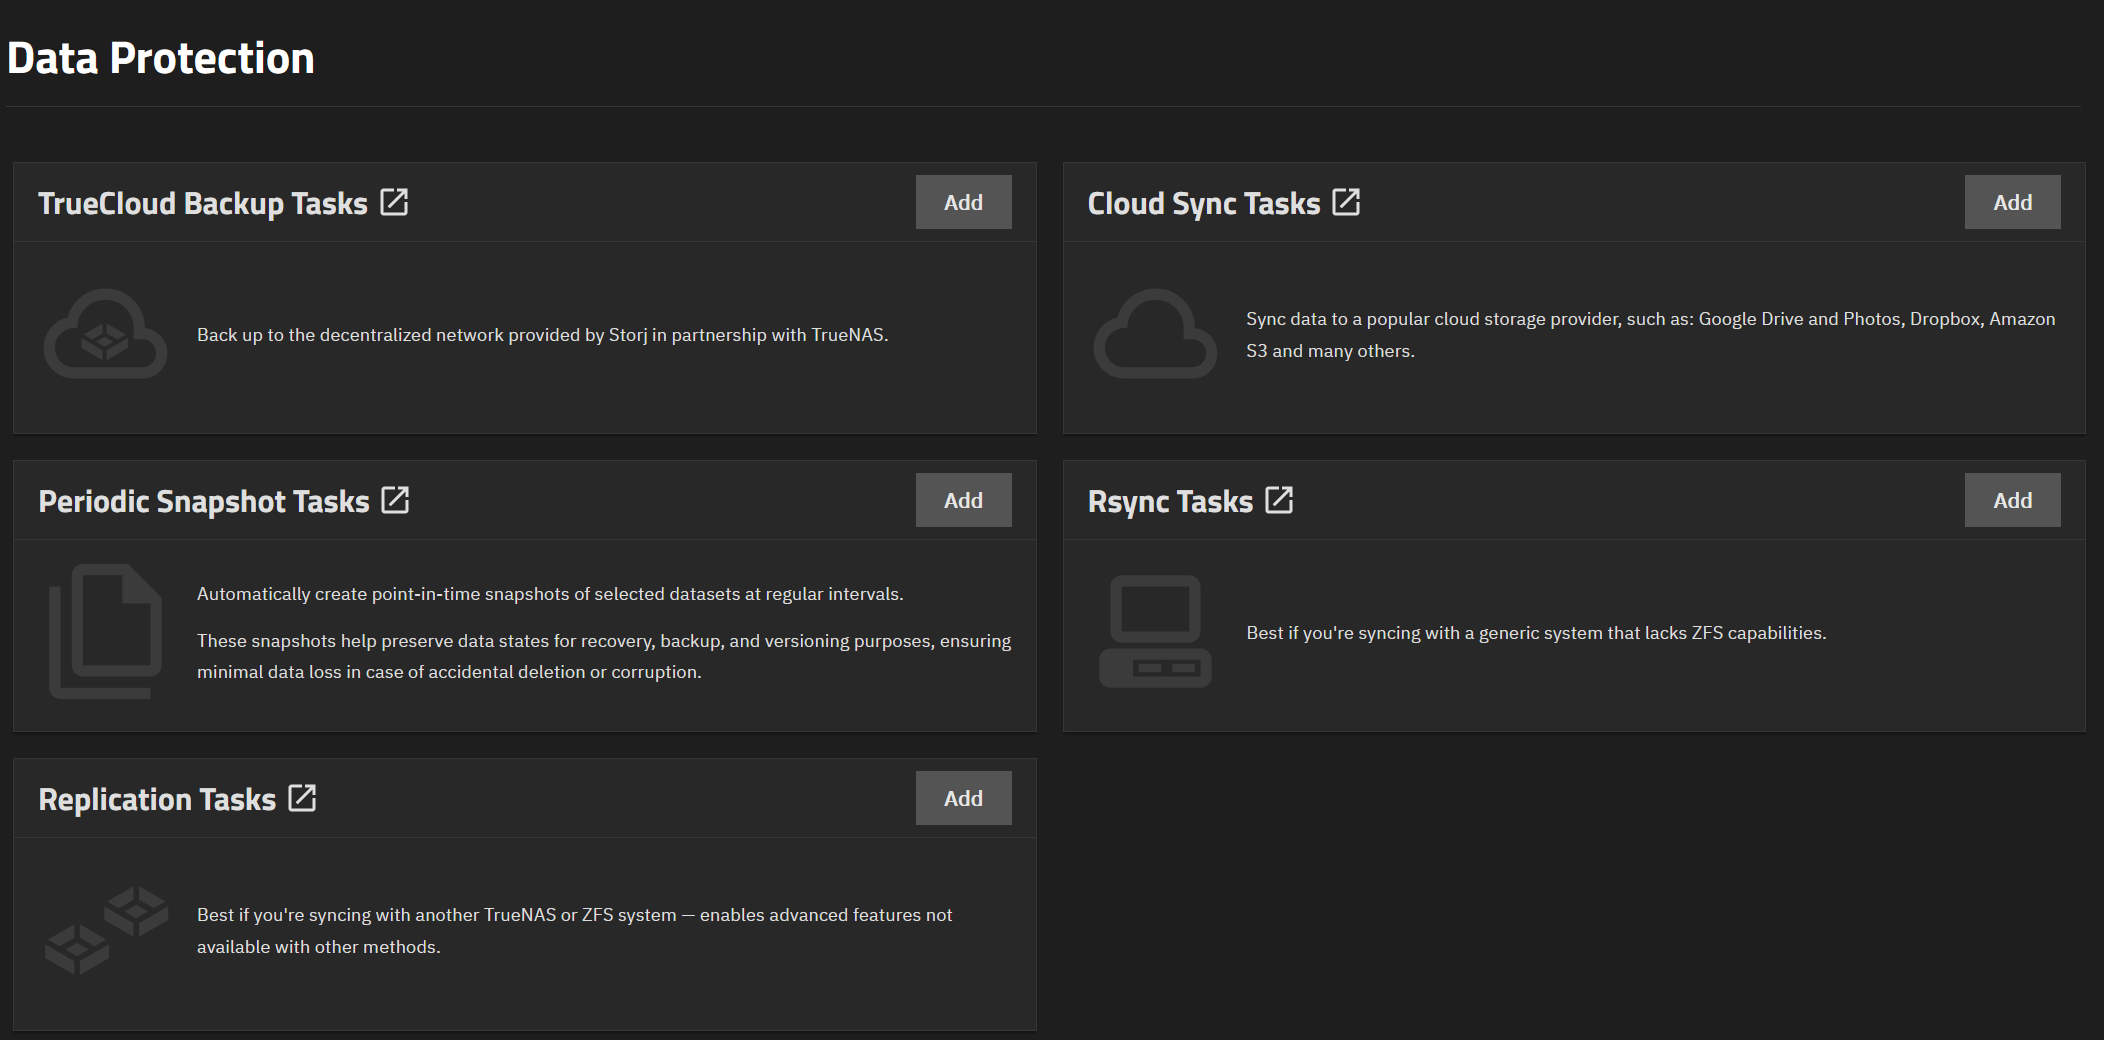
I want to create automatic snapshots for some of my datasets, those I care the most: my cloud files and photos.
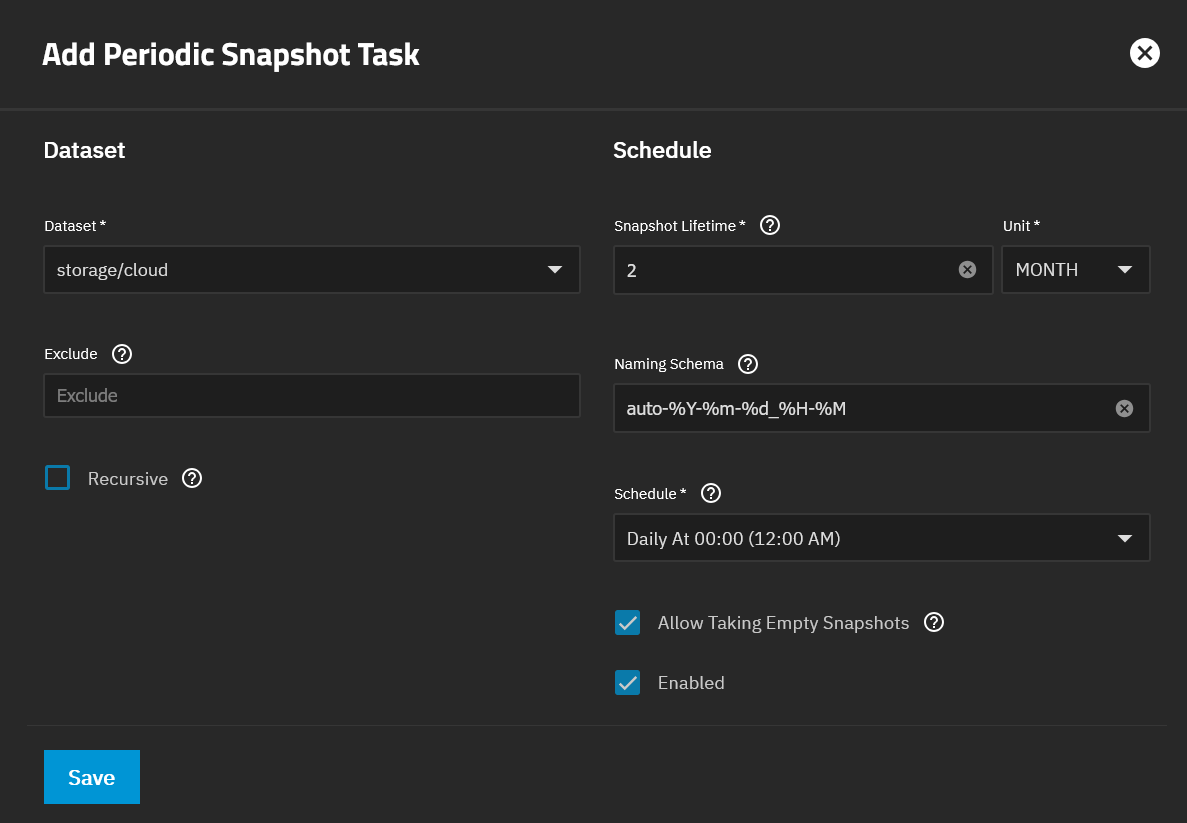
Let’s create snapshot tasks. I click on the Add button next to Periodic Snapshot Tasks:
- cloud: daily snapshots, keep for 2 months
- photos: daily snapshots, keep for 7 days
I could also set up a Cloud Sync Task, but Duplicati already handles offsite backups.
Using TrueNAS
Now my TrueNAS instance is configured, I need to plan the migration of the data from my current NFS server to TrueNAS.
Data migration
For each of my current NFS shares, on a client, I mount the new NFS share to synchronize the data:
sudo mkdir /new_photos
sudo mount 192.168.88.30:/mnt/storage/media/photos /new_photos
sudo rsync -a --info=progress2 /data/photo/ /new_photos
At the end, I could decommission my old NFS server on the LXC. The dataset layout after migration looks like this:
Android application
Out of curiosity, I’ve checked on the Google Play store for an app to manage a TrueNAS instance. I’ve found Nasdeck, which is quite nice. Here some screenshots:
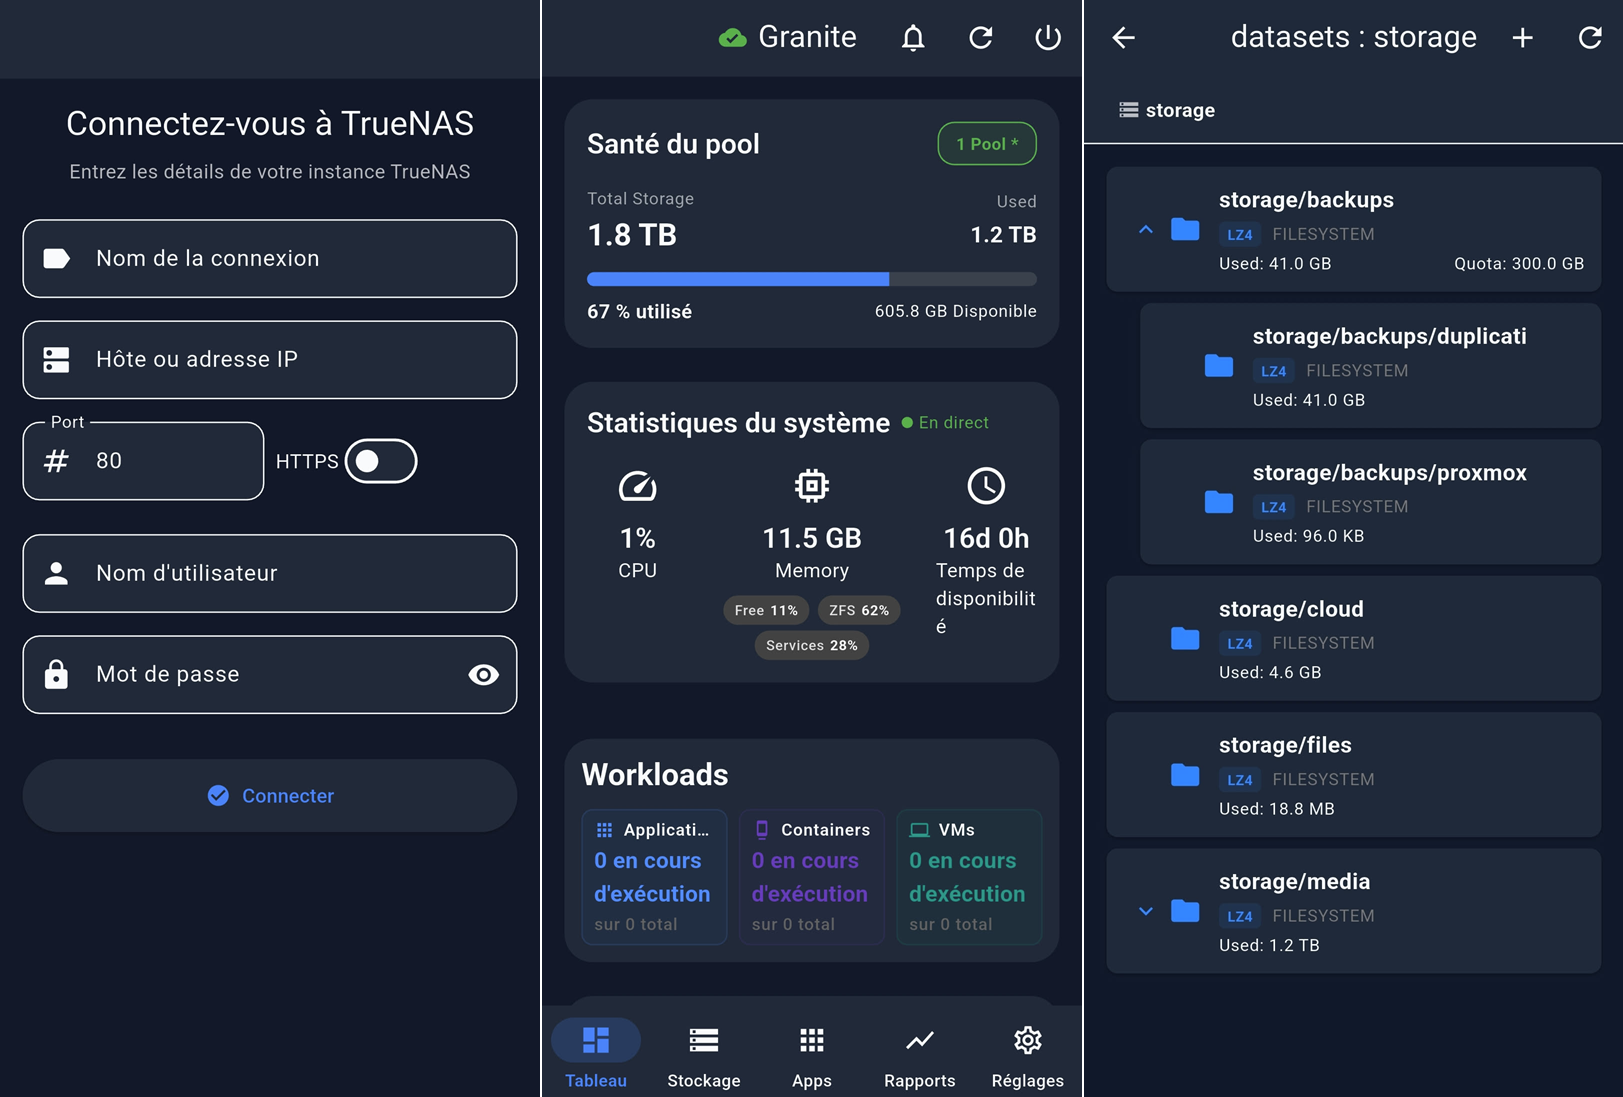
Conclusion
My NAS is now ready to store my data.
I didn’t address VM capabilities as I will experience it soon to install Proxmox Backup Server as VM. Also I didn’t configure notifications, I need to setup a solution to receive email alerts to my notification system.
TrueNAS is a great product. It needs capable hardware for ZFS, but the experience is excellent once set up.
Next step: deploy Proxmox Backup Server as a VM on TrueNAS, then revisit NFS permissions to go root‑less for Immich.