Intro
To know what is going on in my homelab and be warned when something fails, I want to setup a notification system where almost anything could seamlessly send me a message that I would receive on my mobile.
In the past I was using Pushover, which was great, but I want to explore new options, more modern and eventually self-hosted.
Choose the Right Notification System
The key elements to determine the right system for me would be:
- Android application: mandatory, a sleek and intuitive UI is important.
- Integration: I want the service integrated anywhere I want to be notified.
- Self hosted: Host it myself is always better for privacy.
After a quick research, the most suitable tools on the market are:
- Ntfy
- Gotify
Given the comments on internet and after testing quickly both Android app, I can’t really decide. I think Ntfy is the better option, but I will install and test them both to make my mind!
Gotify
I heard about Gotify some time ago, actually before looking at other alternatives, I had that one in mind. I quickly had a look at its documentation and this seems to be pretty straight forward.
Installation
As usual, I will deploy the Gotify server with docker compose on dockerVM, a VM hosting my applications as docker container. I create a new gotify folder in /appli/docker/ and I copy paste my docker-compose.yml template in there.
docker-compose.yml
services:
  gotify:
    image: gotify/server
    container_name: gotify
    volumes:
      - /appli/data/gotify/data/:/app/data
    environment:
      - TZ=Europe/Paris
      - GOTIFY_DEFAULTUSER_NAME=${GOTIFY_DEFAULTUSER_NAME}
      - GOTIFY_DEFAULTUSER_PASS=${GOTIFY_DEFAULTUSER_PASS}
    networks:
      - web
    labels:
    - traefik.enable=true
    - traefik.http.routers.gotify.rule=Host(`gotify.vezpi.me`)
    - traefik.http.routers.gotify.entrypoints=https
    - traefik.http.routers.gotify.tls.certresolver=letsencrypt
    - traefik.http.services.gotify.loadbalancer.server.port=80
    restart: always

networks:
  web:
    external: true
.env
GOTIFY_DEFAULTUSER_NAME=vez
GOTIFY_DEFAULTUSER_PASS=<password>
In the documentation, I can see that several database backend can be used, by default it is using sqlite3 which will be fine for the test. Switching to PostgreSQL could be a thing if I decide to stick with Gotify. In that same page, I can see the different environment variables that I can use to configure the server from the docker-compose.yml file.
When my config files are ready, I create a new entry in my Caddy plugin in OPNsense to forward my new Gotify URL: https://gotify.vezpi.me.
I also create the folder /appli/data/gotify/data/ in dockerVM to mount it as a volume and store datas:
mkdir -p /appli/data/gotify/data/
Finally I spin the docker stack up:
$ docker compose up -d
[+] Running 5/5
 ✔ gotify Pulled
   ✔ 63ce8e957633 Pull complete
   ✔ e7def9680541 Pull complete
   ✔ 9a1821c438b4 Pull complete
   ✔ ad316556c9ff Pull complete
[+] Running 1/1
 ✔ Container gotify  Started
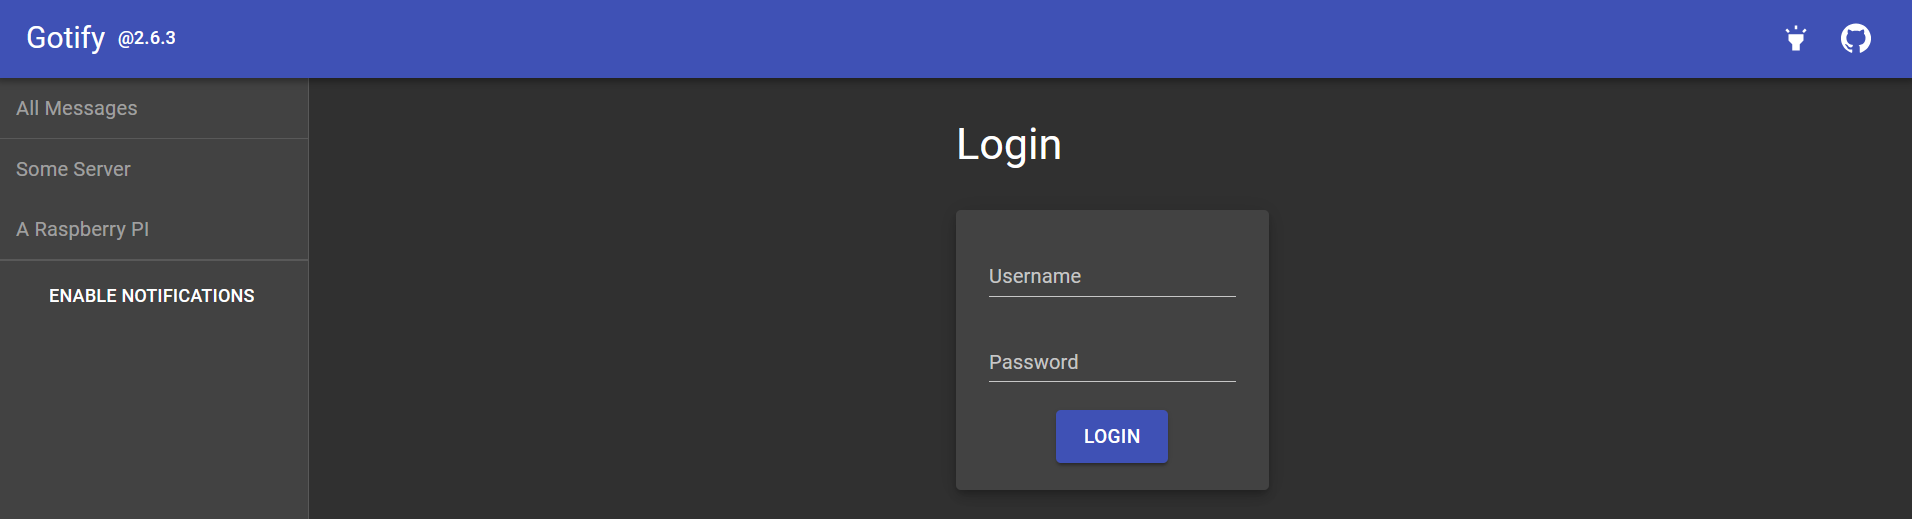
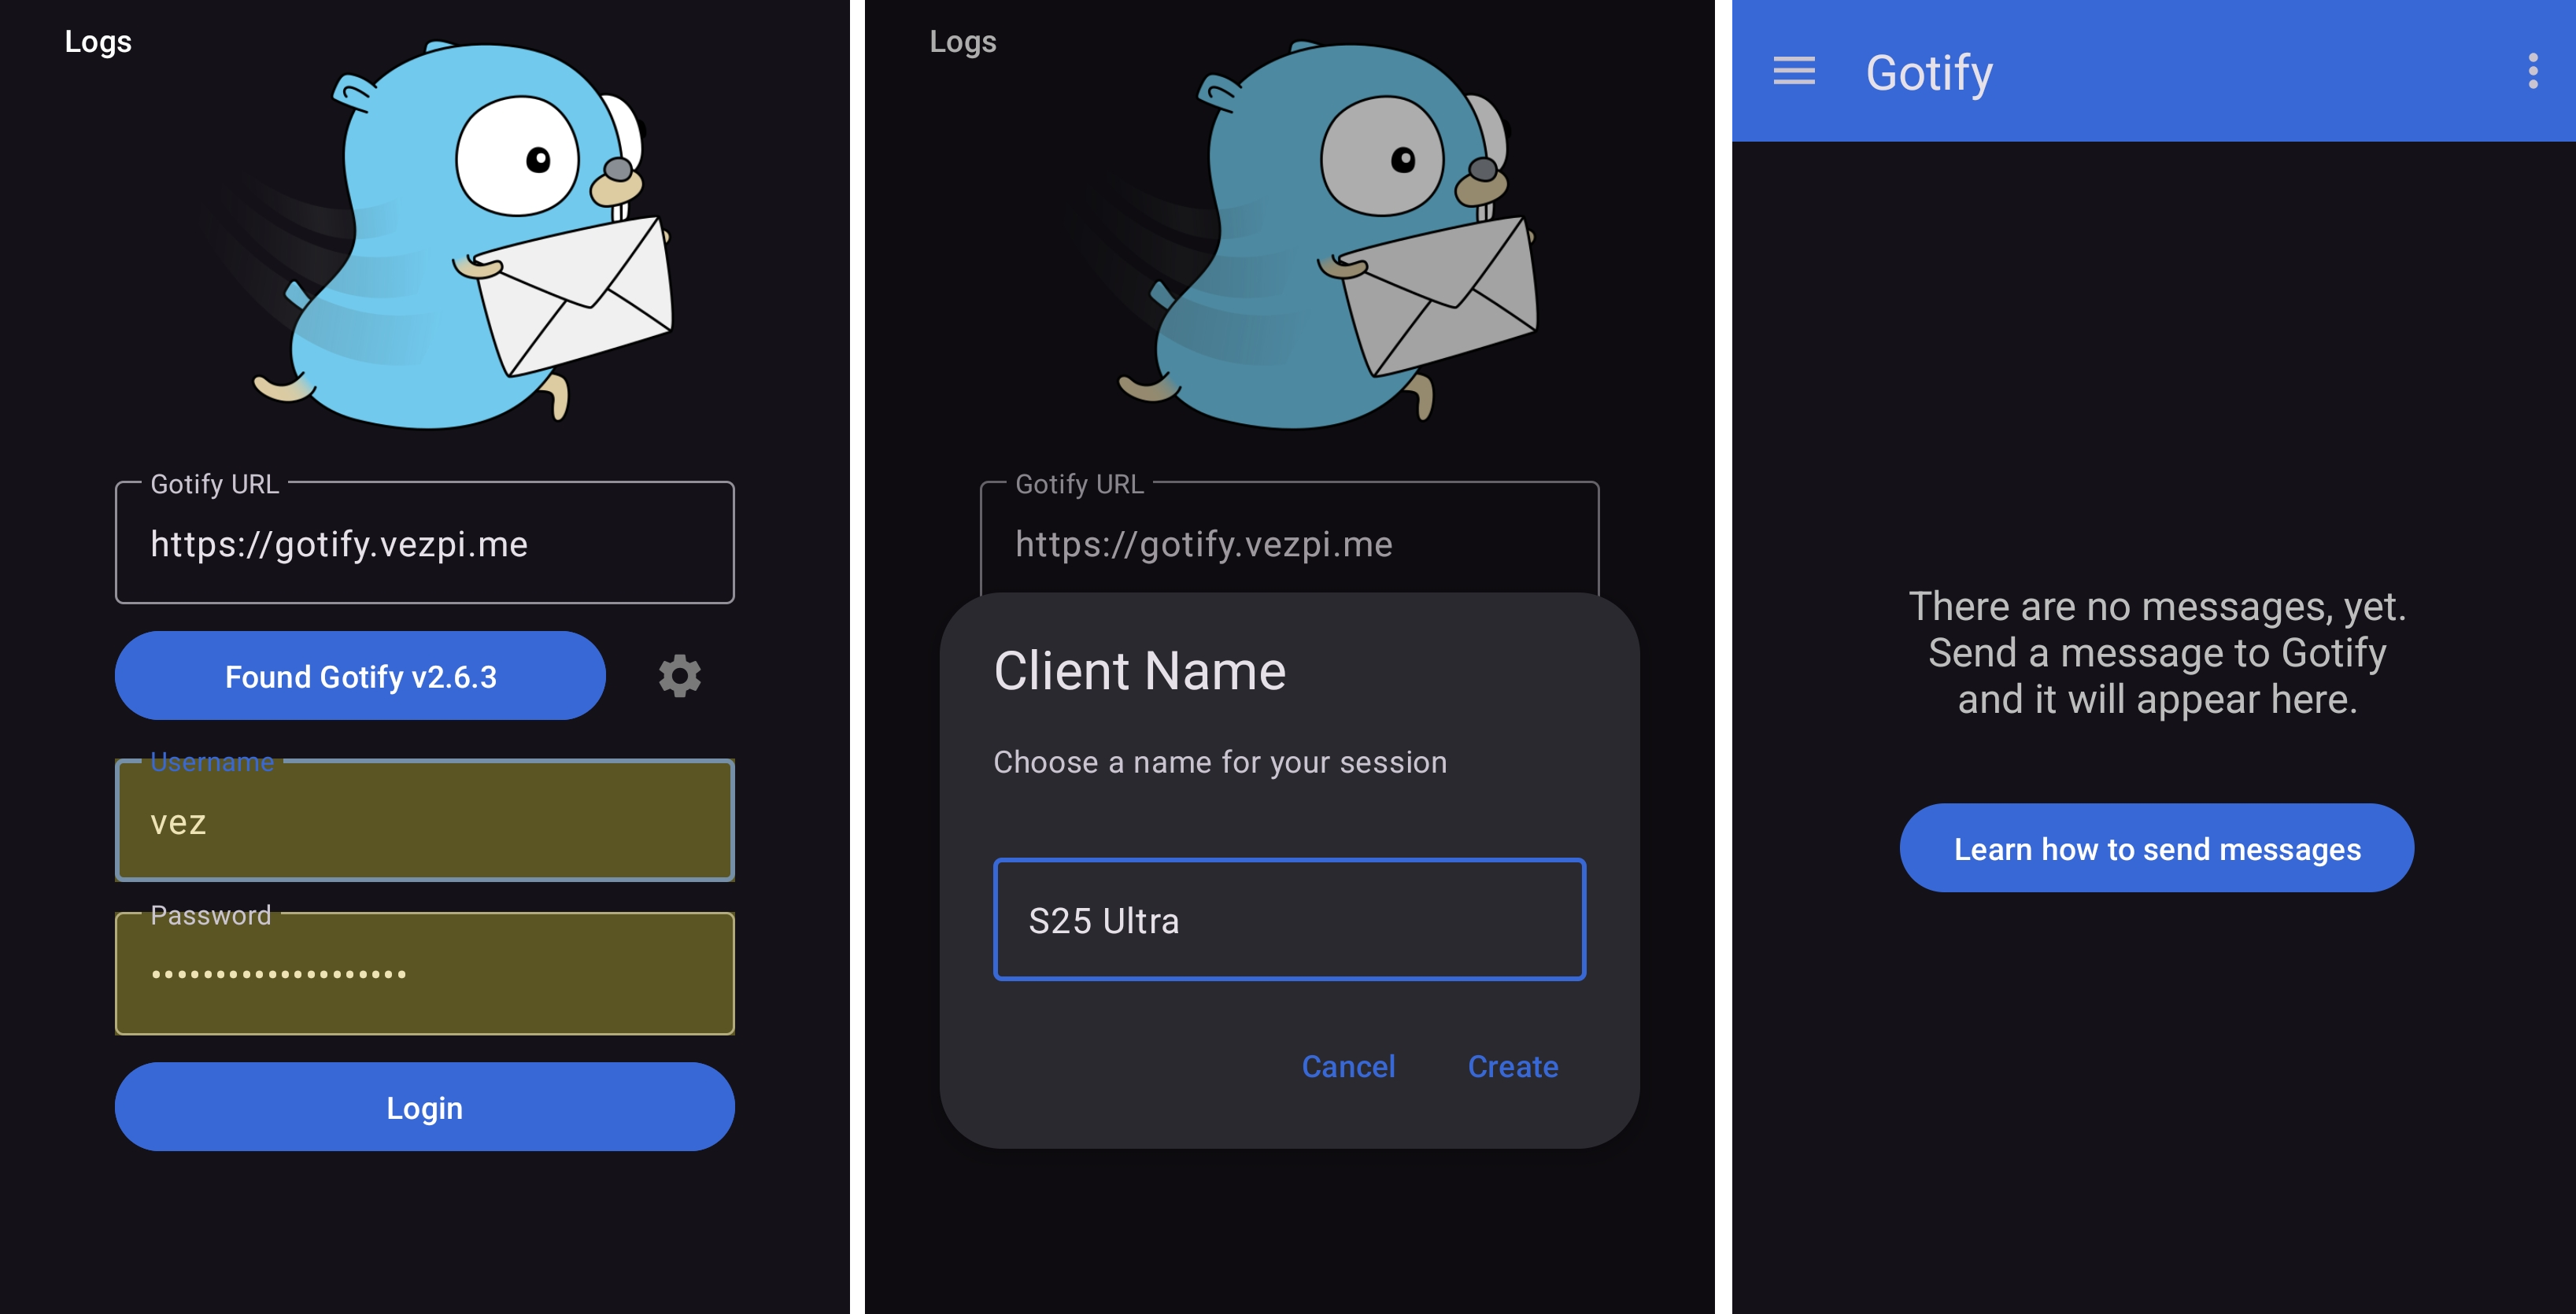
✅ Reaching the URL https://gotify.vezpi.me gives me the Gotify login page:
After login, I can access the dashboard, with no messages obviously:

Creating an Application
To allow messages to be pushed, I before need to create an application for which the messages will be regrouped for. This can be done in two ways:
- WebUI
- REST-API
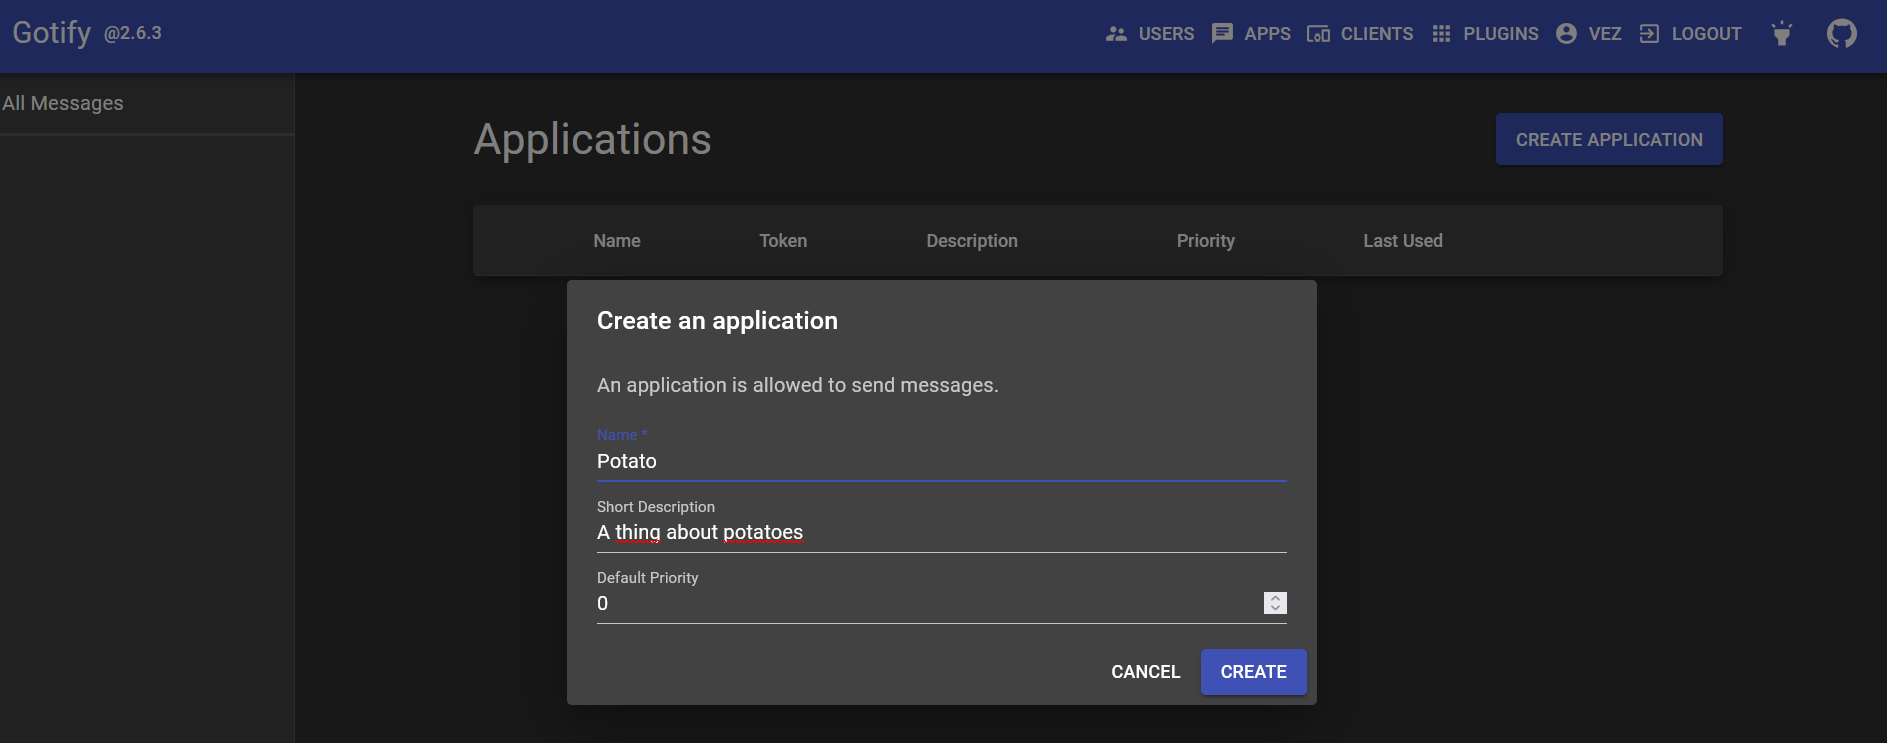
For the test, I will use the WebUI, I click on the APPS button at the top and CREATE APPLICATION. I choose a wonderful application name and description.
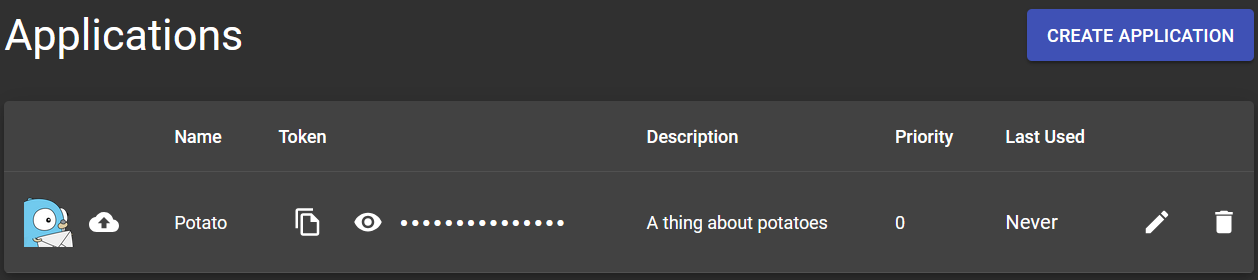
Once my application in created, a token is generated for it. I can edit the application to change anything, I can also upload an icon.
Testing
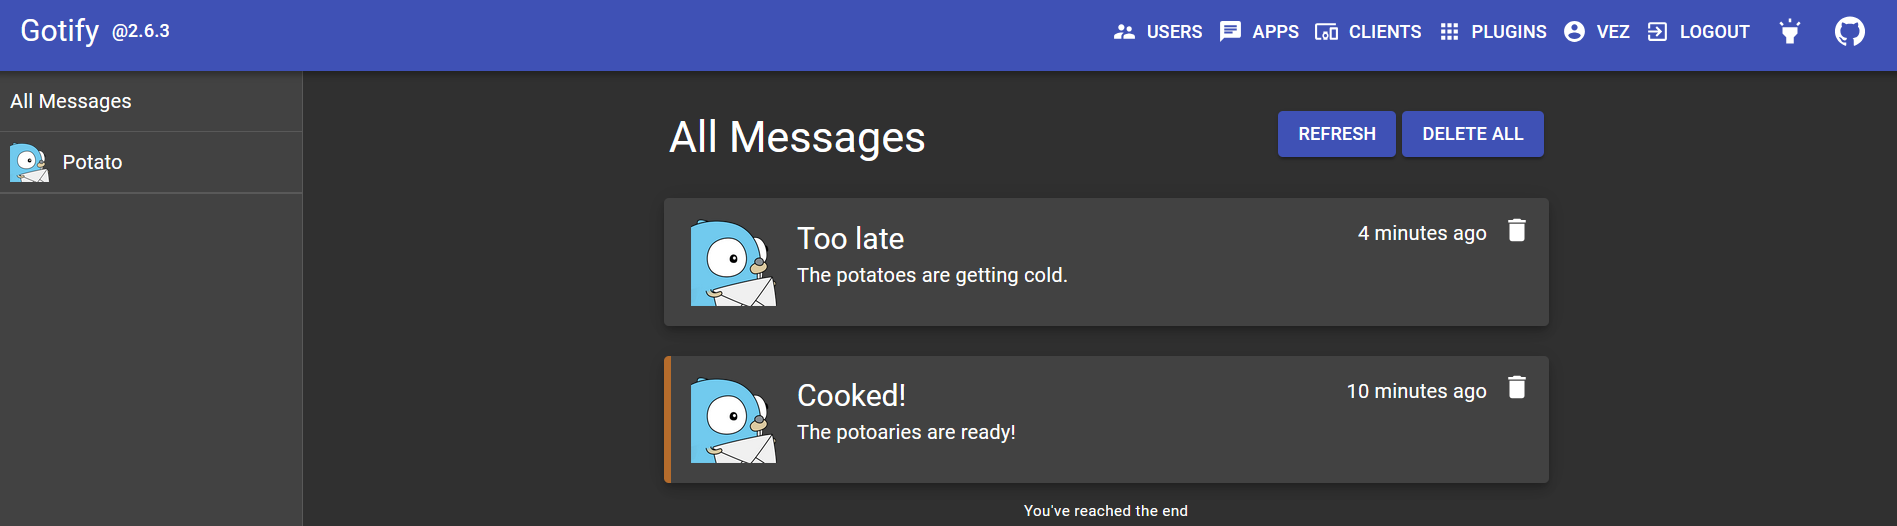
My application is now visible on the sidebar, let’s now try to send a message. To push it, I can use curl and I need the token of the application.
curl "https://gotify.vezpi.me/message?token=<apptoken>" -F "title=Cooked!" -F "message=The potoaries are ready!" -F "priority=5"
I instantly received the notification on my mobile and on my browser.
I retried to send another message but with a lower priority: -2. I didn’t get any notification in my browser, I see a slight differences between the two messages. On my mobile, only my watch received it, I don’t see it on my screen, but I can find it on the notification center.
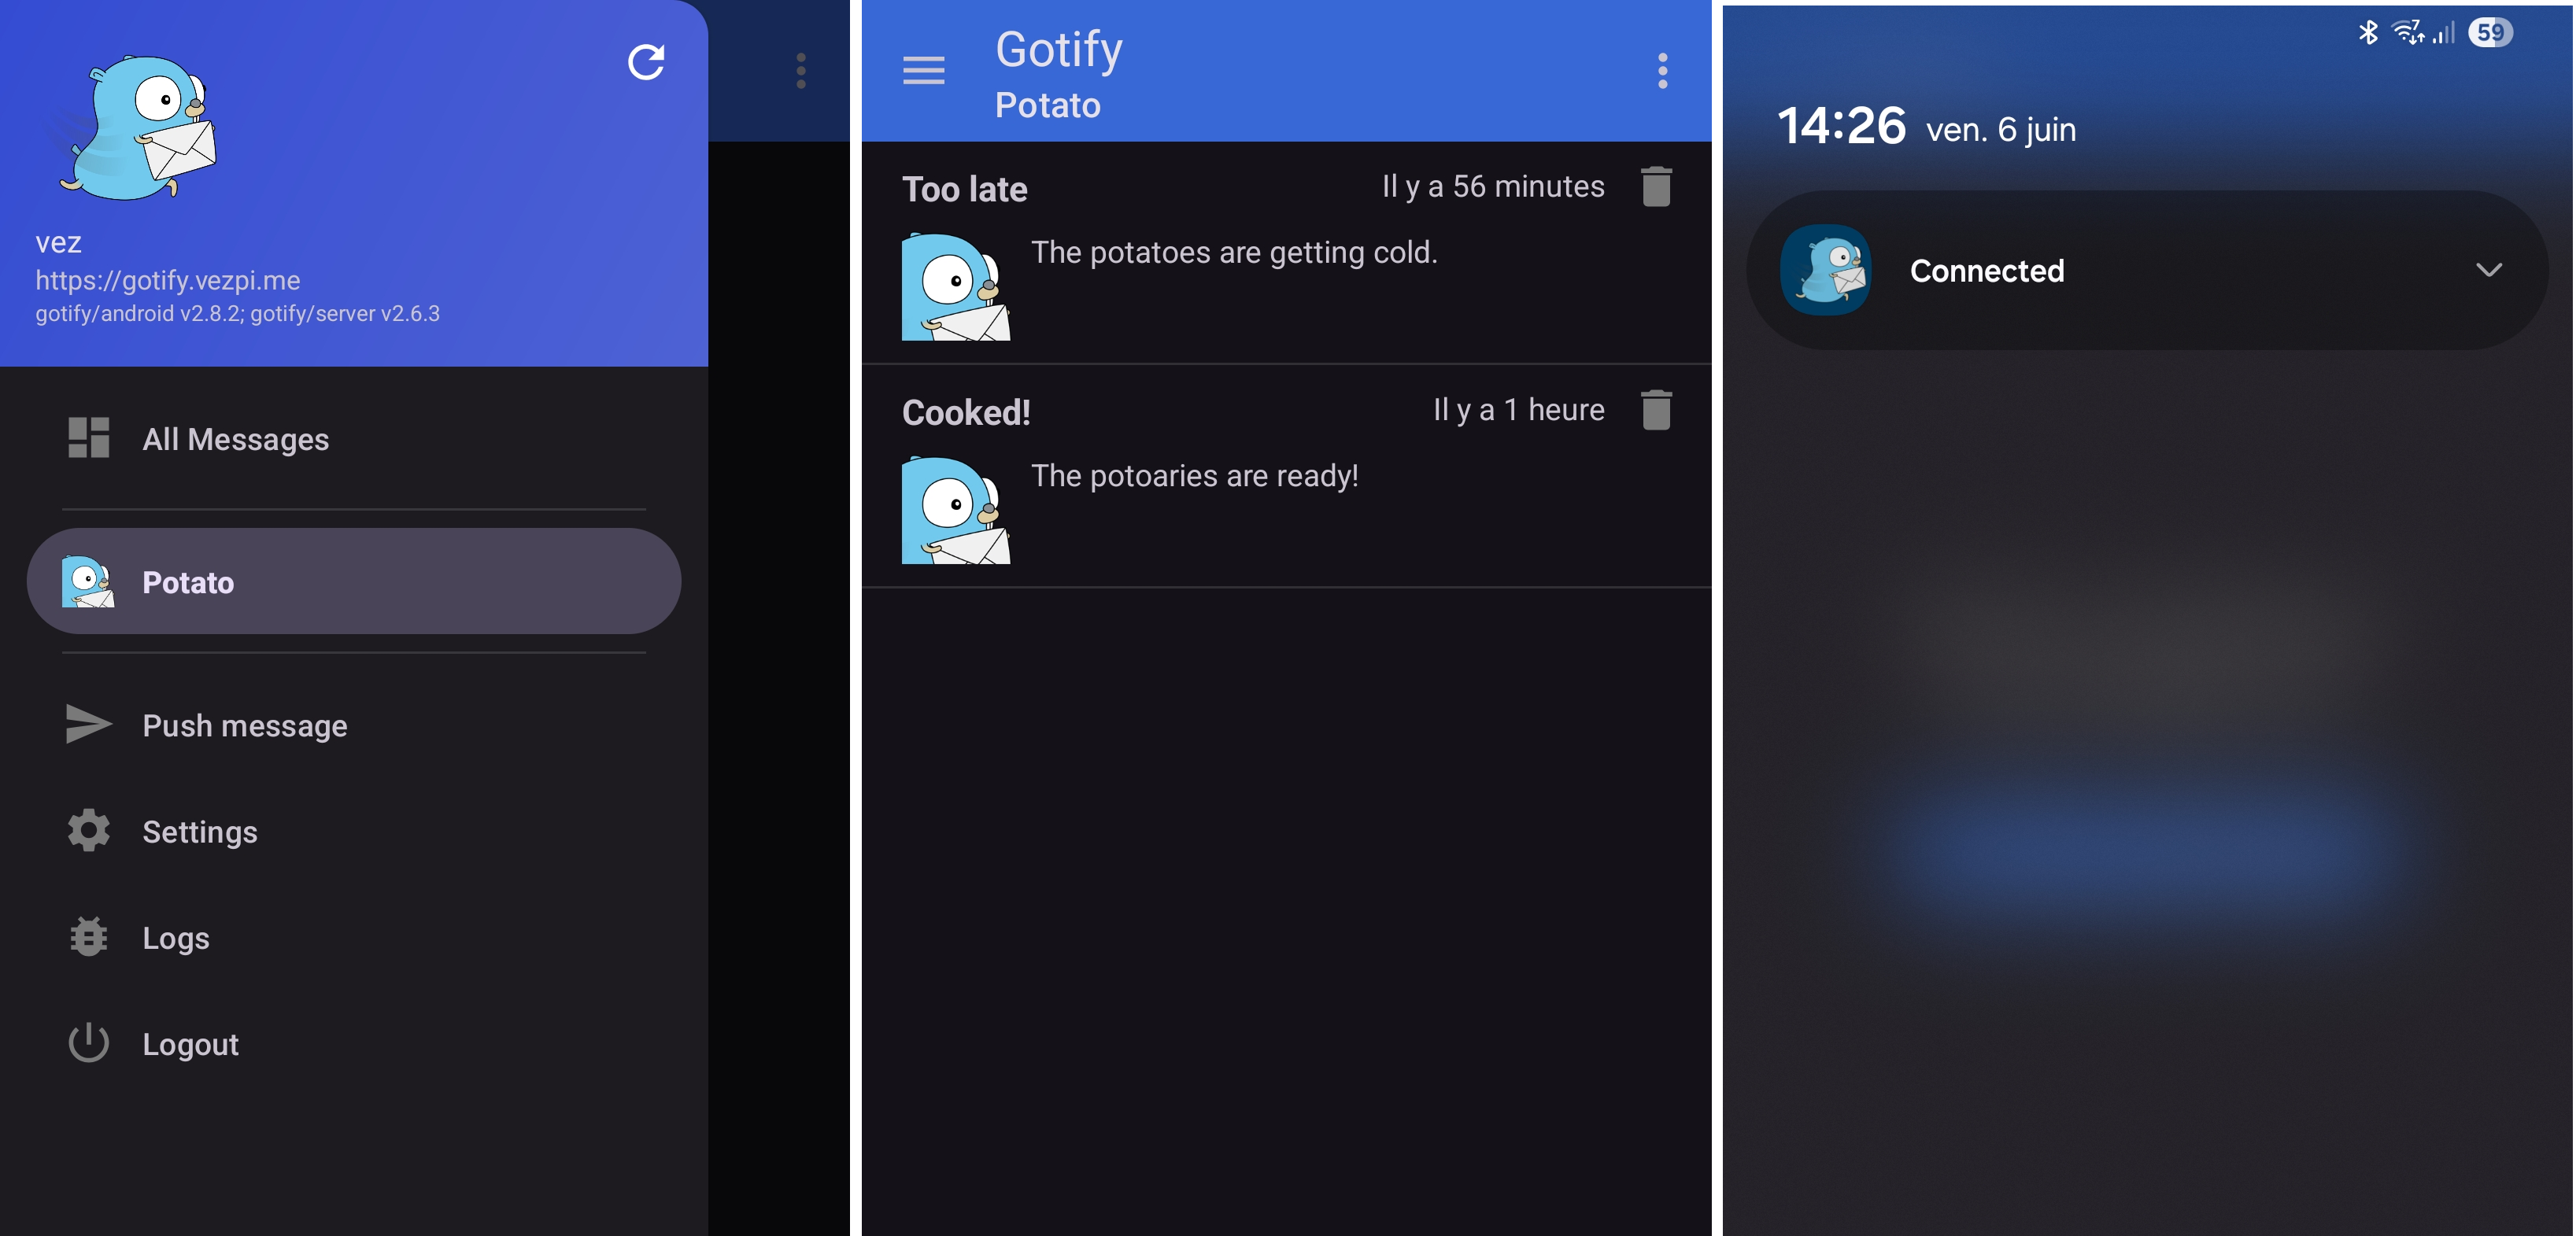
Android App
Here some screenshots from my Android device:
For some reason, a notification randomly pops up to tell me that I’m connected to Gotify:
Conclusion
On the documentation, I found some extras features, like adding images or click actions. In summary, it does the job, that’s it. Easy installation process, the utilization is not hard, but I need to create an application for a token, then add this token anytime I want to push messages there.
Ntfy
Ntfy seems very clean, let’s install it and see what it got!
Installation
Same story here with docker compose on dockerVM. I create a new ntfy folder in /appli/docker/ and I copy paste the docker-compose.yml template.
docker-compose.yml
services:
  ntfy:
    image: binwiederhier/ntfy
    container_name: ntfy
    command:
      - serve
    volumes:
      - /appli/data/ntfy/data:/var/cache/ntfy
    environment:
      - TZ=Europe/Paris
      - NTFY_BASE_URL=https://ntfy.vezpi.me
      - NTFY_CACHE_FILE=/var/cache/ntfy/cache.db
      - NTFY_AUTH_FILE=/var/cache/ntfy/auth.db
      - NTFY_ATTACHMENT_CACHE_DIR=/var/cache/ntfy/attachments
      - NTFY_AUTH_DEFAULT_ACCESS=deny-all
      - NTFY_BEHIND_PROXY=true
      - NTFY_ENABLE_LOGIN=true
    user: 1000:1000
    networks:
      - web
    labels:
    - traefik.enable=true
    - traefik.http.routers.ntfy.rule=Host(`ntfy.vezpi.me`)
    - traefik.http.routers.ntfy.entrypoints=https
    - traefik.http.routers.ntfy.tls.certresolver=letsencrypt
    - traefik.http.services.ntfy.loadbalancer.server.port=80
    healthcheck:
      test: ["CMD-SHELL", "wget -q --tries=1 http://ntfy:80/v1/health -O - | grep -Eo '\"healthy\"\\s*:\\s*true' || exit 1"]
      interval: 60s
      timeout: 10s
      retries: 3
      start_period: 40s
    restart: unless-stopped

networks:
  web:
    external: true
I also create the persistent volume folder /appli/data/ntfy/data/ in dockerVM:
mkdir -p /appli/data/ntfy/data/
The documentation is impressive, I tried to gather the config for a quickstart. I should be good to start the server.
Again here, I create a new domain for my Caddy reverse proxy plugin in OPNsense for the URL https://ntfy.vezpi.me.
$ docker compose up -d
[+] Running 4/4
 ✔ ntfy Pulled
   ✔ f18232174bc9 Already exists
   ✔ f5bf7a328fac Pull complete
   ✔ 572c745ef6c3 Pull complete
[+] Running 1/1
 ✔ Container ntfy  Started
✅ The URL https://ntfy.vezpi.me gives me to the Ntfy dashboard:
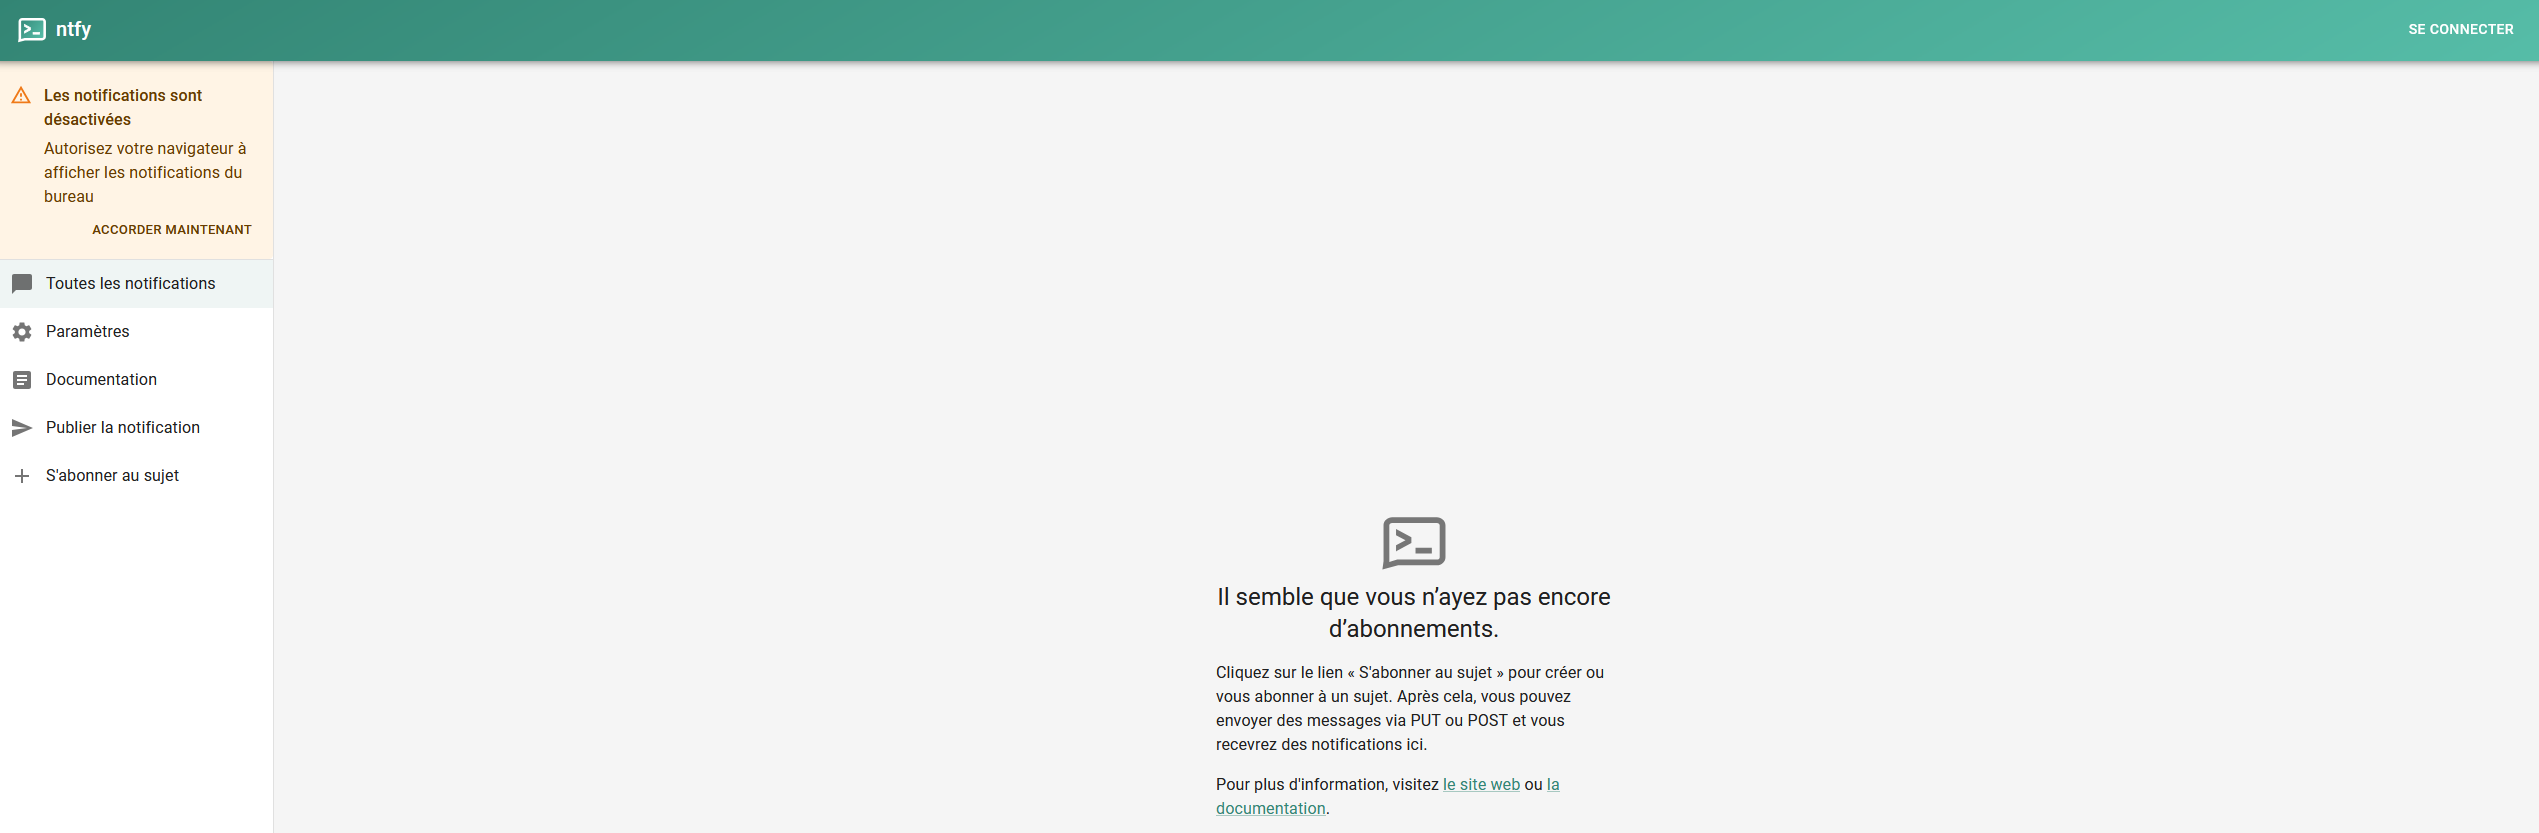
At start I don’t have any user and none is created by default, as I denied all access to anonymous in the config, I need to create one.
To list the users, I can use this command:
$ docker exec -it ntfy ntfy user list
user * (role: anonymous, tier: none)
- no topic-specific permissions
- no access to any (other) topics (server config)
I create an user with admin privileges:
$ docker exec -it ntfy ntfy user add --role=admin vez
user vez added with role admin
I can now login into the WebUI, and I can now switch to dark mode, my eyes are grateful.
Topics
In Ntfy there are no applications to create, but messages are grouped into topics, more readable than a token when sending messages. When the topic is created I can change the display name or send test messages. On the WebUI though I don’t find any option to change the icon, where I can find this option in the Android App which is not really convenient.

Testing
Sending a message is actually harder than I thought. Because I set up authentication, I also need to authenticate to send messages:
curl \
  -H "Title: Cooked!" \
  -H "Priority: high" \
  -d "The potatoes are ready!" \
  -u "vez:<password>" \
  https://ntfy.vezpi.me/patato
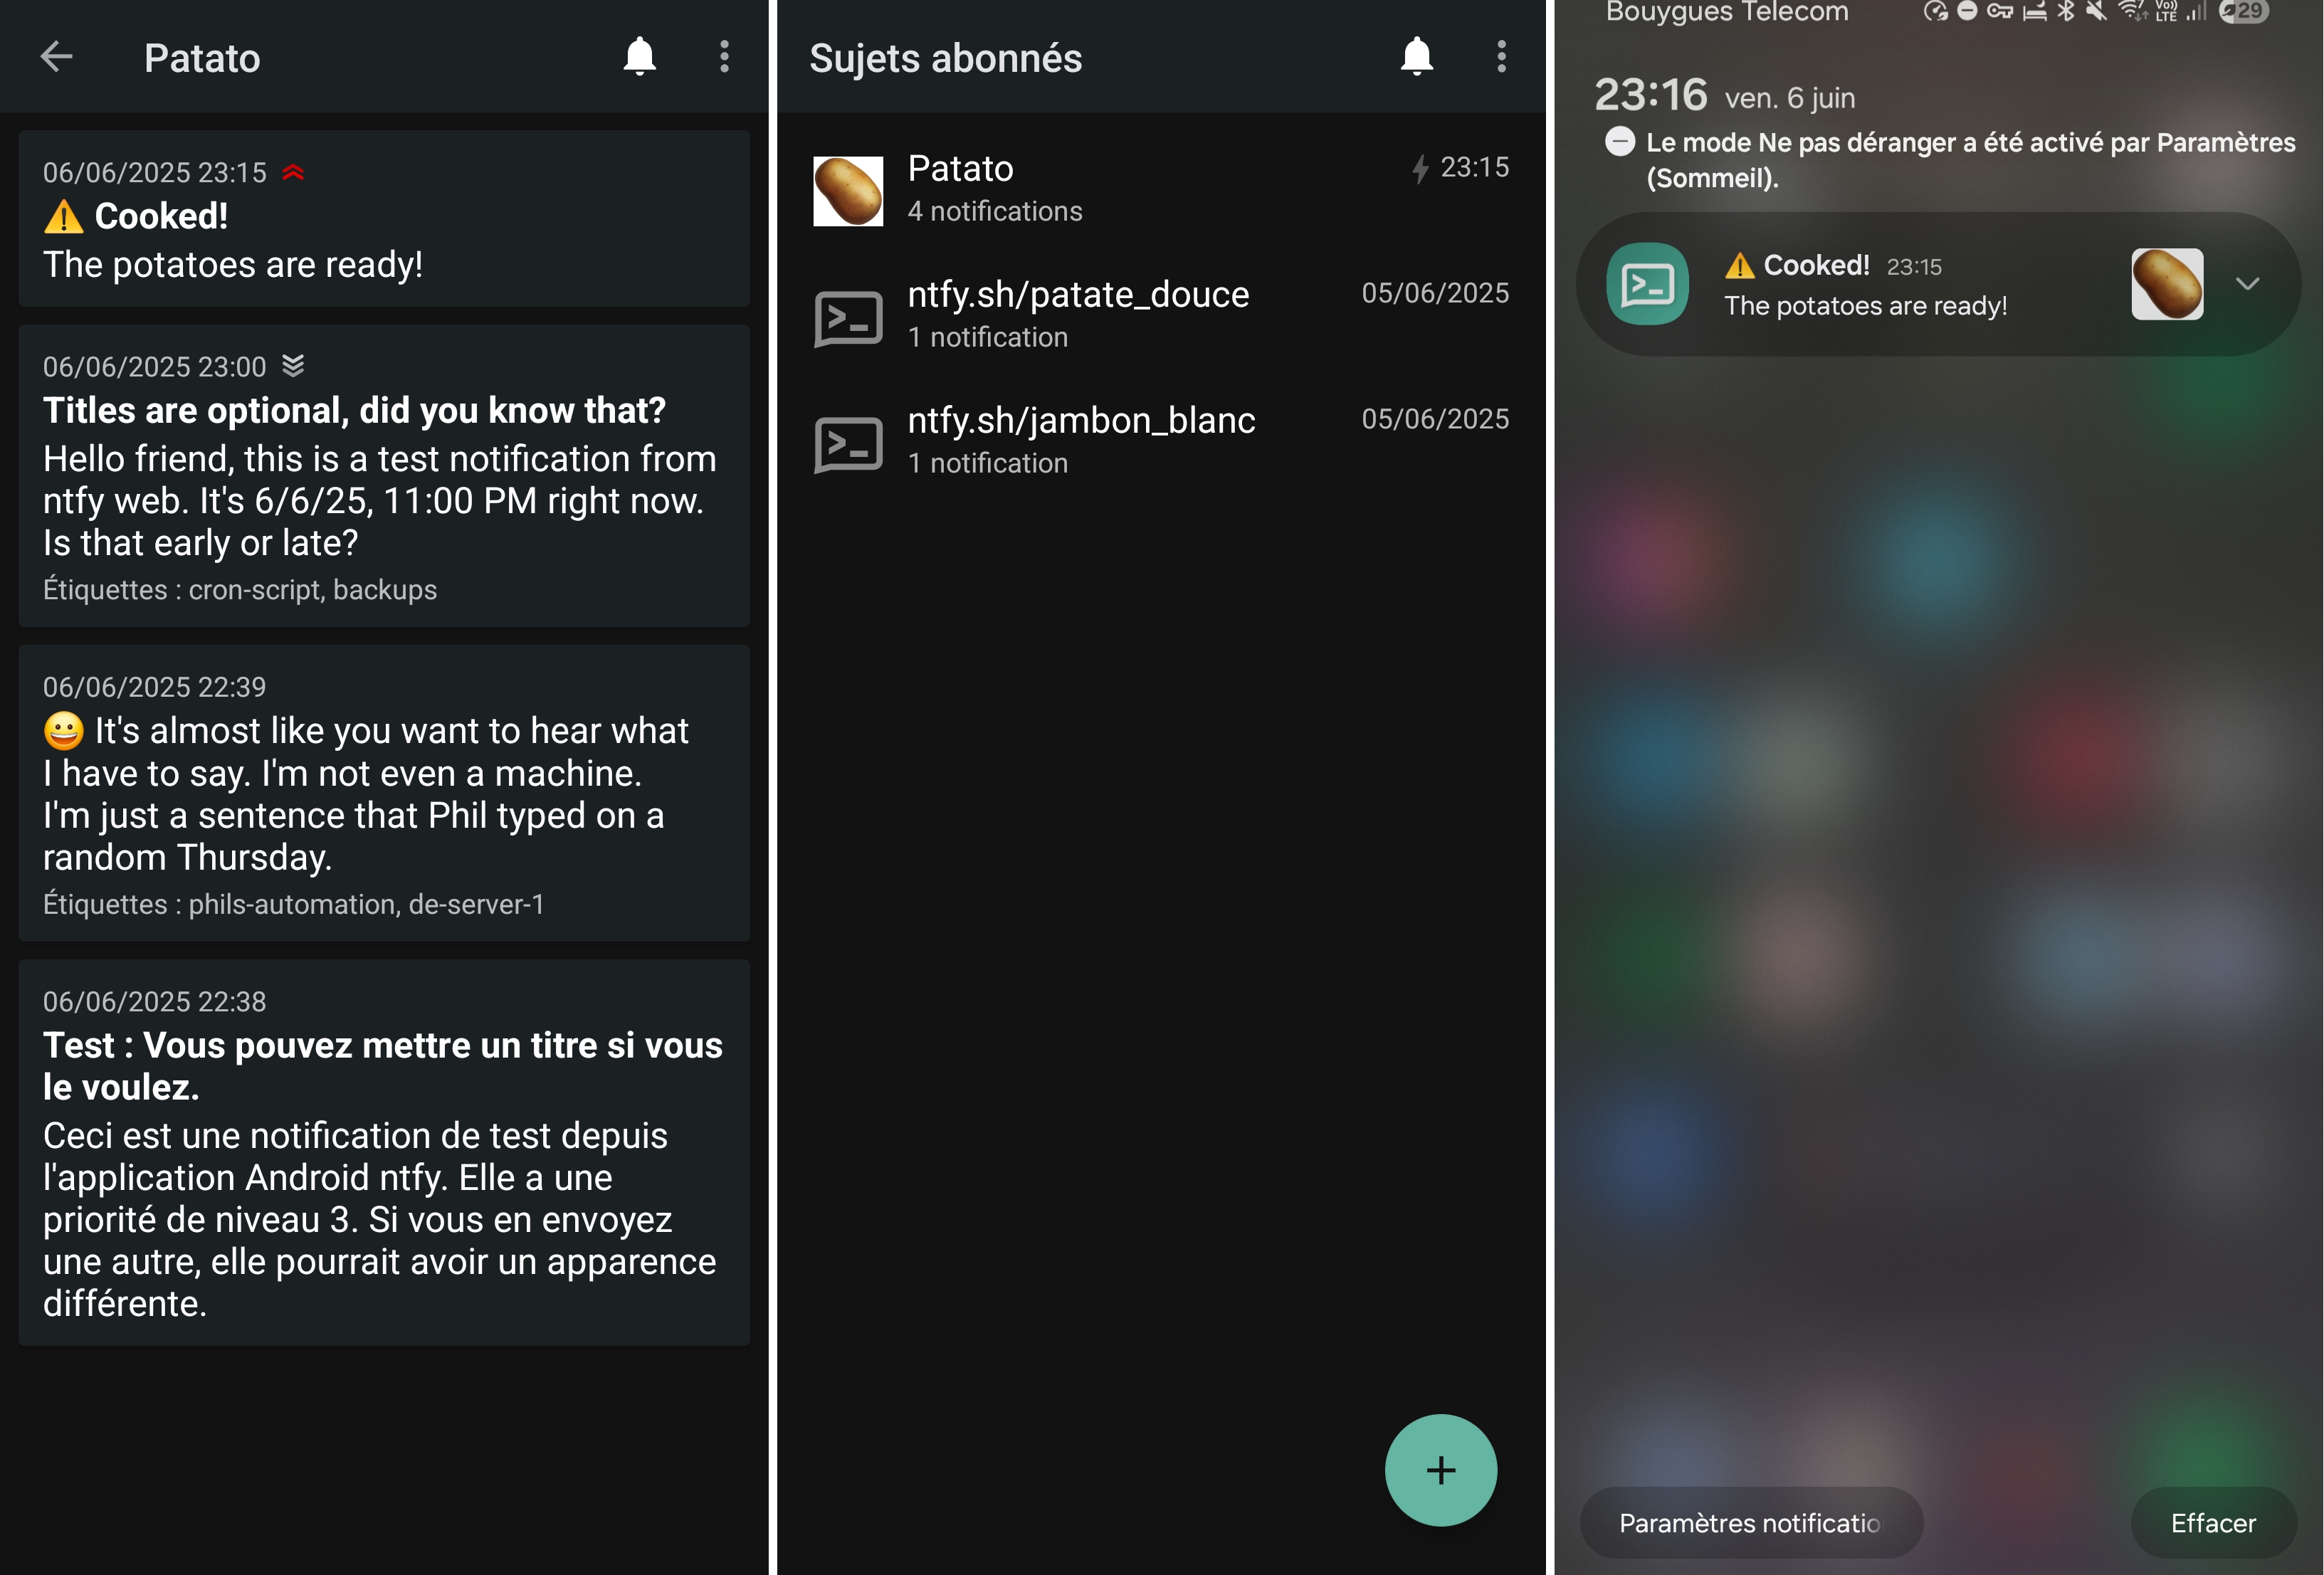
Android App
Here are some screenshots of Ntfy Android App:
Conclusion
Ntfy is a beautiful application with a really strong documentation. The possibilities are endless and the list of integration is impressive. The installation was not hard but required a bit of more setup. The needs for CLI to configure users and permissions is not really convenient.
On the Android App, I regret that there is not a view to see all the messages from different topics. On the other hand on the WebUI, I wanted to set icons for each topics. What I found interesting was the possibility to have topics from different servers.
Comparison
Gotify is simple, all users will have access to any applications. You don’t need user credentials to push messages, only the application token. The Android App is effective, but personally while the icon is funny, I don’t really like it.
Ntfy feels more advanced and complete, with fine grained permission. The UI is sleek yet still simple, the possibilities endless.
Overall, only small details make me favor Ntfy over Gotify, eg., having access to topics from different servers, ACL or be able to add emojis to the messages, but both applications are really good for the job.
Implementing Real Scenario Notification
While I was setting up my CI/CD pipeline for my blog deployment, I wanted to be warned whenever something happens, let see how I can implement that with Ntfy.
Access Control
I could use my admin user to either send messages from the pipeline and receive them on my Android device, while this is easier to setup, I want to implement least access privileges, which Ntfy allow. I will then create a dedicated user for my CI/CD pipeline and another for my Android device.
Pipeline User
This guy will only be allowed to send messages on the blog topic, I call it gitea_blog.
$ ntfy user add gitea_blog
user gitea_blog added with role user
$ ntfy access gitea_blog blog wo
granted write-only access to topic blog

user gitea_blog (role: user, tier: none)
- write-only access to topic blog
I quickly try to send a message on that topic:
$ curl -u gitea_blog:<password> -d "Message test from gitea_blog!" https://ntfy.vezpi.me/blog
{"id":"xIgwz9dr1w9Z","time":1749587681,"expires":1749630881,"event":"message","topic":"blog","message":"Message test from gitea_blog!"}
 ✅ Message received!
I also try to send a message on my test topic:
$ curl -u gitea_blog:<password> -d "Message test from gitea_blog!" https://ntfy.vezpi.me/potato
{"code":40301,"http":403,"error":"forbidden","link":"https://ntfy.sh/docs/publish/#authentication"}
❌ Denied as expected.
Android Device User
From my Android device I only want to receive messages, but on all topics. I create the user android_s25u:
$ ntfy user add android_s25u
user android_s25u added with role user
$ ntfy access android_s25u "*" ro
granted read-only access to topic *

user android_s25u (role: user, tier: none)
- read-only access to topic *
✅ After setting up the user on the Ntfy Android App, I can read my messages on https://ntfy.vezpi.me/blog and also on the testing one.
Implementation
Now my users are setup, I want to add a Notify job in my CI/CD pipeline for the blog deployment in Gitea, you can find the full workflow in this article.
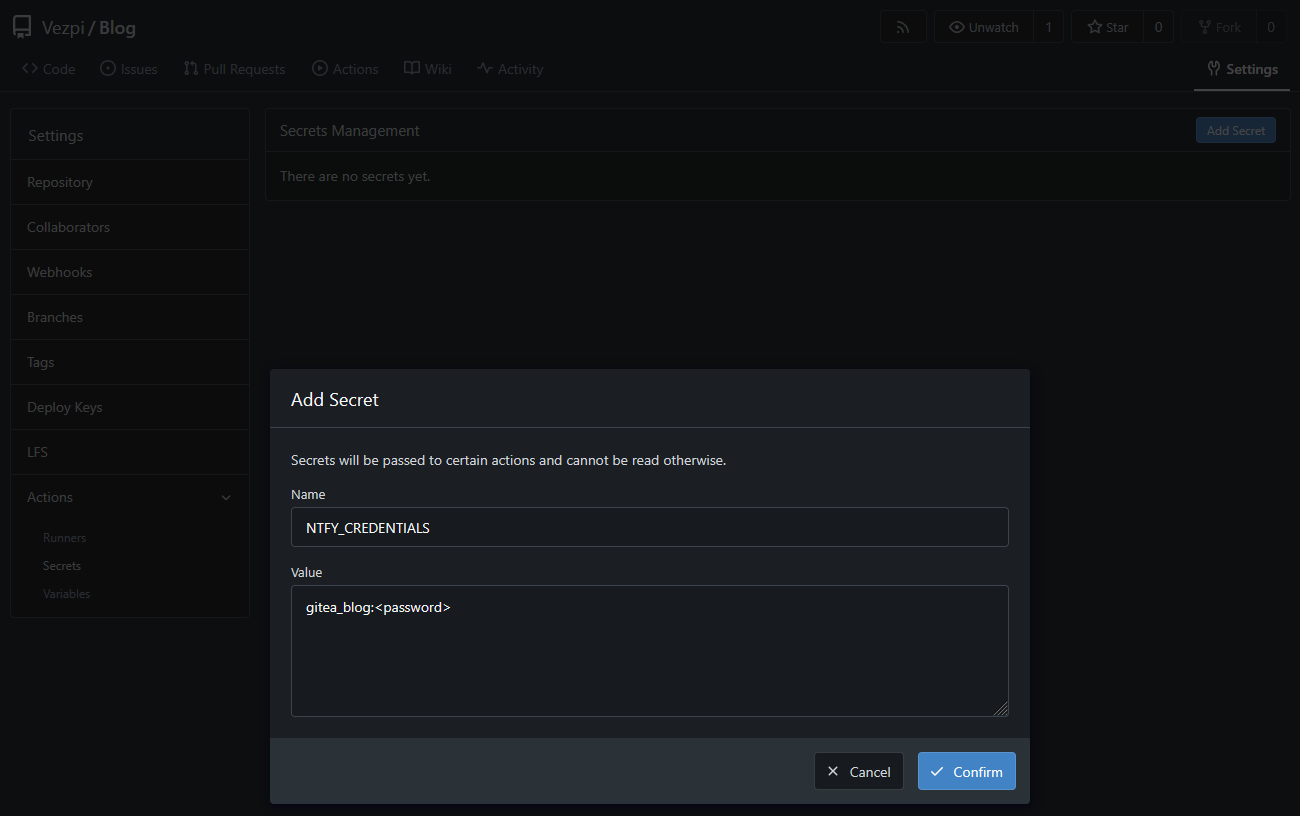
Create a Secret
To allow my Gitea Runner to use my gitea_blog user in its job, I want to create a secret. I explore the Blog Gitea repository Settings, then Actions > Secrets > Add Secret. Here I set the secret value with the <user>:<password> format:
Write the Notify Code
Now I can write the code which will send me a message when a new deployment occurs.
If the deployment is successful, the priority would be minimal, no notifications needed on my mobile, just for me to view the events in the Android Ntfy App if I need to.
If anything fails, I want to be notified on my mobile with higher priority. Ntfy allows me to add actions on my notifications, I will create 2 actions:
- View Run: Direct link to the workflow run in Gitea to see what happened.
- Verify Blog: Link to the blog to make sure it is still online.
  Notify:
    needs: [Check-Rebuild, Build, Deploy-Staging, Test-Staging, Merge, Deploy-Production, Test-Production, Clean]
    runs-on: ubuntu
    if: always()
    env:
      NTFY_URL: https://ntfy.vezpi.me
      NTFY_TOPIC: blog
      NTFY_TOKEN: ${{ secrets.NTFY_CREDENTIALS }}
    steps:
      - name: Notify Workflow Result
        run: |
          if [[
            "${{ needs.Check-Rebuild.result }}" == "success" &&
           ("${{ needs.Build.result }}" == "success" || "${{ needs.Build.result }}" == "skipped") &&
            "${{ needs.Deploy-Staging.result }}" == "success" &&
            "${{ needs.Test-Staging.result }}" == "success" &&
            "${{ needs.Merge.result }}" == "success" &&
            "${{ needs.Deploy-Production.result }}" == "success" &&
            "${{ needs.Test-Production.result }}" == "success" &&
           ("${{ needs.Clean.result }}" == "success" || "${{ needs.Clean.result }}" == "skipped")
          ]]; then
            curl -H "Priority: min" \
                 -H "Tags: white_check_mark" \
                 -d "Blog workflow completed successfully." \
                 -u ${NTFY_TOKEN} \
                 ${NTFY_URL}/${NTFY_TOPIC}
          else
            curl -H "Priority: high" \
                 -H "Tags: x" \
                 -H "Actions: view, View Run, ${{ gitea.server_url }}/${{ gitea.repository }}/actions/runs/${{ gitea.run_number }}, clear=true; \
                              view, Verify Blog, https://blog.vezpi.com, clear=true" \
                 -d "Blog workflow failed!" \
                 -u ${NTFY_TOKEN} \
                 ${NTFY_URL}/${NTFY_TOPIC}
          fi
✅ Testing both cases, work as expected:

Conclusion
After testing Gotify and Ntfy, I found my next notification system. They are both good for the job but I had to pick one and I have a little preference for Ntfy.
The application would be perfect if I could manage the users and access from the WebUI, also I would prefer to manage the topic’s icon globally and not having to upload it from my mobile.
Anyway I’m very satisfied with the results on my first implementation and I look forward to add notification elsewhere!