Intro
Creating a VM template in Proxmox using cloud-init can streamline VM deployments significantly. This post covers the step-by-step process to set up a cloud-init-enabled VM template using Ubuntu for Proxmox.
Proxmox supports cloud-init, a tool that allows the automatic configuration of virtual machines right after they are provisioned. This includes setting up networking, SSH keys, and other initial settings.
In this guide, we’ll create a VM template with cloud-init enabled, allowing for rapid deployment of pre-configured VMs.
Why Cloud-init?
Cloud-init is a widely used tool for automating the initial configuration of cloud instances. It helps to set up SSH keys, hostname, network configuration, and other parameters during the first boot, making it ideal for creating reusable VM templates in a homelab or production environment.
Proxmox Cloud-init Documentation
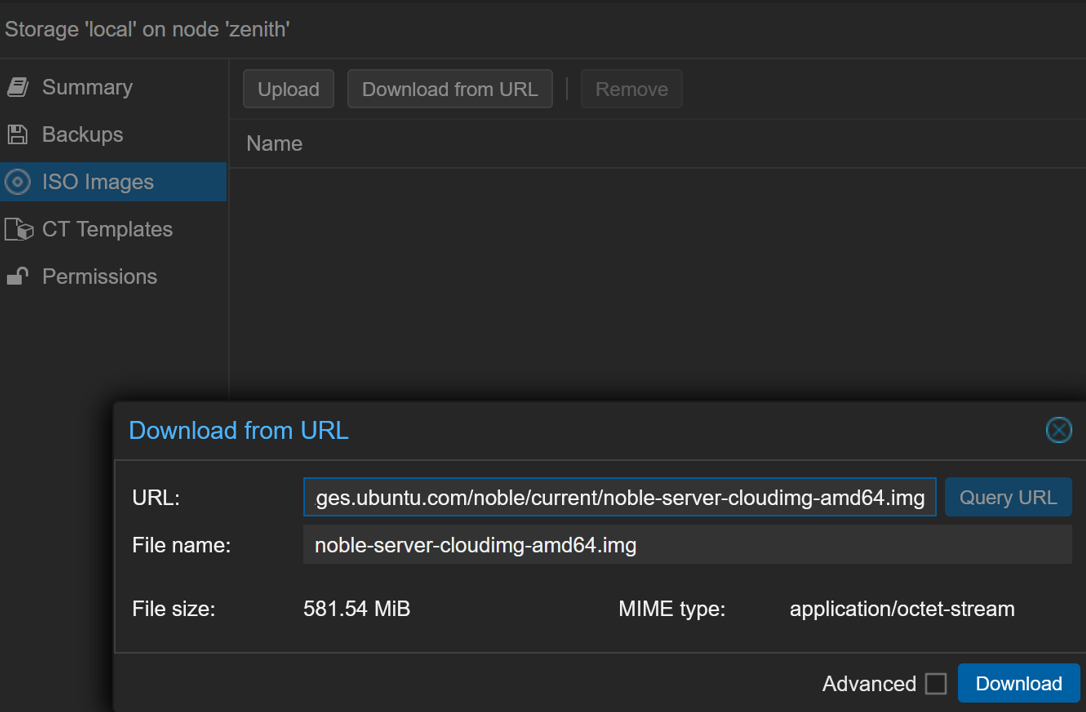
Download the OS Image
First, we need to download an image with cloud-init support. Although Rocky Linux was initially considered, the .img format was not available, and the .qcow2 format caused issues. Instead, we will proceed with the Ubuntu cloud image.
Find cloud-ready images from the OpenStack Image Guide.
In Proxmox, navigate to Storage > ISO Images > Upload to upload the downloaded image.
Create the VM
Next, we create the VM using the command line interface (CLI) from the Proxmox node with the following command:
qm create 900 \
   --memory 2048 \
   --core 1 \
   --net0 virtio,bridge=vmbr0 \
   --scsihw virtio-scsi-pci \
   --bios ovmf \
   --machine q35 \
   --efidisk0 ceph-workload:0,pre-enrolled-keys=0 \
   --name ubuntu-cloud
This creates a VM with UEFI support, 2GB of RAM, and a single core. The efidisk0 parameter specifies an EFI disk.
Import the OS Disk
Now, import the downloaded disk image as the primary disk:
qm set 900 --scsi0 ceph-workload:0,import-from=/var/lib/vz/template/iso/noble-server-cloudimg-amd64.img
Configure Cloud-init
Add a cloud-init CD drive to the VM:
qm set 900 --scsi1 ceph-workload:cloudinit
Set the boot order to prioritize the primary disk over the CD:
qm set 900 --boot order=scsi0
Add a serial port for console access:
qm set 900 --serial0 socket --vga serial0
Convert to Template
After configuring the VM, right-click on the VM in the Proxmox WebUI and select Convert to template. This will finalize the template creation.
Conclusion
This method allows for rapid deployment using Proxmox of pre-configured VMs and cloud-init.
The template can now be used to spawn new instances with custom configurations by providing the necessary cloud-init parameters. This is particularly useful for deploying multiple instances with consistent baseline configurations quickly.