
Intro
My homelab network is handled by an OPNsense cluster composed of two VM nodes. Both of these VMs are running inside my Proxmox VE cluster. You can find details in this article.
This setup works fine most of the time. The issue is more about the rare cases where the Proxmox cluster itself is down. When that happens, both OPNsense nodes are unavailable at the same time, which means I do not have any router left, so no network at all.
Recently, I installed a TrueNAS server in the labwhich I document in that post. It is mainly here to act as a NAS, but it could also host virtual machines. That give me a good opportunity to improve the resilience of my network without changing the whole design.
💡 The idea is simple: keep the active OPNsense node on Proxmox, but move the passive node to TrueNAS.
This way, if the Proxmox cluster goes down, the passive OPNsense node can still take over and keep the network alive.
Prepare the OPNsense Nodes
Before moving anything, I want to make sure the OPNsense VMs could run with less memory.
The TrueNAS server does not have as much RAM available as the Proxmox cluster, so the first step is to reduce the memory allocation of the OPNsense nodes to the minimum.
I start with the passive node, cerbere-head2:
- Shut down the passive node
- Reduce its memory allocation from 4 to 2GB
- Restart it
- Verify the cluster health
- Swap the service to the passive node
- Run network checks
Then I repeat the same operation on the active node, cerbere-head1.
Doing it one node at a time allow me to keep the HA cluster healthy while validating that the reduced memory allocation is still enough for my setup.
Prepare the TrueNAS Network
The most important part of this migration is not the disk export or the VM creation. It is the network.
An OPNsense VM is not a simple server with one management interface. It needs access to several networks, including management, WAN, user networks, IoT, pfSync, DMZ and lab networks.
On the TrueNAS side, I start from System > Network and add VLAN interfaces.
The first one is the User VLAN:
- Type:
VLAN - Name:
vlan13 - Description:
User - Parent interface:
enp1s0 - VLAN tag:
13
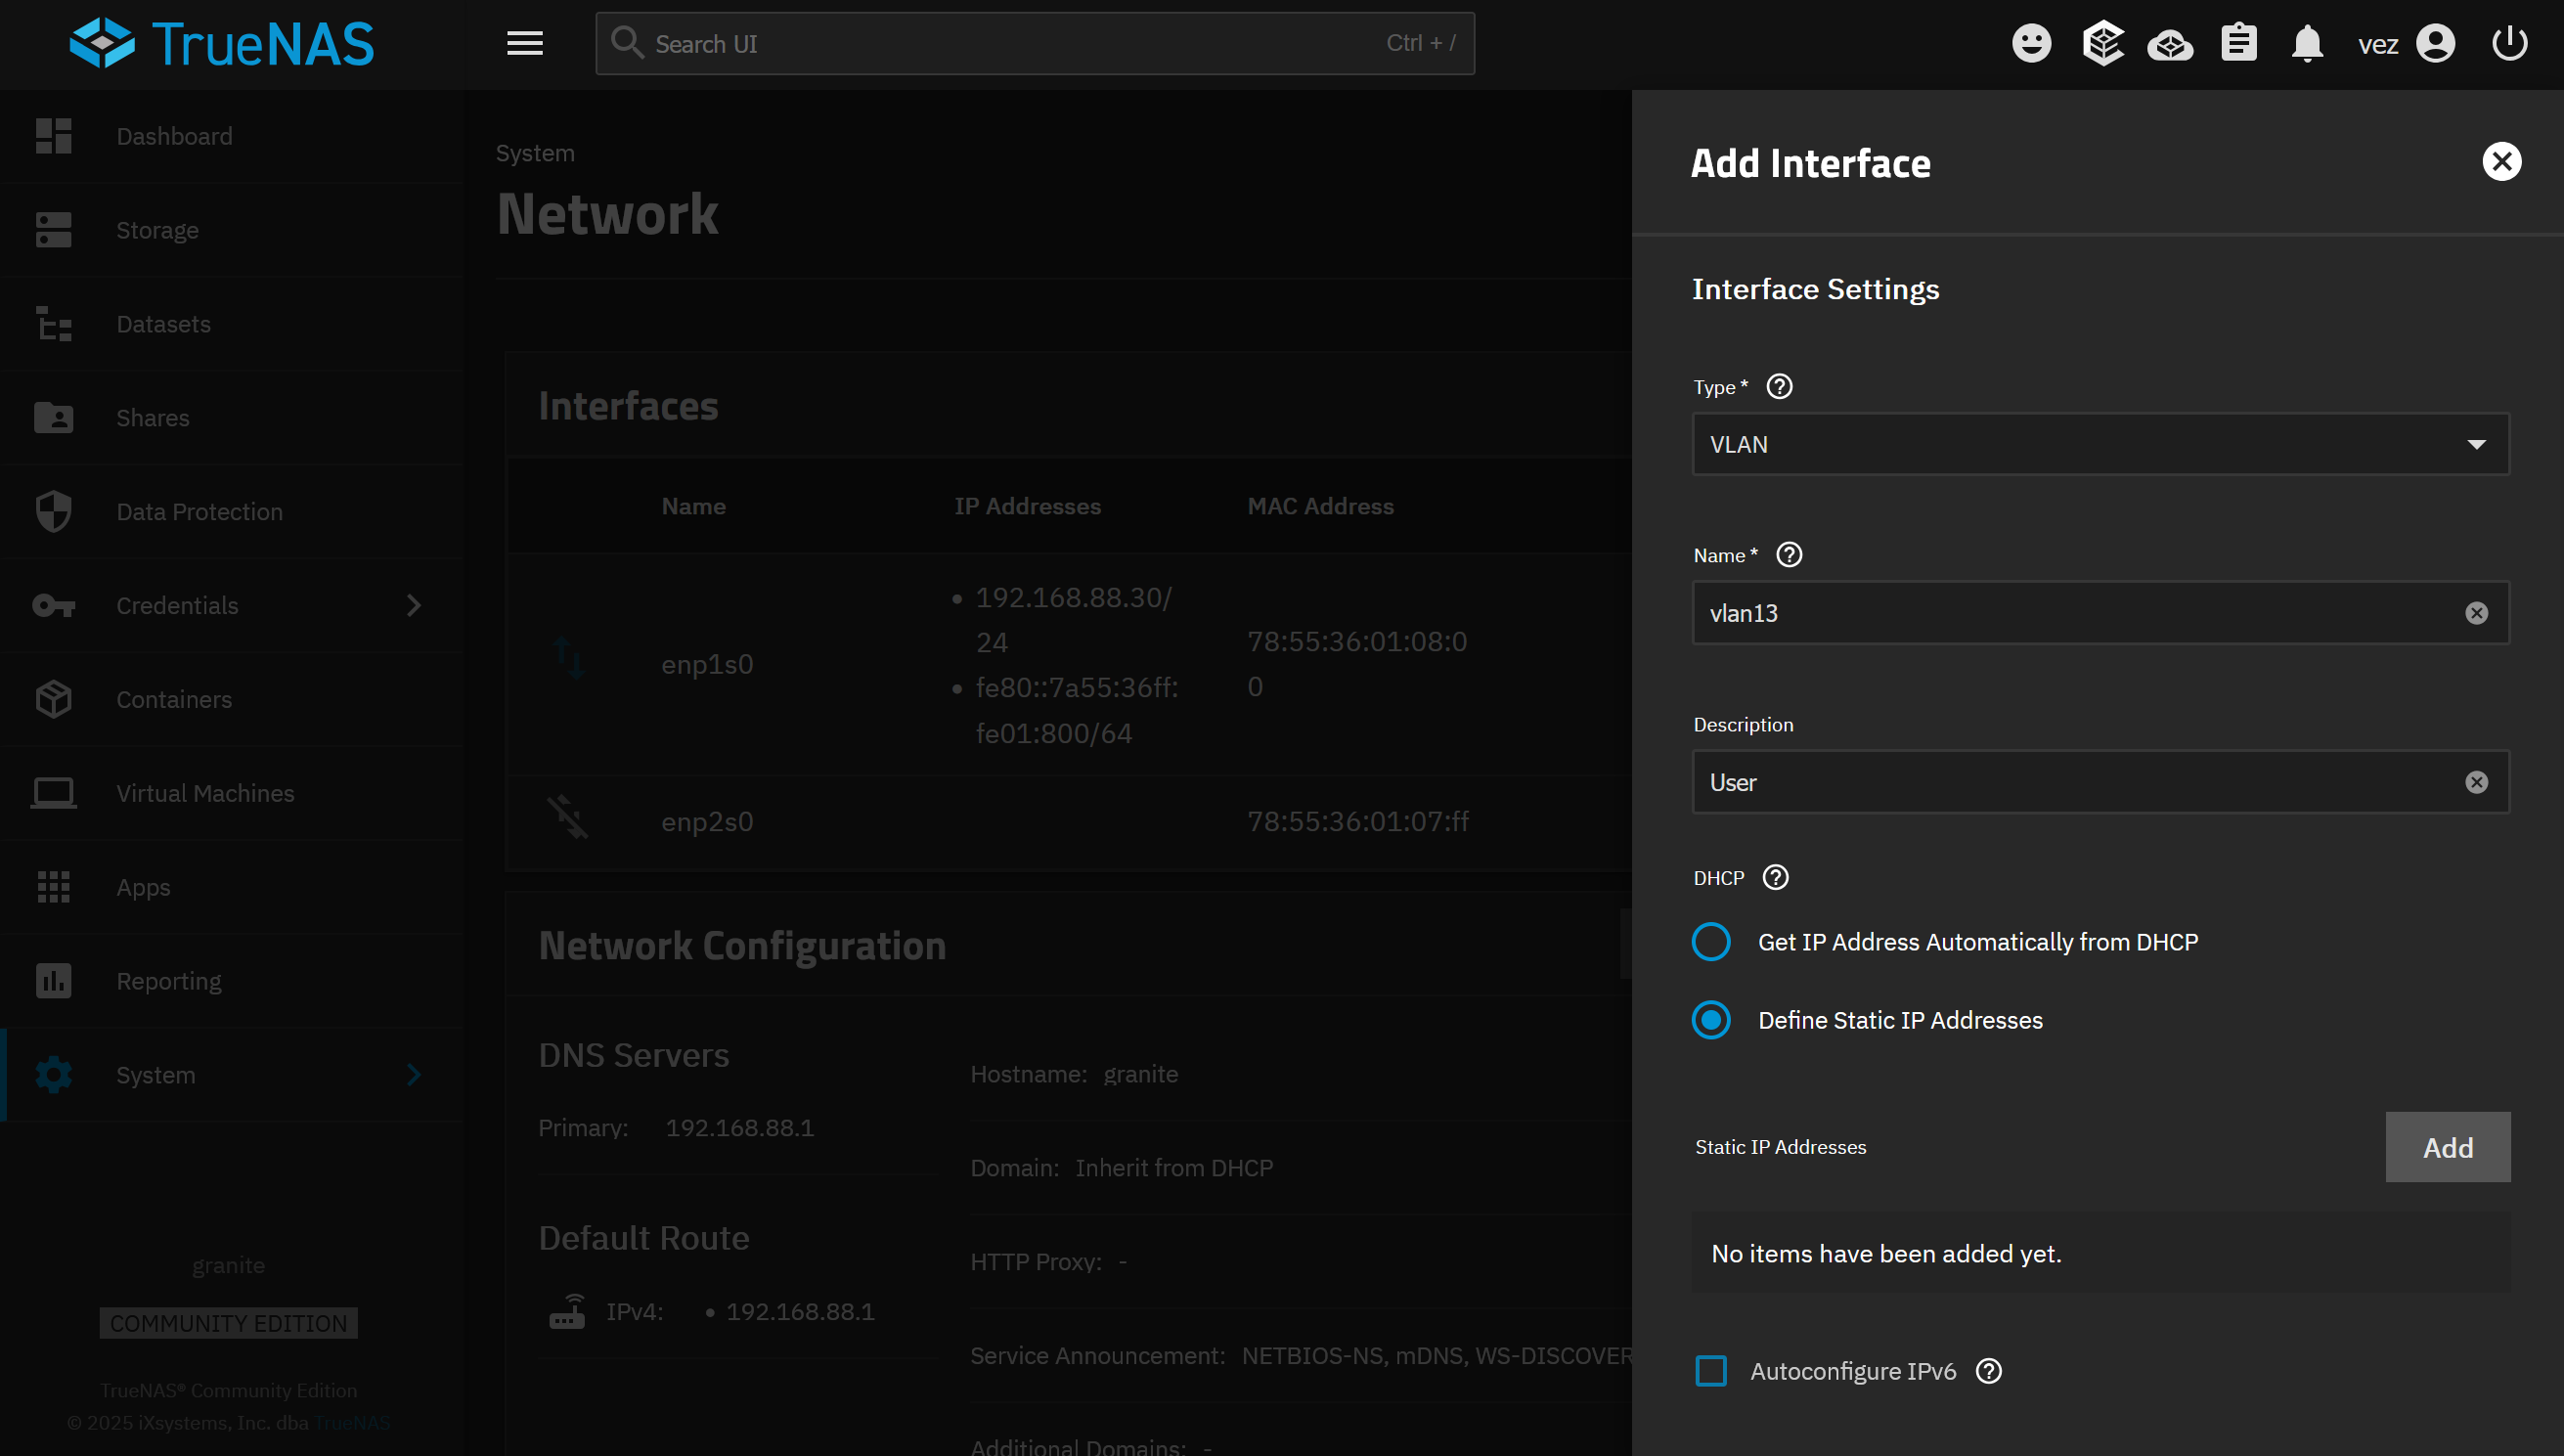
I then add the other VLANs in the same way.
TrueNAS does not apply network changes directly. It gives the option to test the changes first, with a short validation window. If the configuration is not confirmed in time, it rolls back automatically.
This is really convenient when changing the network configuration of the machine you are currently connected to.
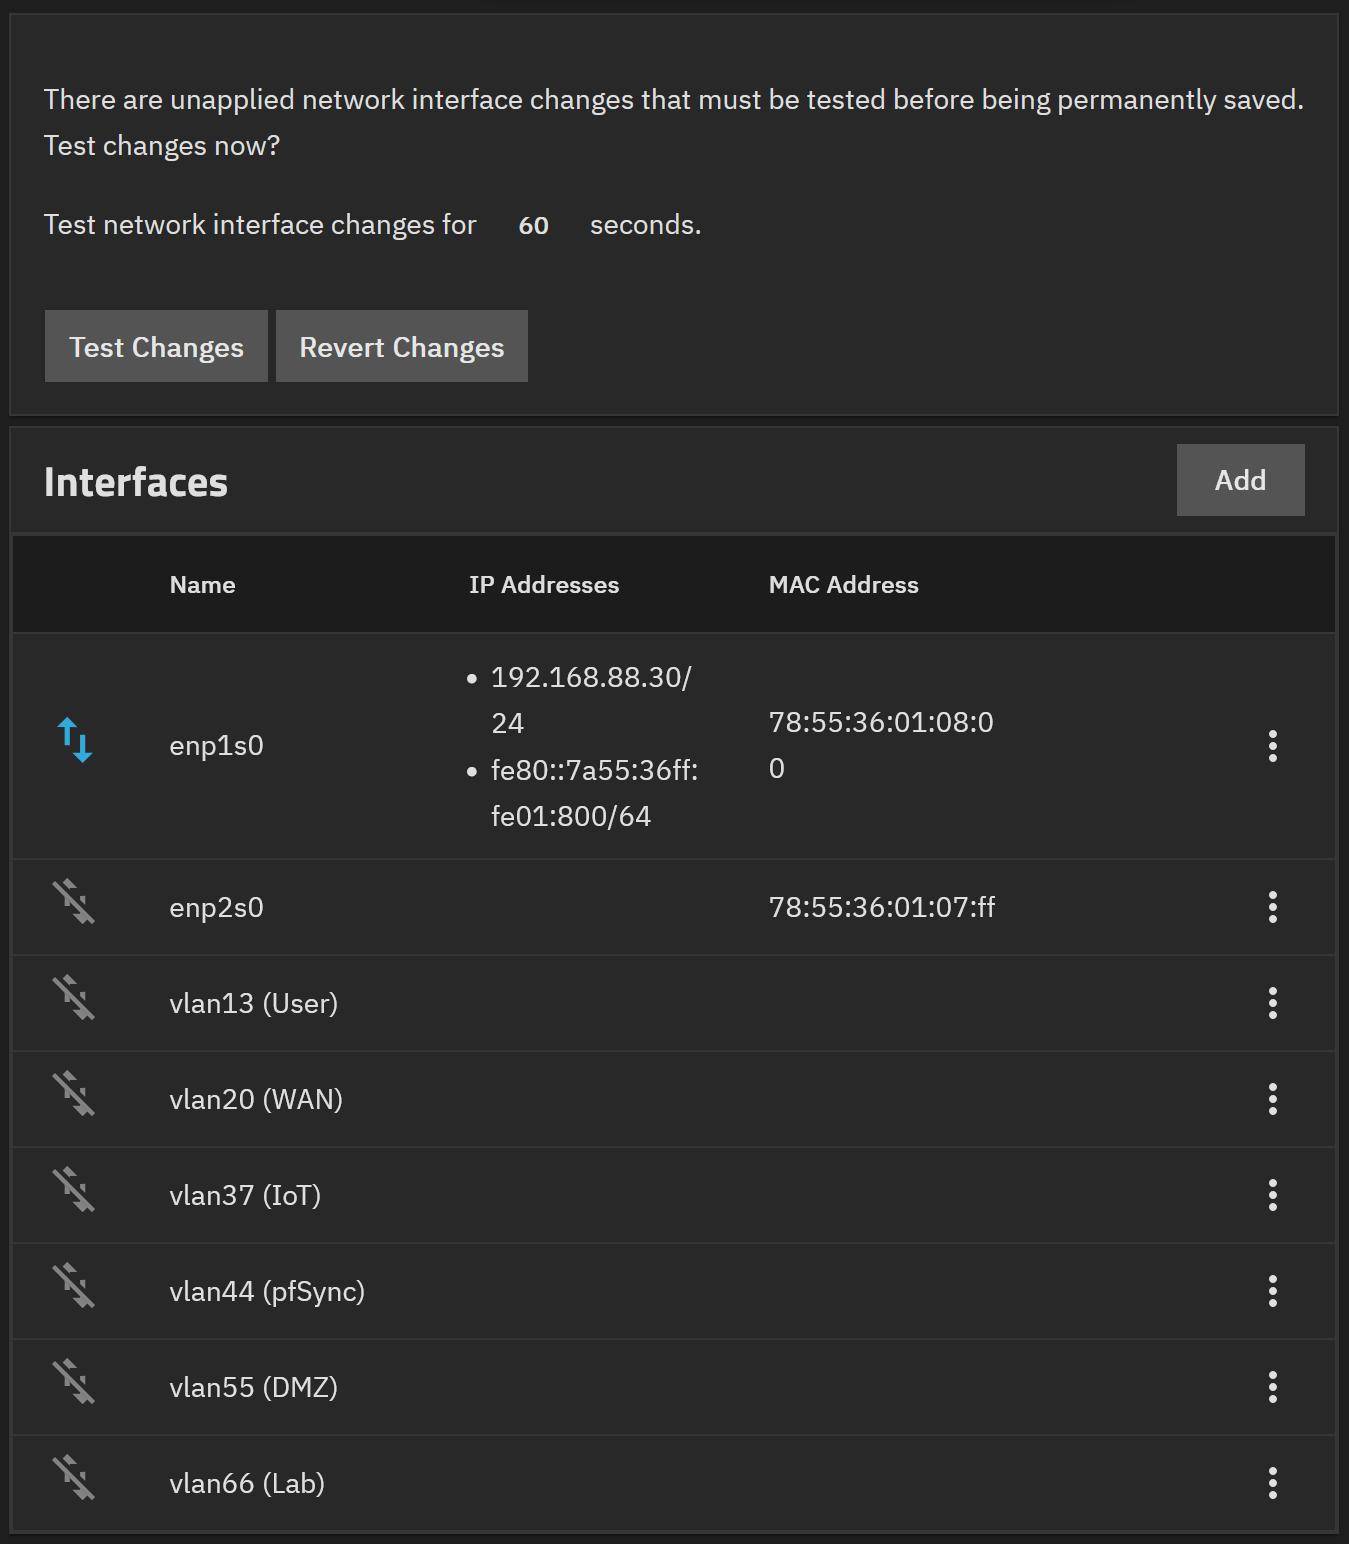
For the management network, I created a bridge called br1.
This bridge holds the TrueNAS management IP configuration instead of the physical interface enp1s0, because it also needs to be shared with the OPNsense VM.
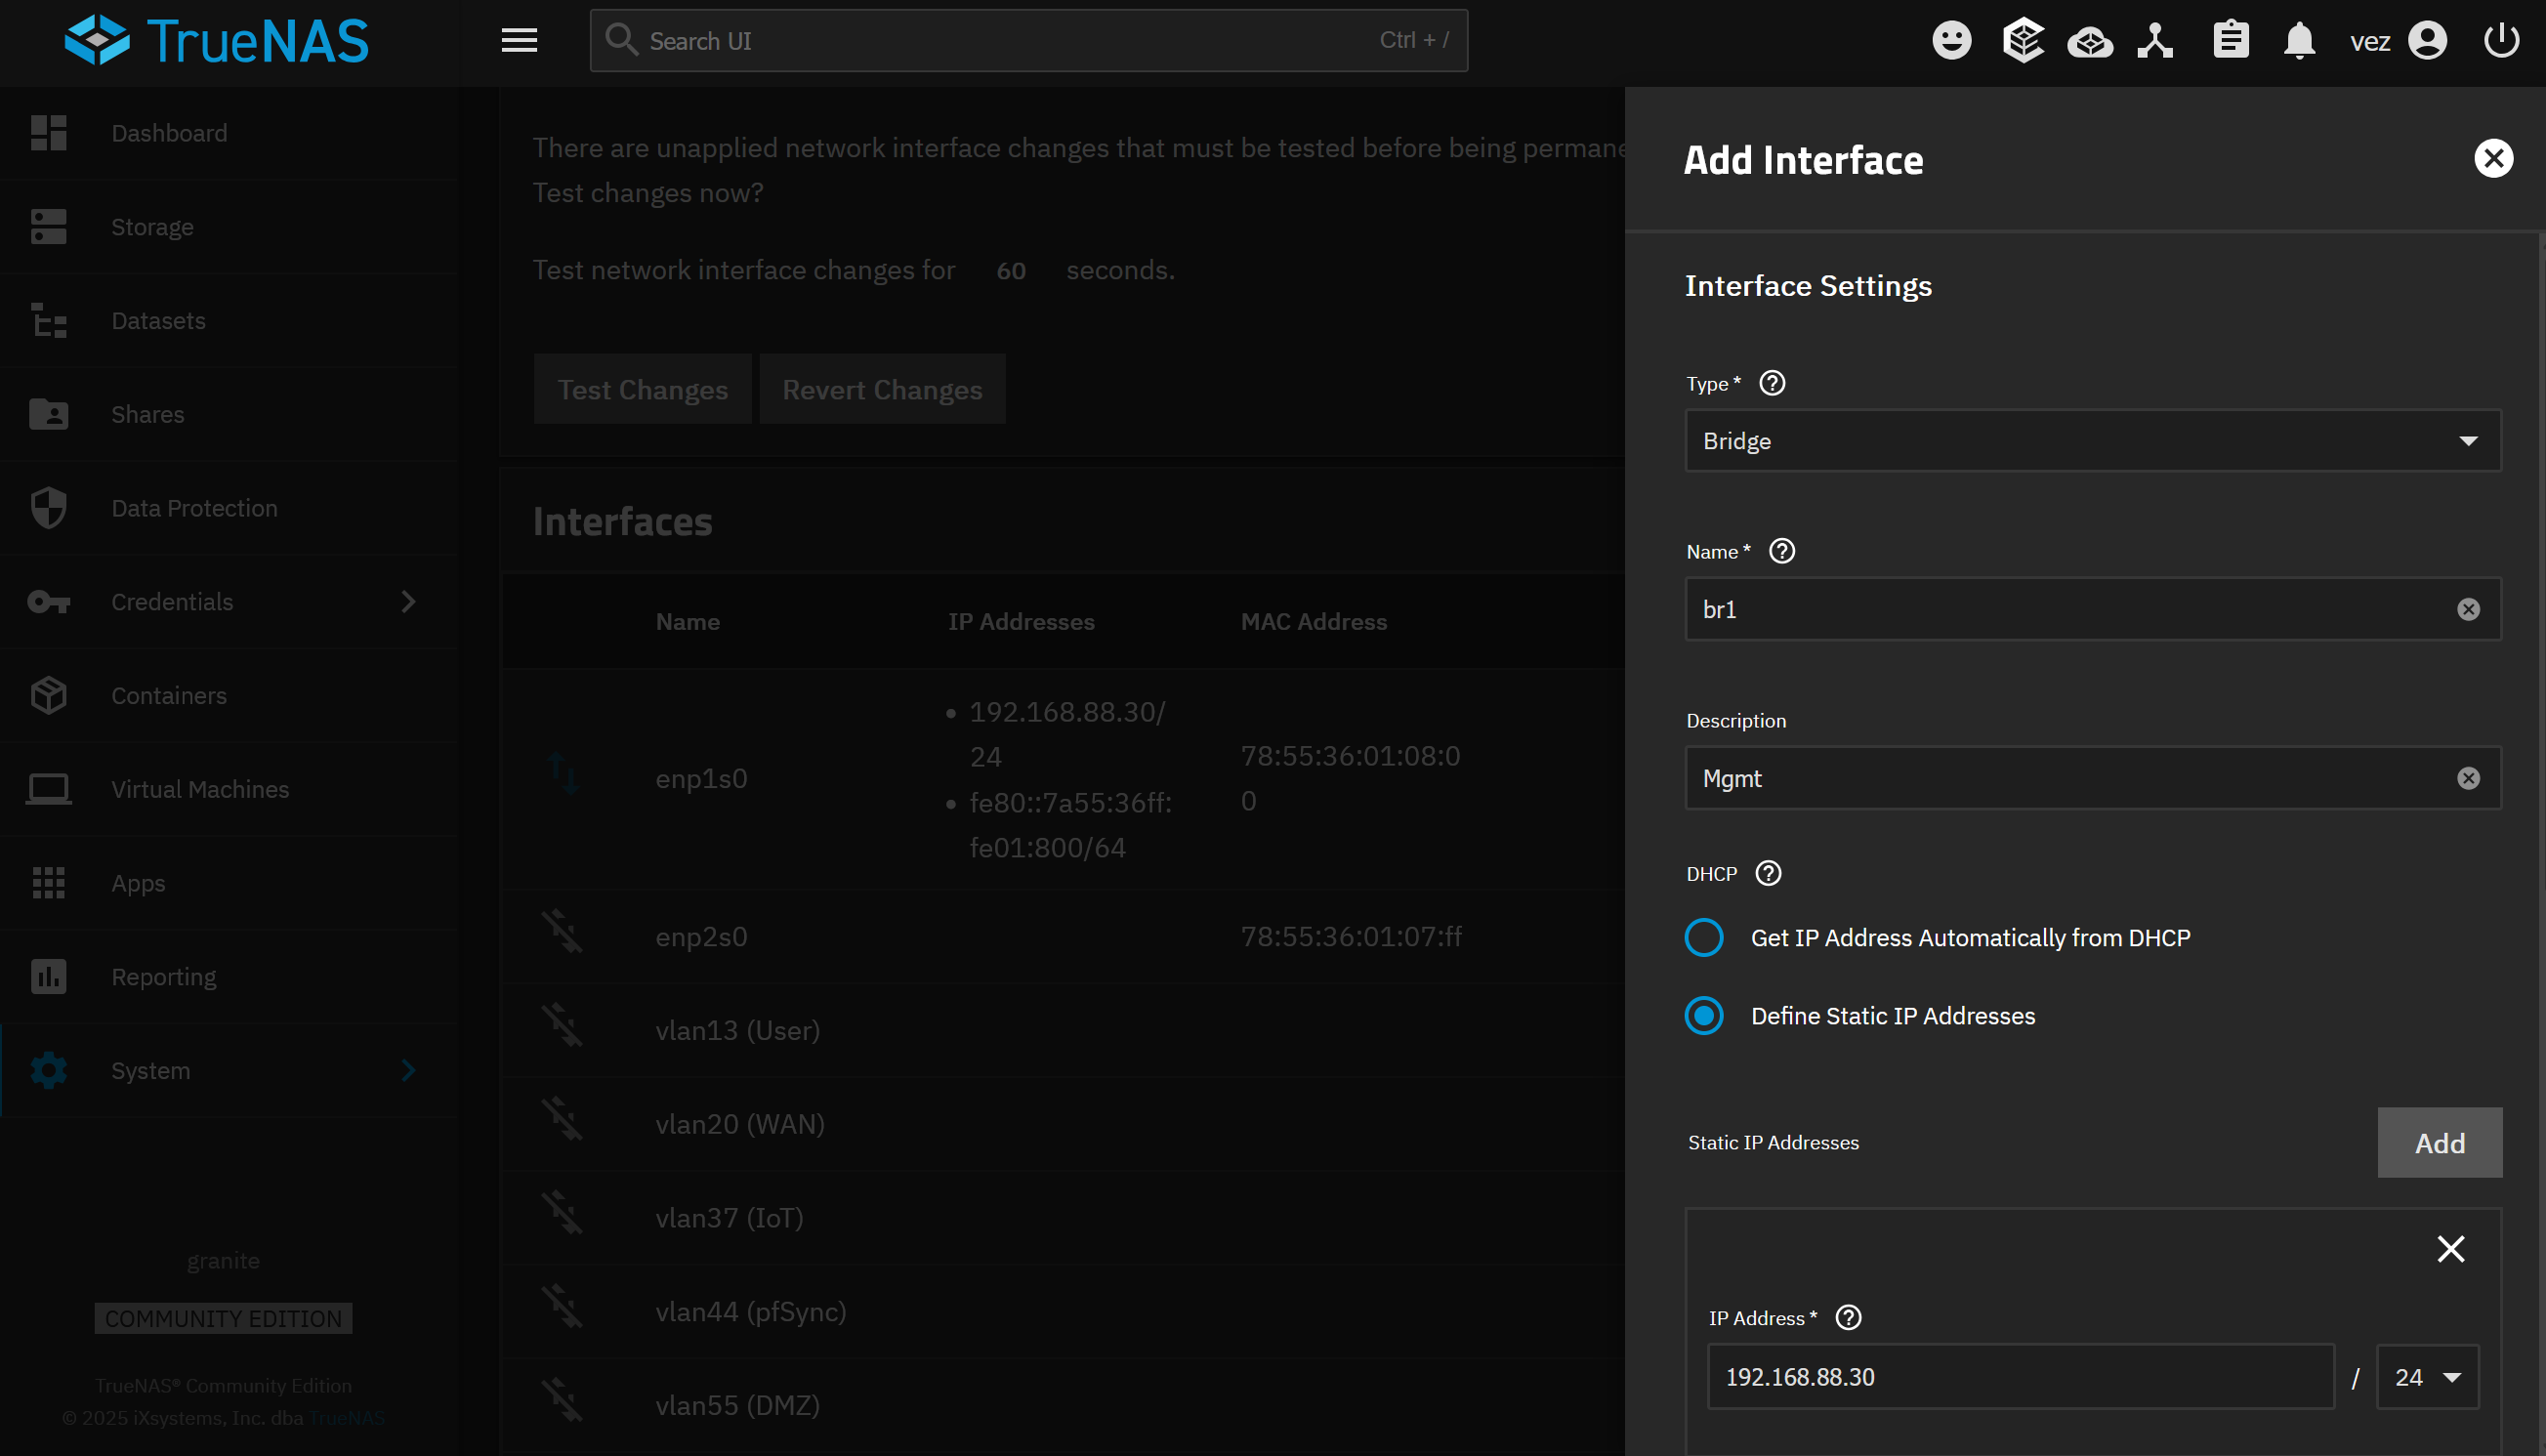
After that, I remove the IP configuration from the physical interface and keep it on the bridge.
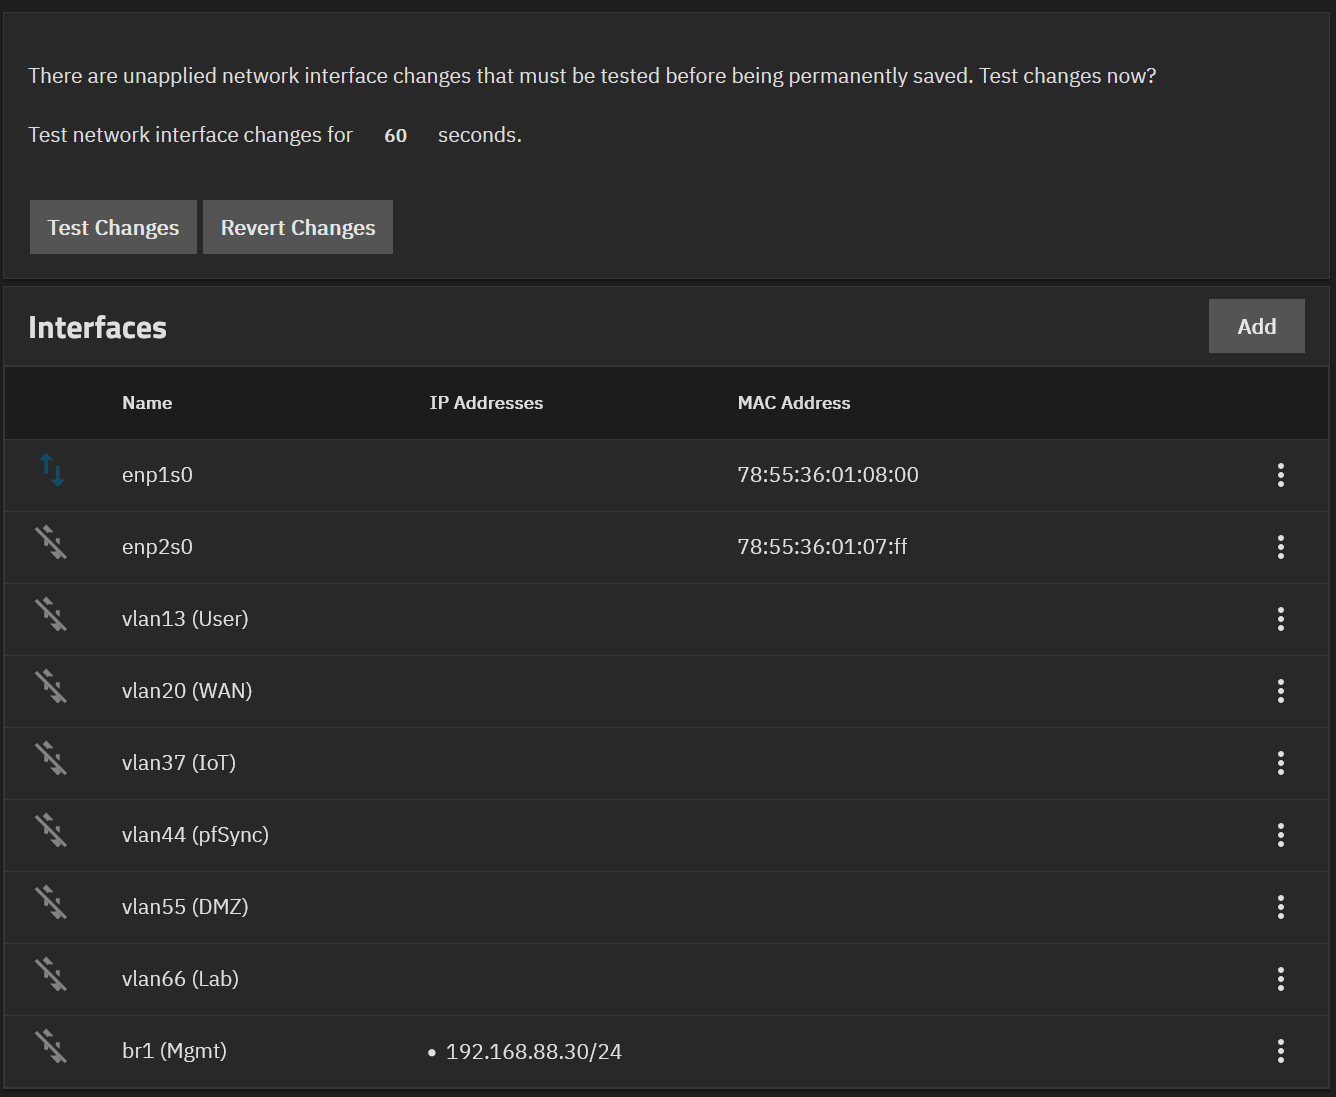
I initially tried to use DHCP for the management bridge after updating the MAC address in Dnsmasq, but I finally decided to keep a static IP address for TrueNAS. After some network changes, DHCP gave another address from the pool, so static addressing was the safer and simpler option for this server.
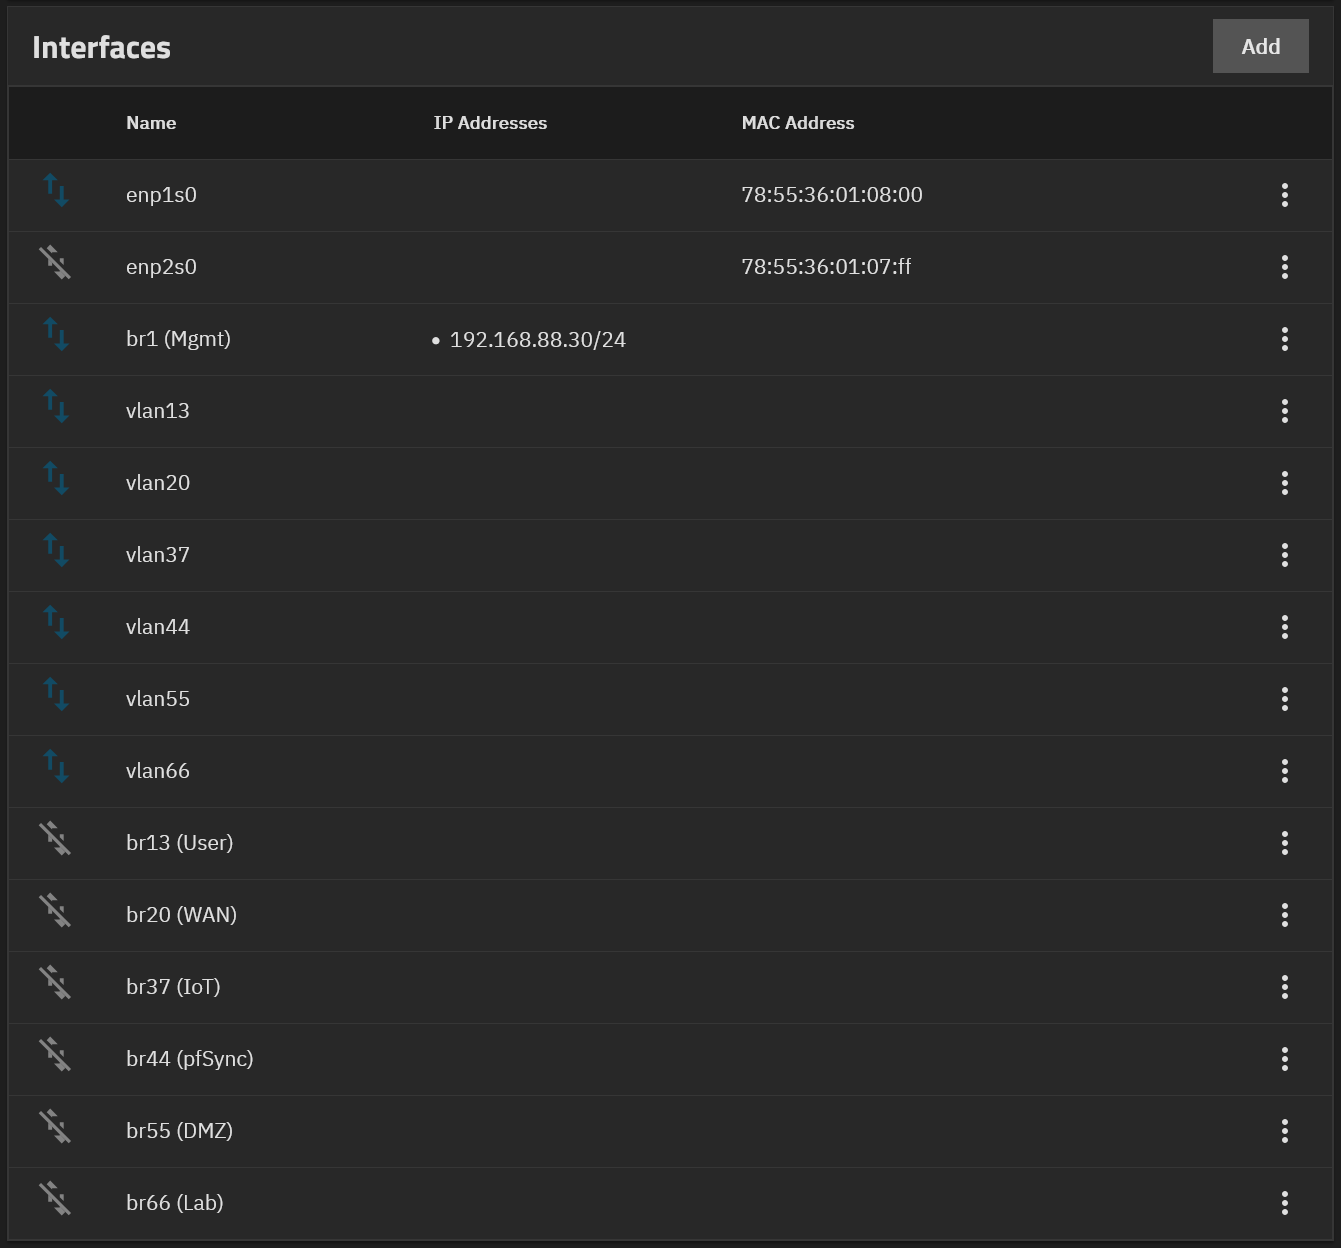
For the OPNsense VM, I create a bridge for each VLAN. For example, br13 uses vlan13, I also move the description, like User, from the VLAN interface to the bridge for clarity.
The final TrueNAS network configuration:
Create a Temporary Export Dataset
To move the passive OPNsense VM disk from Proxmox to TrueNAS, I first need a place to export the disk image.
In TrueNAS, I create a dataset named storage/vm/disk, then create a NFS share from it.
In the advanced options of the NFS share, I configured:
- Maproot user:
root - Authorized hosts:
192.168.88.21192.168.88.22192.168.88.23
These are the Proxmox VE nodes allowed to mount the share.
I don’t manually create a zvol at that point. The VM creation process in TrueNAS handle the disk import and conversion.
Export the VM Disk from Proxmox
From the Proxmox VE web interface, I locate the node hosting the passive OPNsense VM cerbere-head2, it is running on Zenith.
I log into that Proxmox node over SSH and mount the NFS share from TrueNAS:
mount granite.mgmt.vezpi.com:/mnt/storage/vm/disk /mnt
Then I shut down the VM from the Proxmox VE interface. I don’t shut it down from inside OPNsense because the VM has HA enabled.
Once the VM is stopped, I export the main disk to qcow2. I don’t export the EFI disk.
qemu-img convert -f raw -O qcow2 -p \
         rbd:ceph-workload/vm-123-disk-1 \
         /mnt/cerbere-head2.qcow2
The conversion took about one minute for a 20 GB disk.
At this point, the passive OPNsense disk is available on TrueNAS and ready to be imported into a new VM.
Recreate the OPNsense VM in TrueNAS
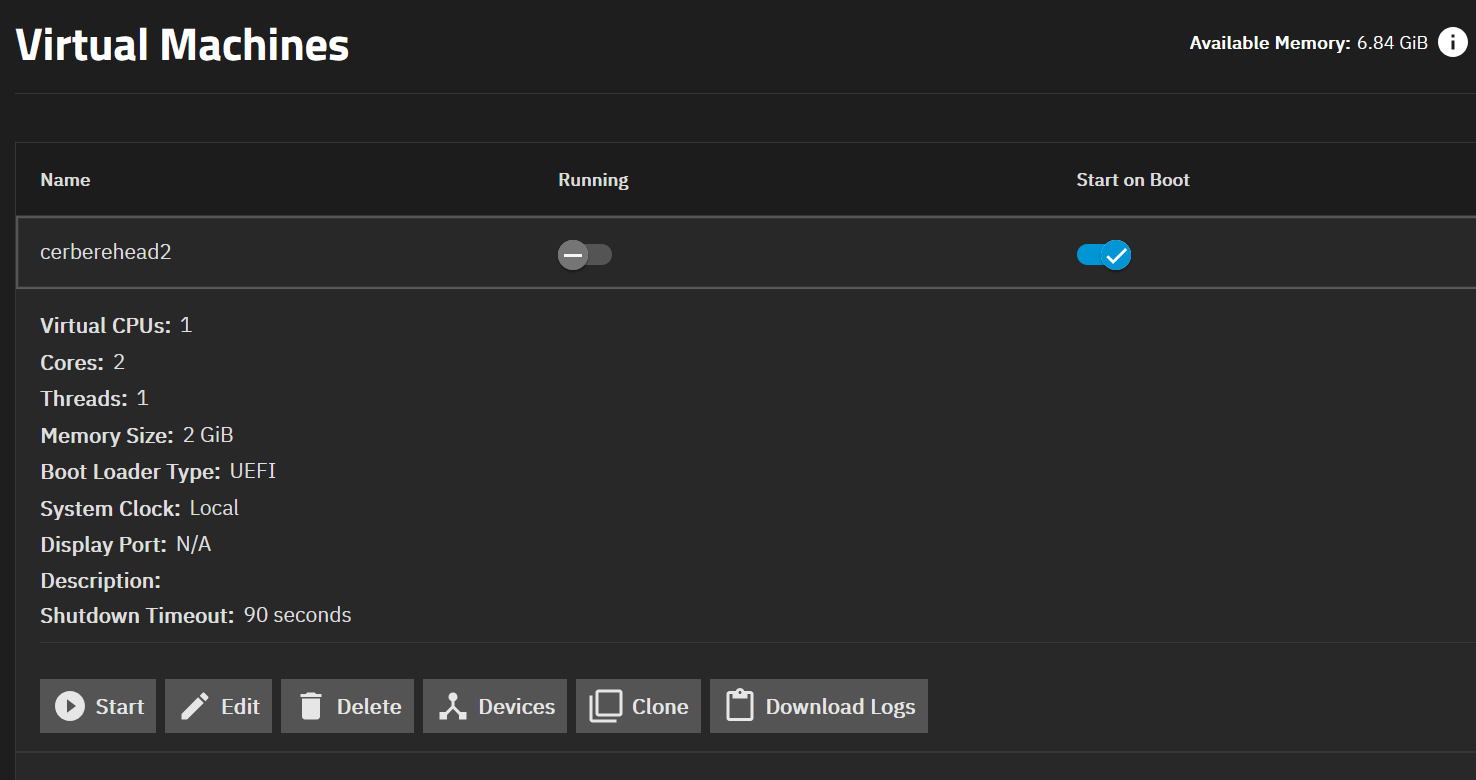
The next step is to recreate the passive OPNsense VM in TrueNAS with parameters matching the original VM as closely as possible.
From the TrueNAS web interface, I go to the Virtual Machines section.
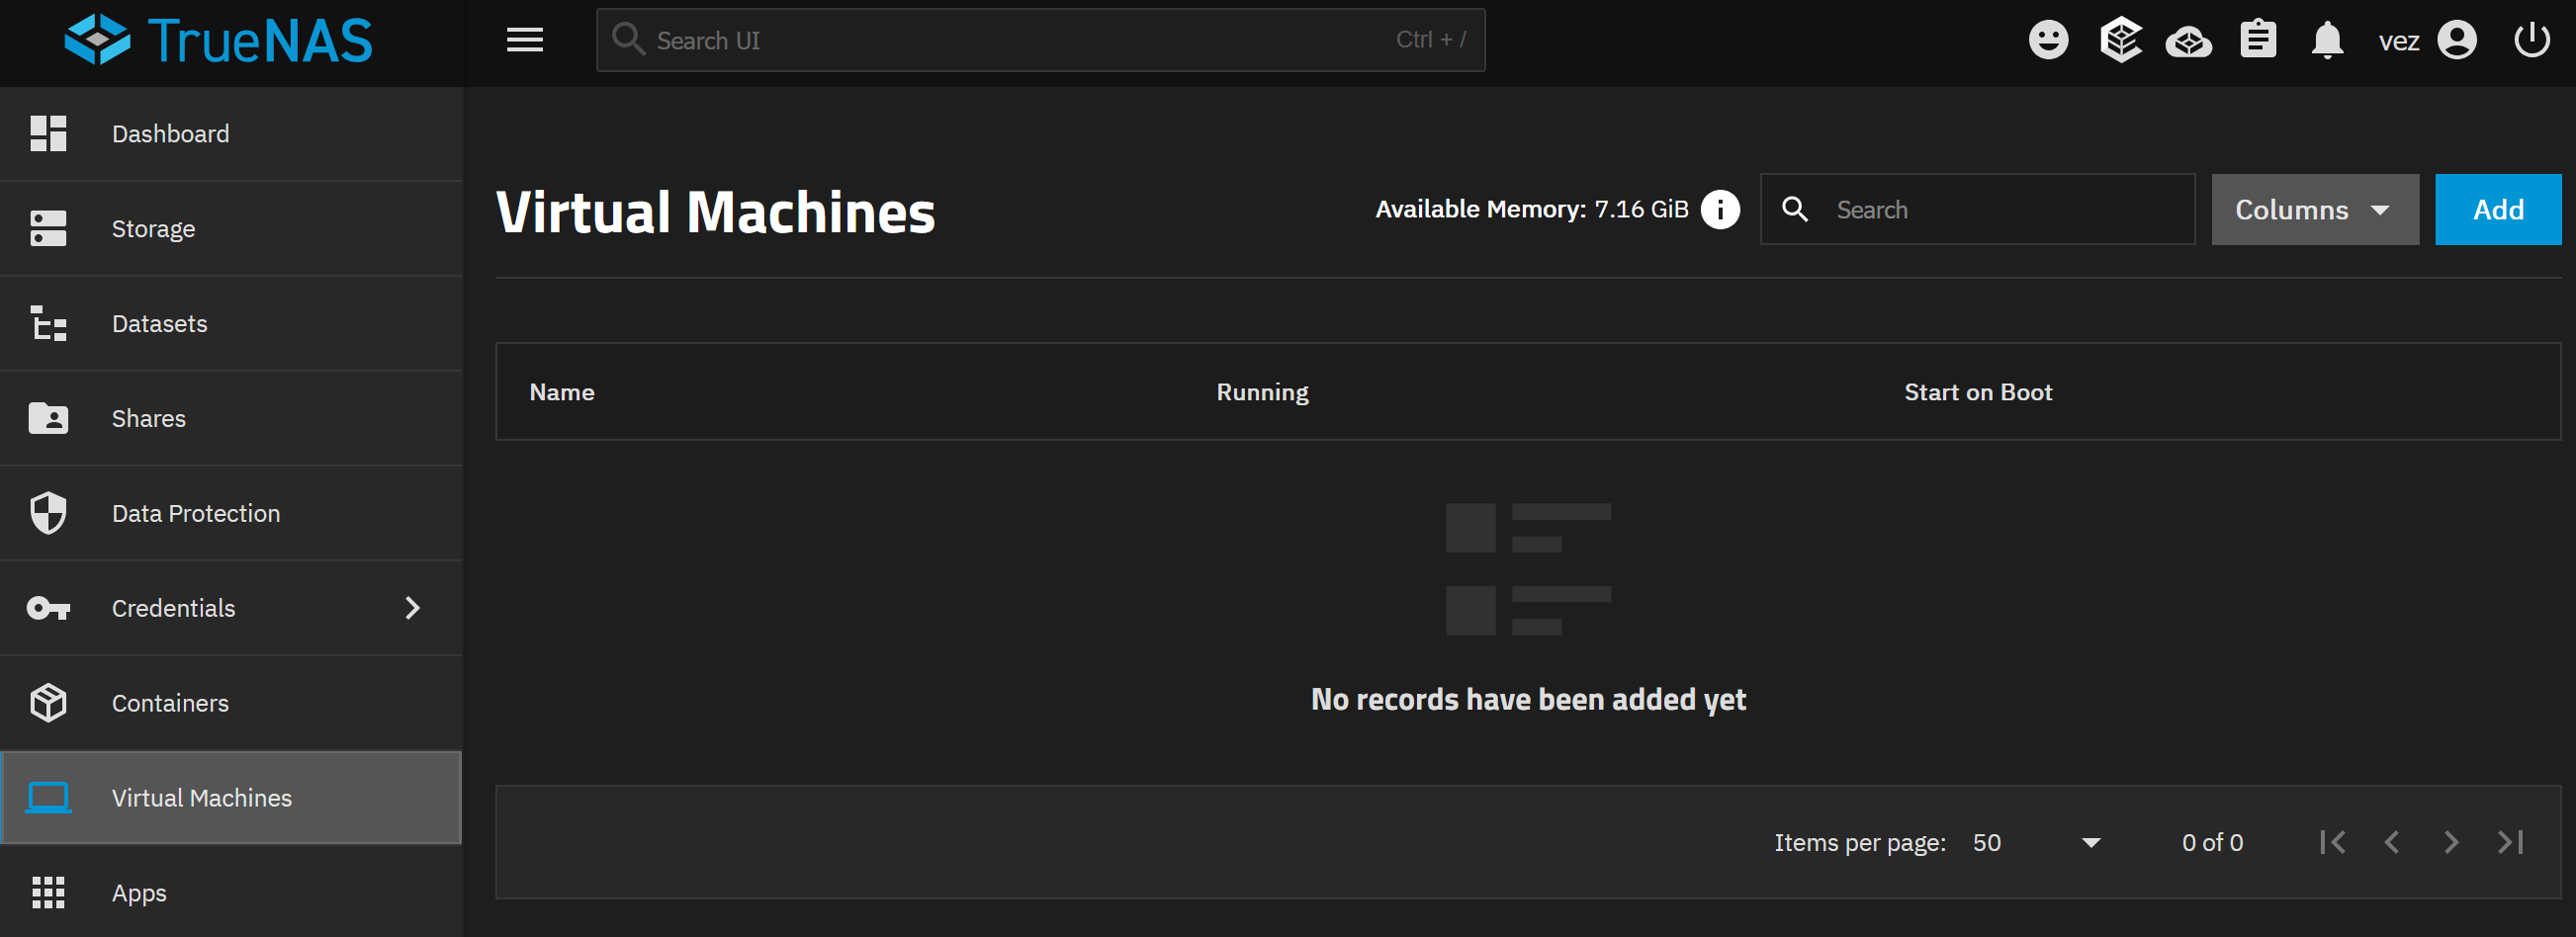
I create a new VM with these settings.
For the operating system:
- Guest Operating System:
FreeBSD - Name:
cerberehead2 - System Clock:
Local - Boot Method:
UEFI - Enable Secure Boot: disabled
- Enable Trusted Platform Module: disabled
- Shutdown Timeout:
90 - Start on Boot: enabled
- Enable Display VNC: disabled
The VM name does not use dashes because TrueNAS do not allow them there.
For CPU and memory:
- Virtual CPUs:
1 - Cores:
2 - Threads:
1 - CPU Mode:
Custom - CPU Model:
qemu64 - Memory Size:
2 GiB
For the disk:
- Create new disk image
- Import Image: enabled
- Image source:
/mnt/storage/vm/files/cerbere-head2.qcow2 - Disk Type:
VirtIO - Storage Location:
storage/vm - Size:
20 GiB
For the first network interface:
- Adapter Type:
VirtIO - MAC Address: keep the proposed one
- Attach NIC:
br1: Mgmt
I skip installation media and GPU configuration, then confirm the summary.
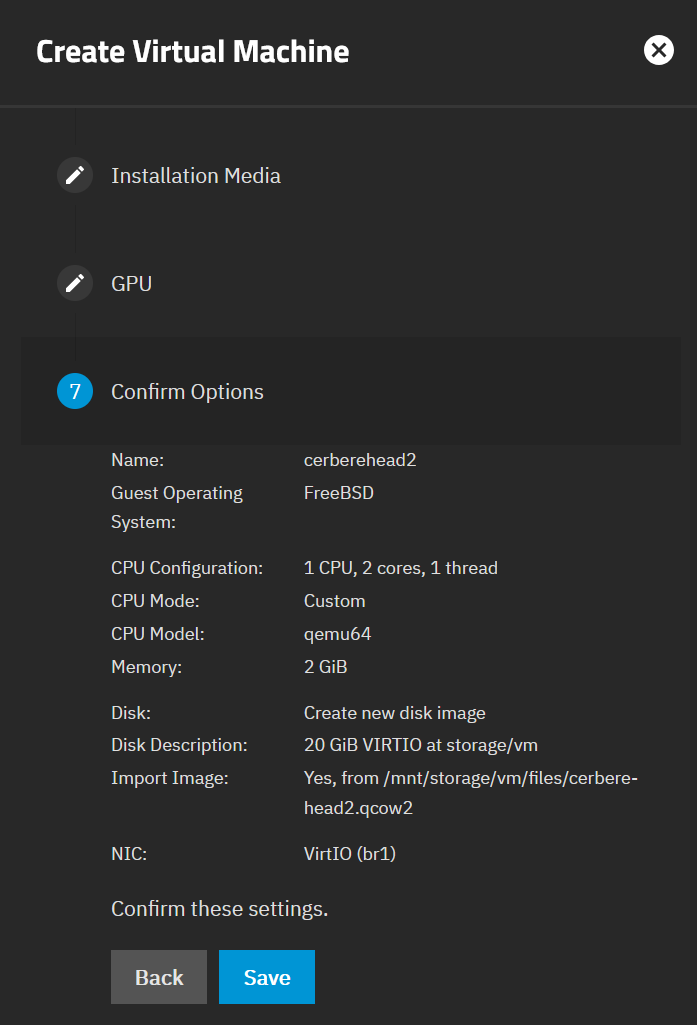
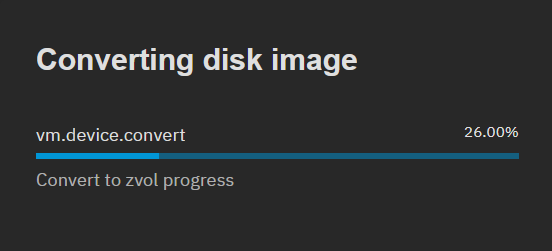
After confirmation, TrueNAS convert the imported qcow2 image into a zvol.
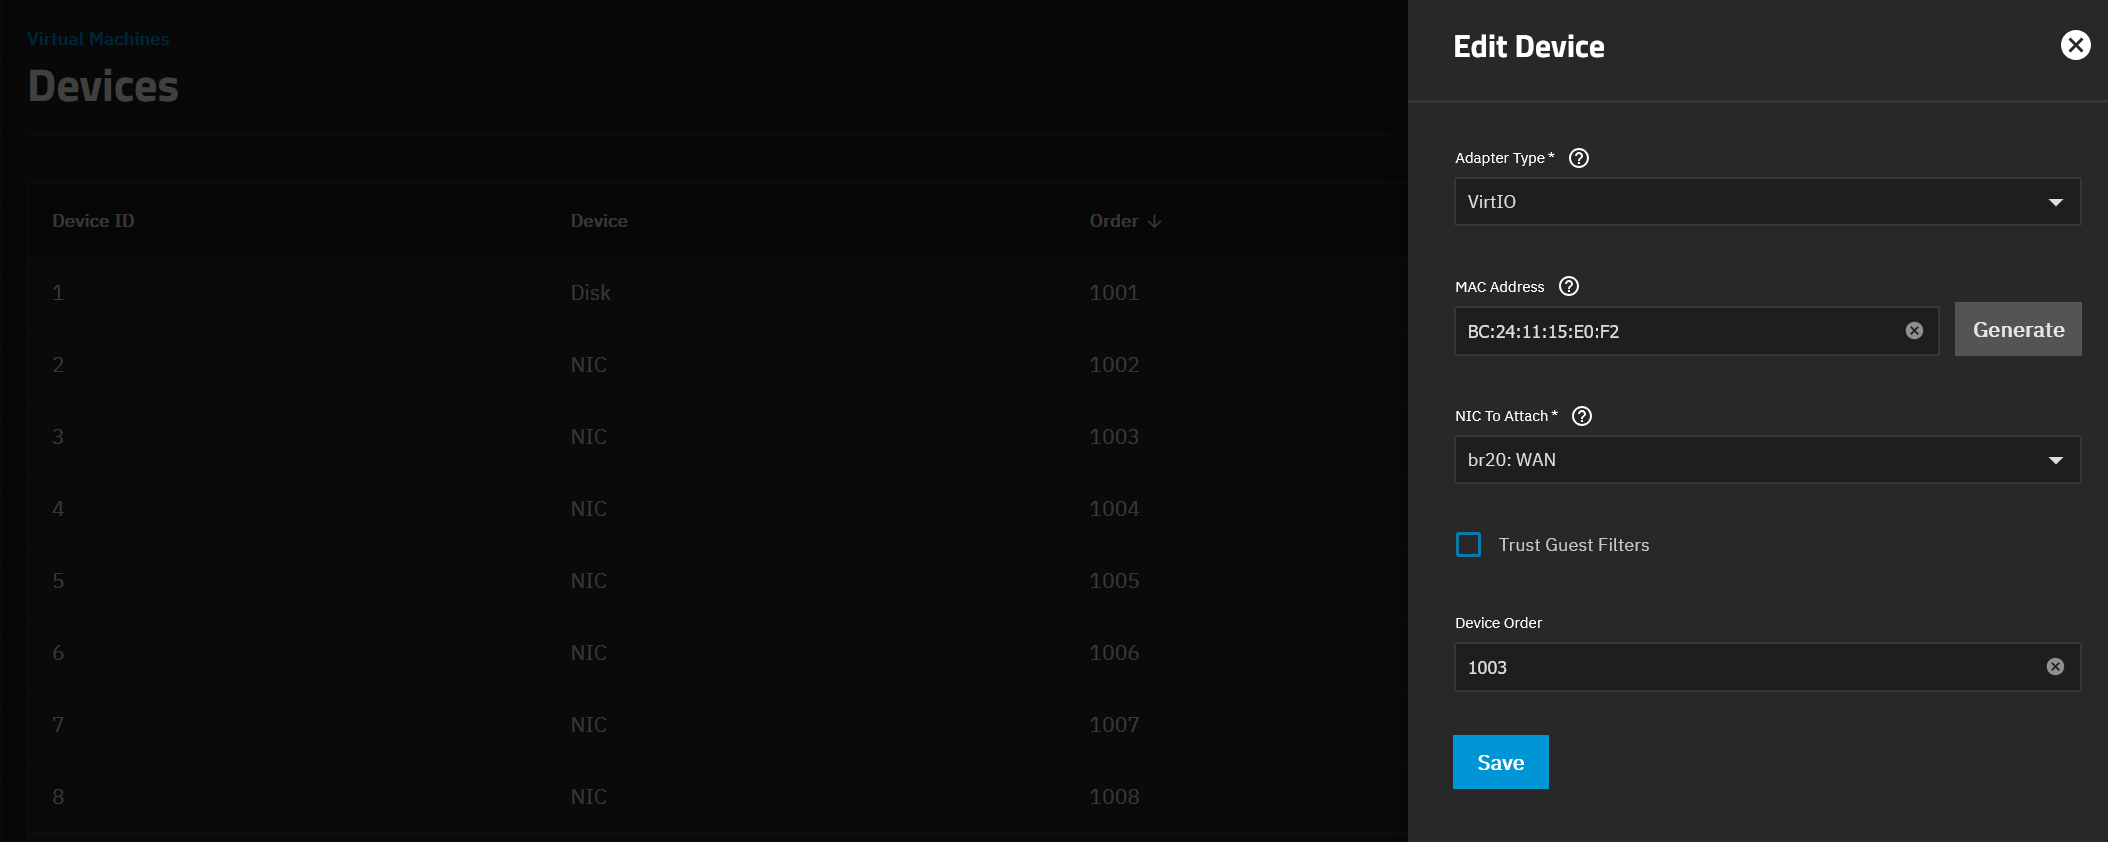
Once the VM is created, I open the VM details and add the remaining NICs.
For each additional NIC, I used VirtIO as the adapter type and attach it to the corresponding bridge.
For the WAN NIC, I copy the old MAC address because I use a single WAN IP address trick. I also increment the digit in the Device Order to keep the same as in Proxmox.
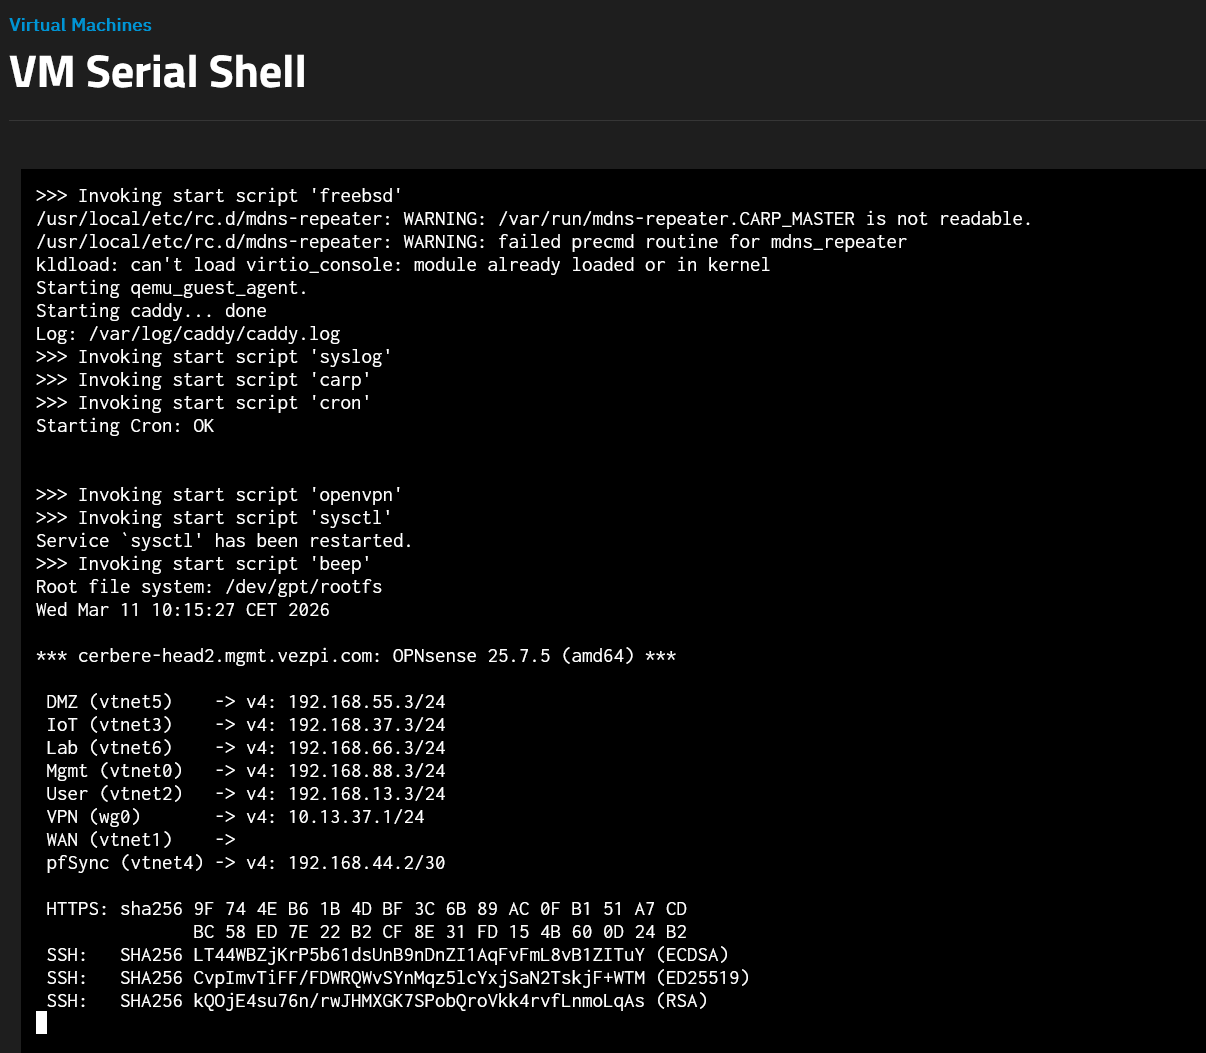
🎉 Finally I can start the OPNsense VM in TrueNAS.
Validate the HA cluster
Once the passive node is running on TrueNAS, I need to validate that the OPNsense HA cluster is still behaving correctly.
I start with basic checks on the passive node:
- Management interface ping from the bastion:
192.168.88.3 - User interface ping from a laptop:
192.168.13.3 - IoT interface ping:
192.168.37.3 - pfSync ping from the other node:
192.168.44.2 - DMZ interface ping:
192.168.55.3 - Lab interface ping from DockerVM:
192.168.66.3
I also check that the node was accessible over SSH from my laptop using 192.168.13.3, and that the web interface was reachable at:
https://192.168.13.3:4443
Then I validate the OPNsense HA state:
- CARP VIP status must be
BACKUPon all VIPs - HA status page must show that the active node can log in to the passive node
- Services must be running as expected
- HA service synchronization must work
- Firmware update checks must be accessible
From the active node, I use the HA status page and force a full synchronization with Synchronize and reconfigure all.
Switchover Tests
Before testing failover, I start a SSH session to dockerVM to confirm that firewall states are preserved across nodes. I also start a ping from a laptop to 192.168.37.120.
For the switchover test, I gracefully enable maintenance mode on the master node.
The new passive node become MASTER, and I validate the important services:
- Extra VLAN routing with ping to
192.168.37.120 - WAN access with ping to
8.8.8.8 - Firewall states by keeping the SSH session alive
- External DNS resolution with
host redhat.com - Internal DNS resolution with
host SLZB-06M.mgmt.vezpi.com - Access to a random internet page
- Caddy reverse proxy
- Caddy layer4 proxy
- Wireguard access from outside
- mDNS by checking if the printer showed up
✅ The switchover is successful.
Failover Tests
After the graceful switchover test, I test a more direct failover scenario by forcing a poweroff of the active node.
I repeated the same validation checklist.
✅ The failover is successful.
Finally, I restart the active OPNsense VM.
🎯 At that point, the OPNsense HA cluster is operational again, with the passive node now running on TrueNAS instead of Proxmox.
Conclusion
This migration is a small but important improvement for my homelab.
Before, both OPNsense nodes depended on the Proxmox VE cluster. If the cluster was down, my whole network routing layer was down with it.
Now, the active node still runs on Proxmox, but the passive node runs on TrueNAS. This gives me a better separation between the virtualization cluster and the network failover layer.
Little disclaimer, while TrueNAS offers virtualization features, it is not comparable to Proxmox VE in terms of clustering and infrastructure management capabilities.
A note about QEMU Guest Agent, the OPNsense VM already had the QEMU Guest Agent installed before expert. In this setup, it does not seem useful because TrueNAS does not have it implemented as a hypervisor feature. I kept it installed anyway, because it is harmless.